To Do List for 11/26

Learning Target:
- I can use the sketch I made last week to make a practice image for the Multi Image Self Portrait.
- I can add the text from my sketch onto my practice photo.
- I can have a practice image ready before the end of the period tomorrow.
Steps:
- We will Play Kahoot.
- Turn in your first draft/ practice image for the Multi Image Self Portrait
- Export it from Lightroom.
- Turn in the JPEG into Google Classroom.
Image Add On for Chrome
To Do List for 11/25
Learning Target:
- I can use the sketch I made last week to make a practice image for the Multi Image Self Portrait.
- I can add the text from my sketch onto my practice photo.
- I can have a practice image ready before the end of the period tomorrow.
Steps:
- Vote on your period’s Levitation Photos: 4,5, & 6.
- Turn in an updated link your Visual Journals. into Google Classroom.
- Use the sketch I made last week to make a practice image for the Multi Image Self Portrait
- Add the text from the sketch to your practice image.
- Have a practice image ready to turn in before the end of the class tomorrow.
Monday
Turn in the rough draft of your Multi Image Self Portrait. We will critique with an elbow partner.
To Do List for 11/22
Learning Target:
- I can turn in an updated visual journal and turn in that link into Google Classroom.
- I can sketch out an idea for the Multi Image Self Portrait.
- I can research what kind of lighting defines me.
- I can plan out the lighting I want in my multi image self portrait.
Steps:
- Vote on your period’s Levitation Photos: 4,5, & 6.
- Turn in an updated link your Visual Journals. into Google Classroom.
- Draw out a sketch for your Multi Image Self Portrait. using pen, pencil or the Wacom Tablets.
- Shoot the idea for your Multi Image Self portrait.
Monday
Turn in the rough draft of your Multi Image Self Portrait. We will critique with an elbow partner.
To Do List for 11/20
Learning Target:
- I can turn in the photograph the Famous Photographer recreation photo.
- I understand the effect lighting has on mood.
- I can choose what sort of lighting I want in my multi image self portrait.
Steps:
- Vote on your period’s Levitation Photos: 4,5, & 6.
- Turn in your Famous Photographer Photo Recreation – as a .jpg- Strong_Famous.jpg
- Turn image into Google Classroom.
- Strong goes over How Lighting Effects Mood. Write the written response in your Visual Journals.
- Catch up on your visual journal entries. Journal check in is due on Friday.
Thursday
Turn in an updated link to your visual journal. Start making photos for Self Portrait.
Today’s Lesson: Lighting and it’s effect on Mood
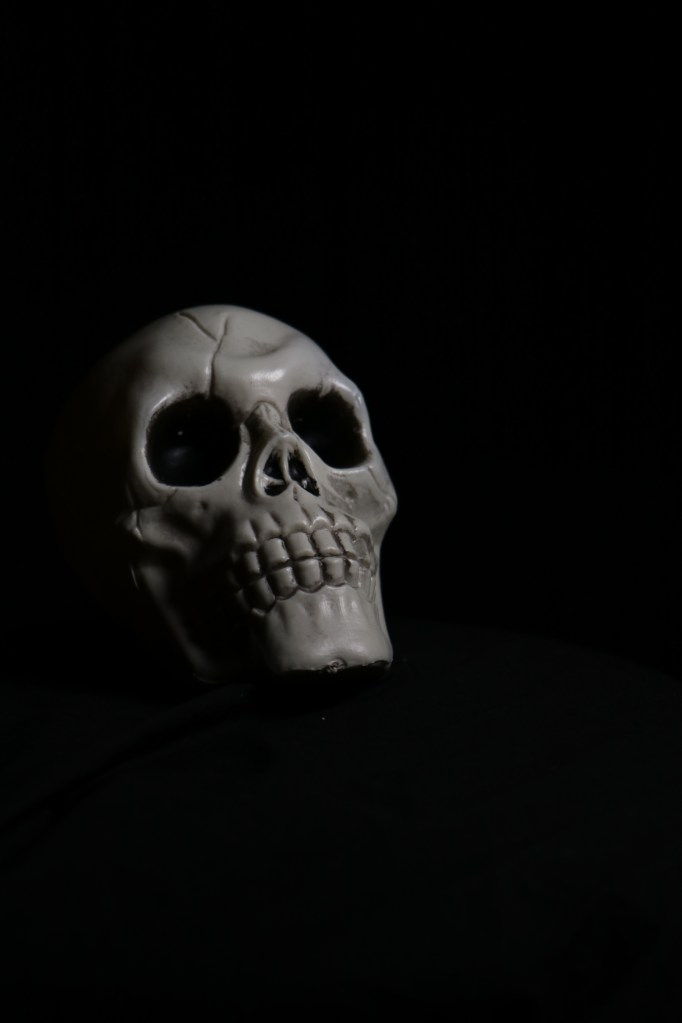


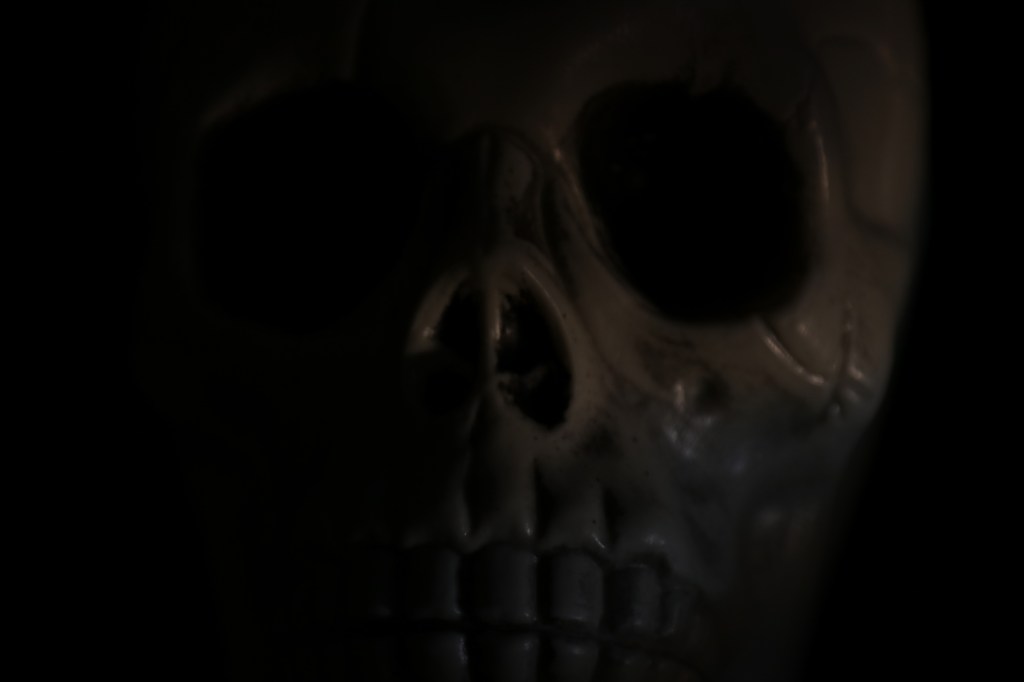
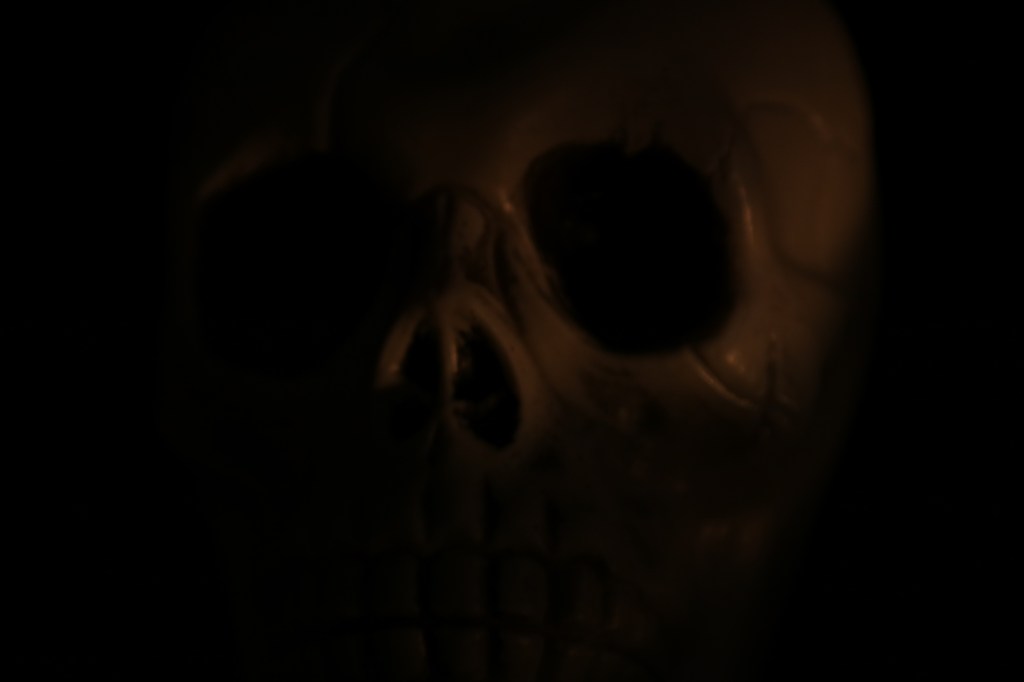
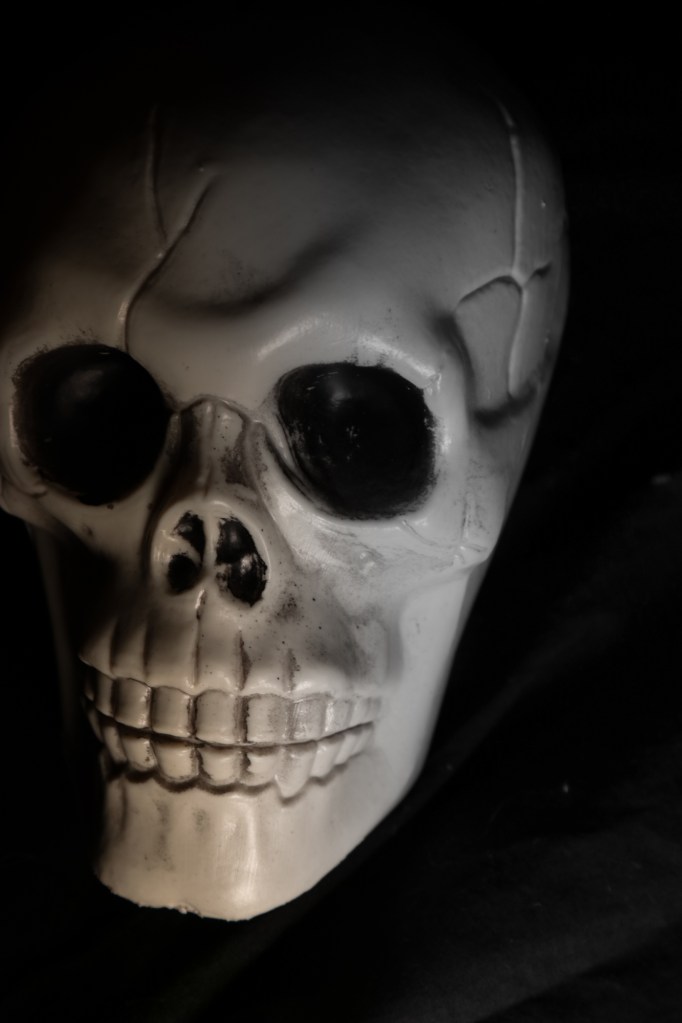
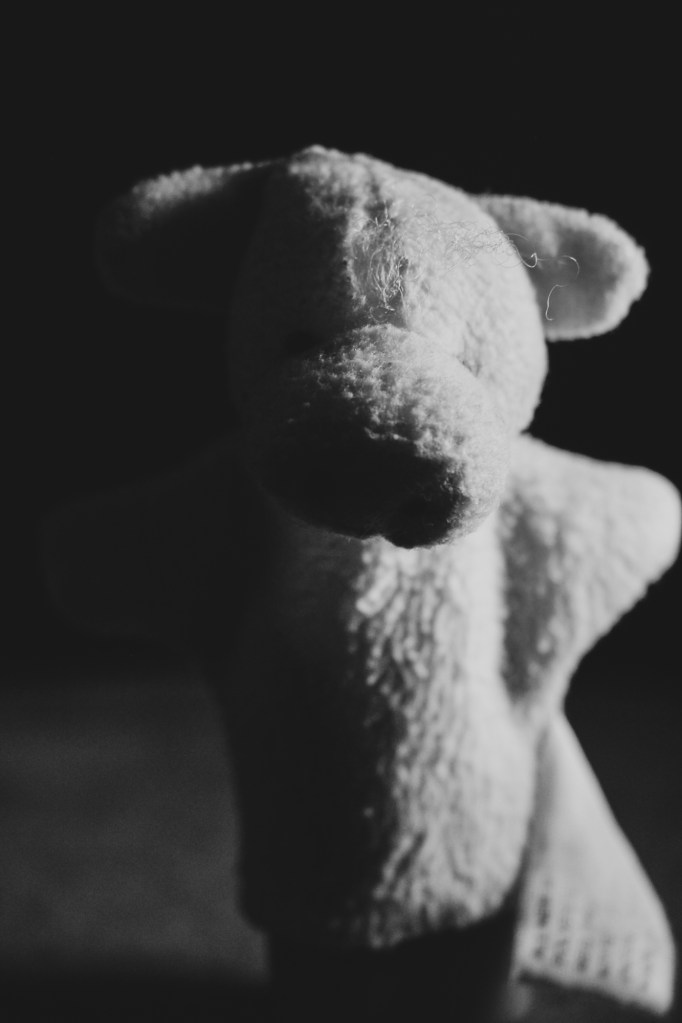
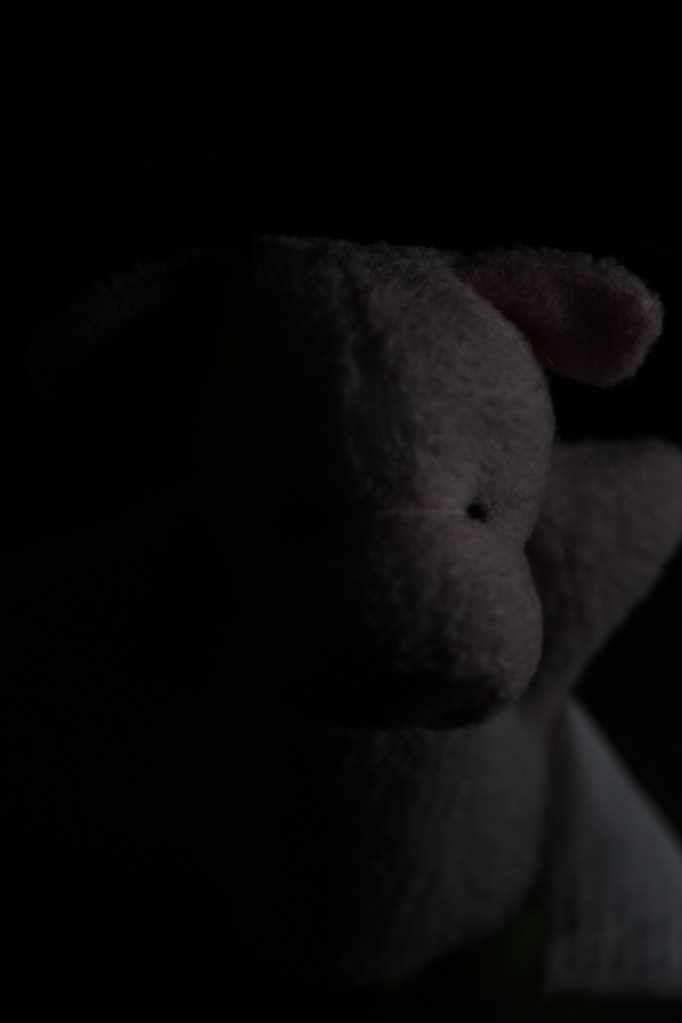
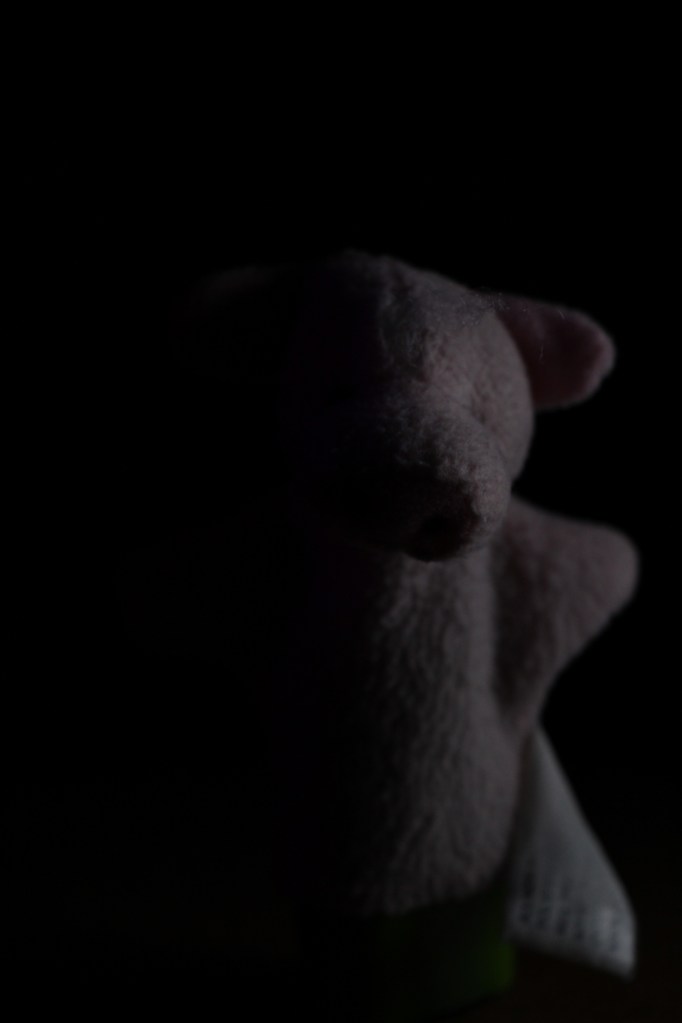
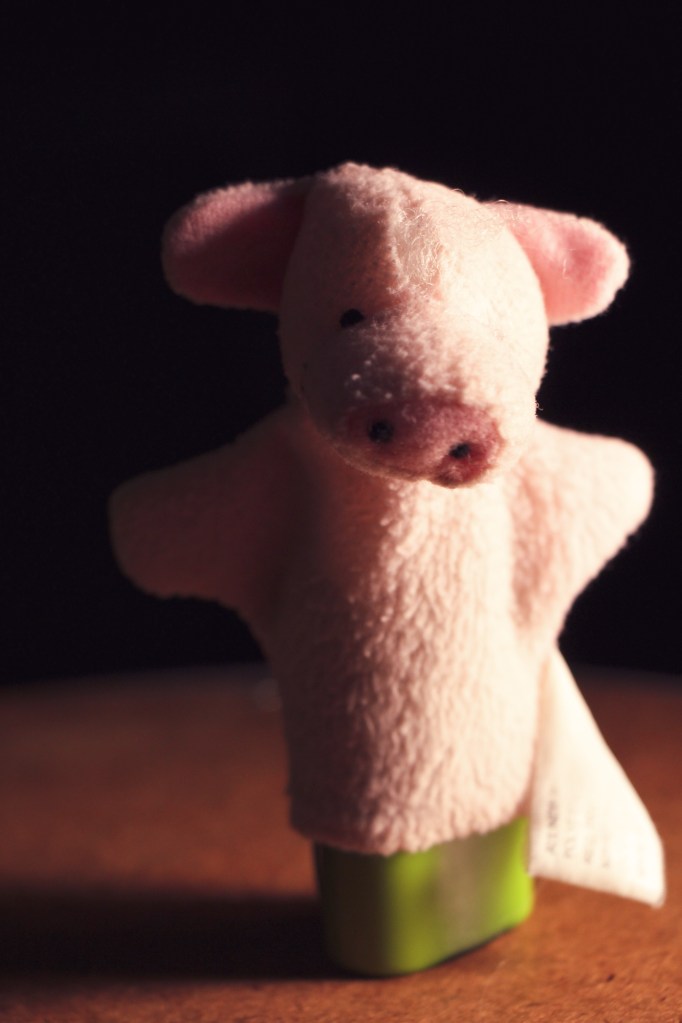
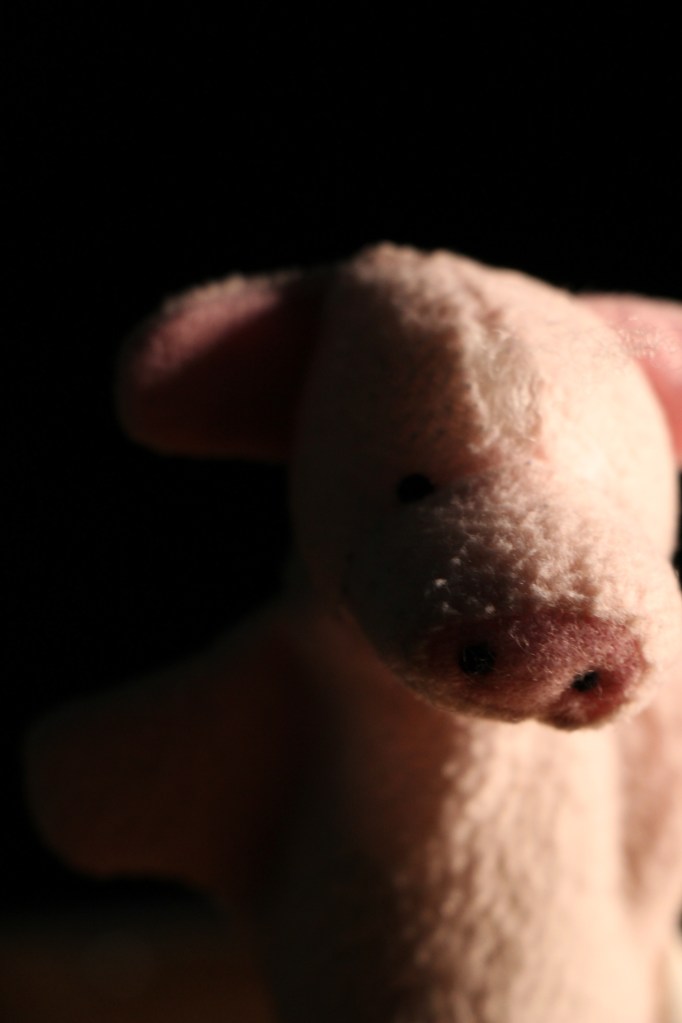
All of these images were taken using the portable light with barn doors. I have two of these and they are battery powered, which means you can take them to places you normally wouldn’t be able to take a light to.
Notice how the light, its direction and it’s intensity changes in each photo by changing the angle, intensity and color of the light, we can make people feel the way we want them to.
This doesn’t mean that all the photos have to be dark or scary, on the contrary, you can use the light to enhance or brighten the mood, as seen the last two photos in the series.
Play with light when you do your self portrait. What side of yourself do you want to show, what kind of lighting set up do you want to use?
Written response: In your visual journal write me a paragraph where you describe the kind of lighting you want to have in your Self Portrait. What lighting style best describes you? Find 2-3 example online and include those photos in your visual journal post.
Next Assignment: Multi Image Self Portrait.
For this next image you will combine two or more photos to create a moody self portrait that describes who you are.
Last week you learned about how to use layer masks in Photoshop. You will use this technique along with lighting in a creative and expressive way to reveal something interesting or personal about you in a portrait that you take of yourself. If you are an athlete you may want to photograph something that relates to a sport. If you are a dancer maybe you choose something that relates to dancing. If you are a writer maybe a book, letters, or a pencil may relate to you.
Beginning steps:
- I can sketch multi-image self portrait ideas using a WACOM tablet and pen on a letter sized Adobe Photoshop document.

Note how you would like to use light in your photograph.
- I can open my online portfolio and write a paragraph, using good grammar and punctuation, about what my multi-image portrait will say about me.
- After brain storming and sketching ideas I can work with an elbow partner and begin making photographs of myself and objects in preparation to create a multi image self portrait using Adobe Lightroom and Photoshop.


It is important to take a moment and reflect about who you are and what is important in your life as you carefully consider what you want to say in your multi image self portrait.
Here’s the one I did. Notice how the light I used in this shot creates the mood for the photographs. This lighting gives me a place to start, gives me a starting place where I can write.

Think metaphorically or symbolically.
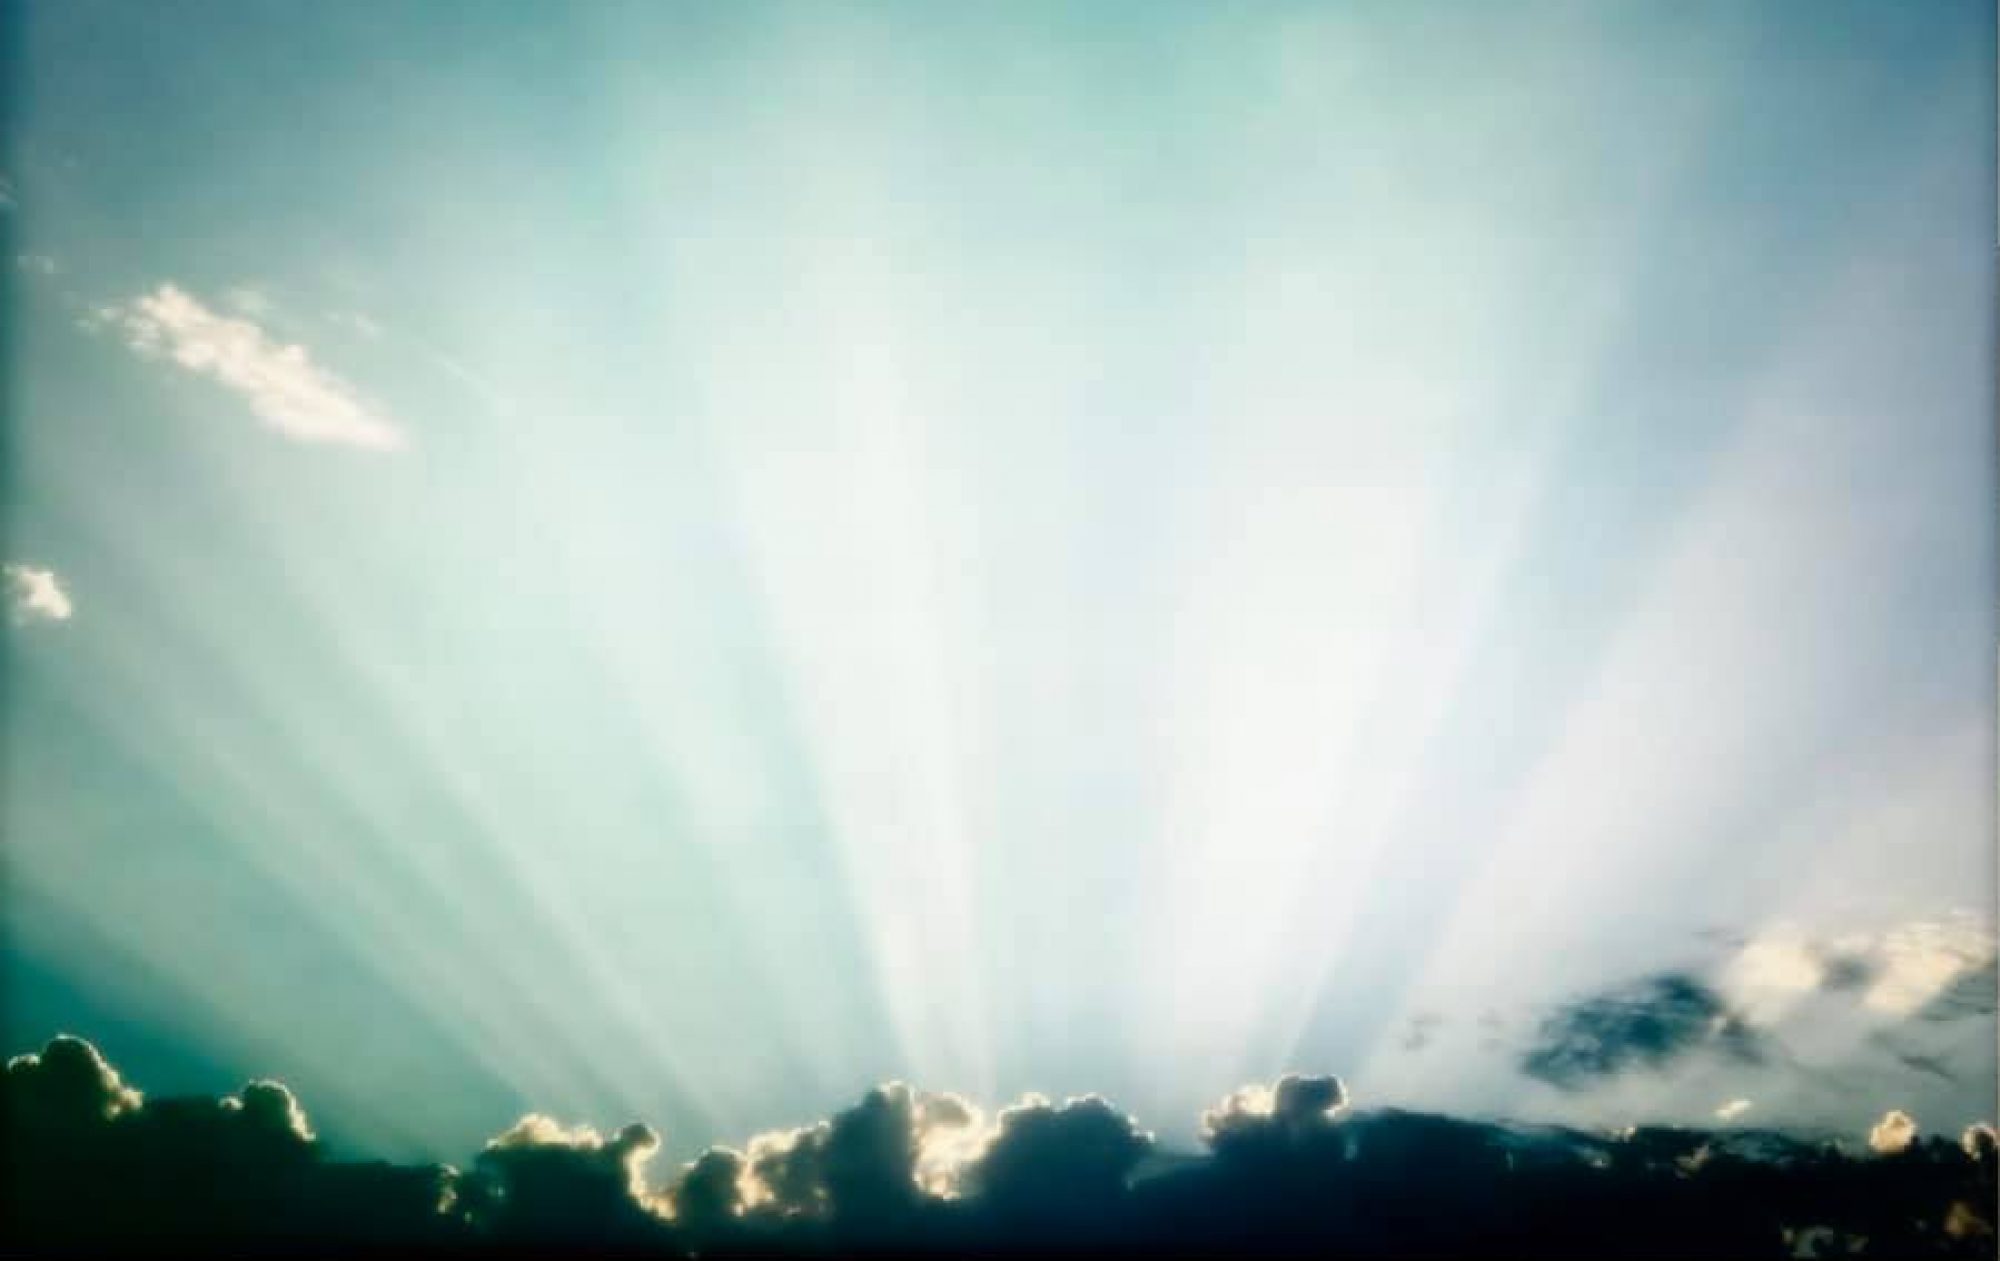
I’m using the tunnel in the image below as a metaphor for emotional well being.

One practice photo due on Tuesday, 11/26
Final photo due on Tuesday, 12/3.
To Do List for 11/19
Learning Target:
- I can photograph the Famous Photographer recreation photo.
- I can lay the two photos next to each other in Photoshop.
- I can save it as a .jpg in Lightroom and turn it into Google Classroom.
Steps:
- Vote on your period’s Levitation Photos: 4,5, & 6.
- Finish editing your Famous Photographer Photo Recreation
- Edit them in Lightroom. Open as layers in Photoshop. Move one next to the other.
- Crop out the rest.
- Try to download a large version of the file so that the recreation will be as large as the image you download.
- Turn image into Google Classroom.
- Catch up on your visual journal entries. Journal check in is due on Friday.
Wednesday
Turn in your famous photographer recreation.
To Do List for 11/18
Learning Target:
- I can photograph the Famous Photographer recreation photo.
- I can lay the two photos next to each other in Photoshop.
- I can save it as a .jpg in Lightroom and turn it into Google Classroom.
Steps:
- Respond to Today’s Quote of the day.
- Vote on your period’s Levitation Photos: 4,5, & 6.
- Finish editing your Famous Photographer Photo Recreation
- Edit them in Lightroom. Open as layers in Photoshop. Move one next to the other.
- Crop out the rest.
- Try to download a large version of the file so that the recreation will be as large as the image you download.
- Turn image into Google Classroom.
- Catch up on your visual journal entries. Journal check in is due on Friday.
Tuesday
Catch up on your visual journal entries. Strong goes over the new assignment. Self portrait with Lighting.
