

Export your collage from yesterday in Lightroom . Export it as lastname_collage.jpg. PLEASE ONLY TURN IN .JPG images.
Export your collage from yesterday in Lightroom . Export it as lastname_collage.jpg. PLEASE ONLY TURN IN .JPG images.

Learning Target:
Steps:
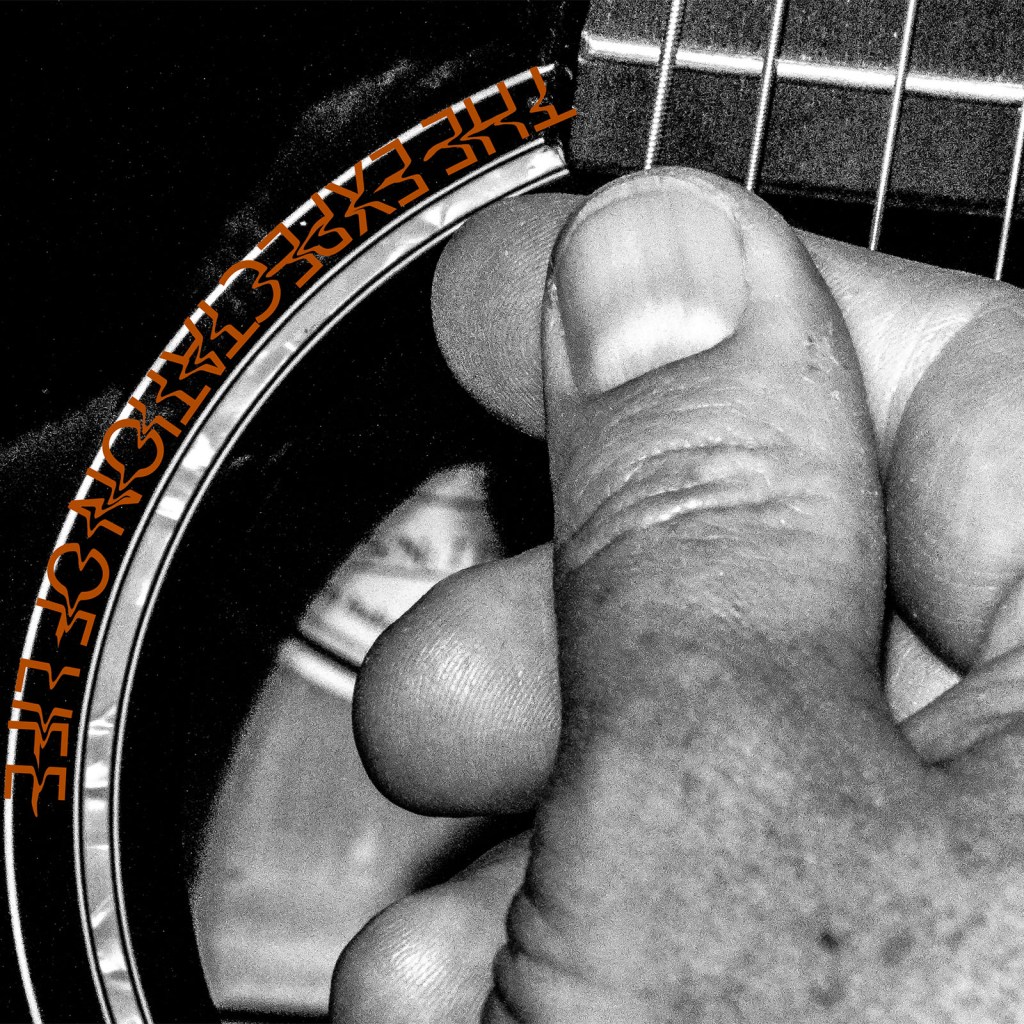
1 Turn in the link to your critique for CD album Cover #1 that you wrote on Monday. Turn the link into Google Classroom.
2. Turn in the collage you made yesterday. Import the PSD file back into Lightroom and Export the image calling it lastname_collage.jpg
3. In Google Classroom. complete the Reflection for CD album Cover
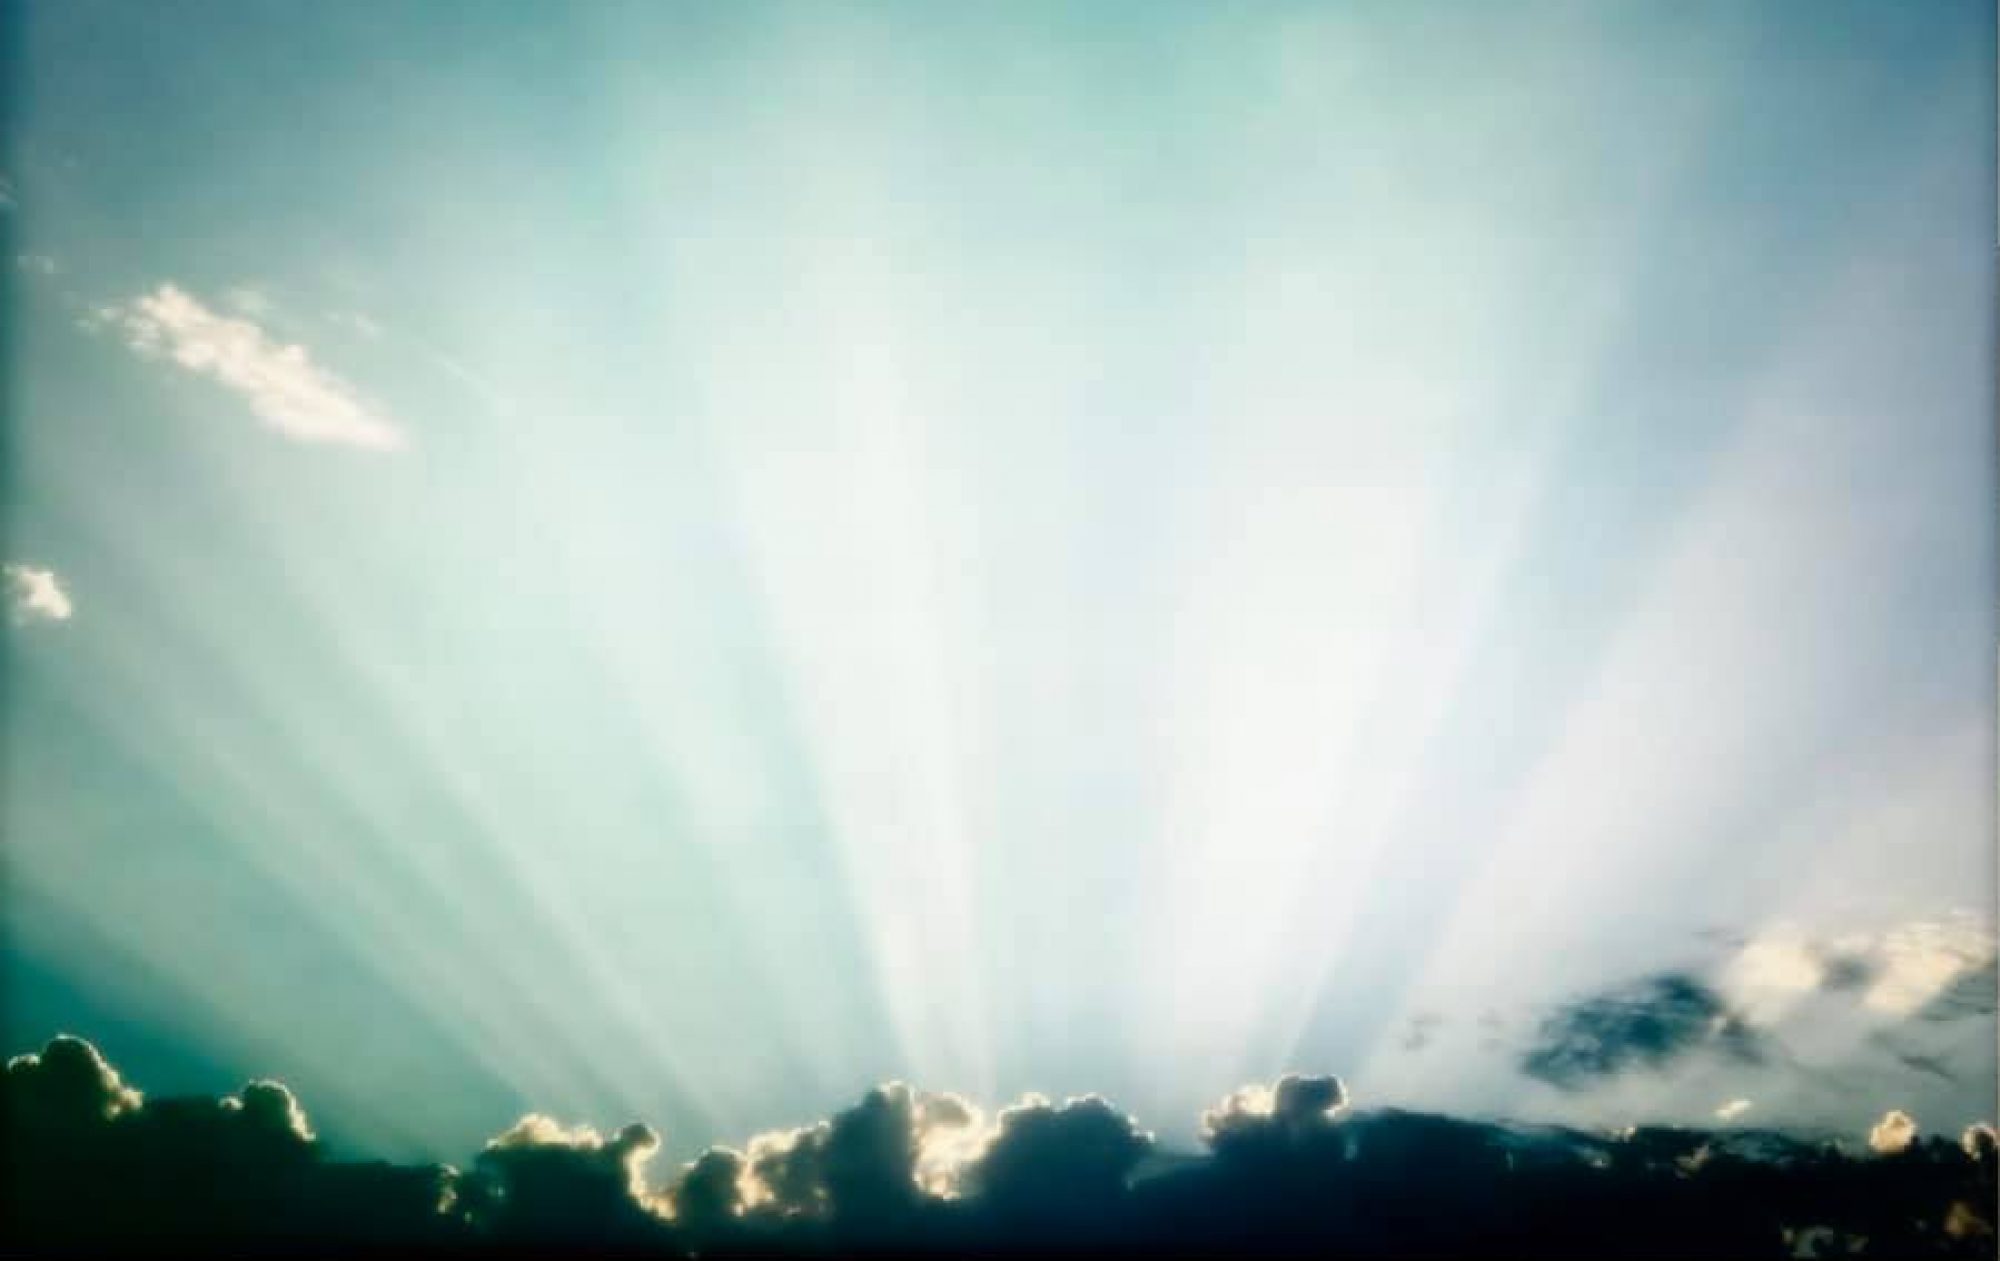
4. Read over the requirements for the new Photo Challenge: Levitation.
Thursday
Start pre-production on your levitation photo: research techniques, find examples plan out your shot on your visual journal adobe spark page.
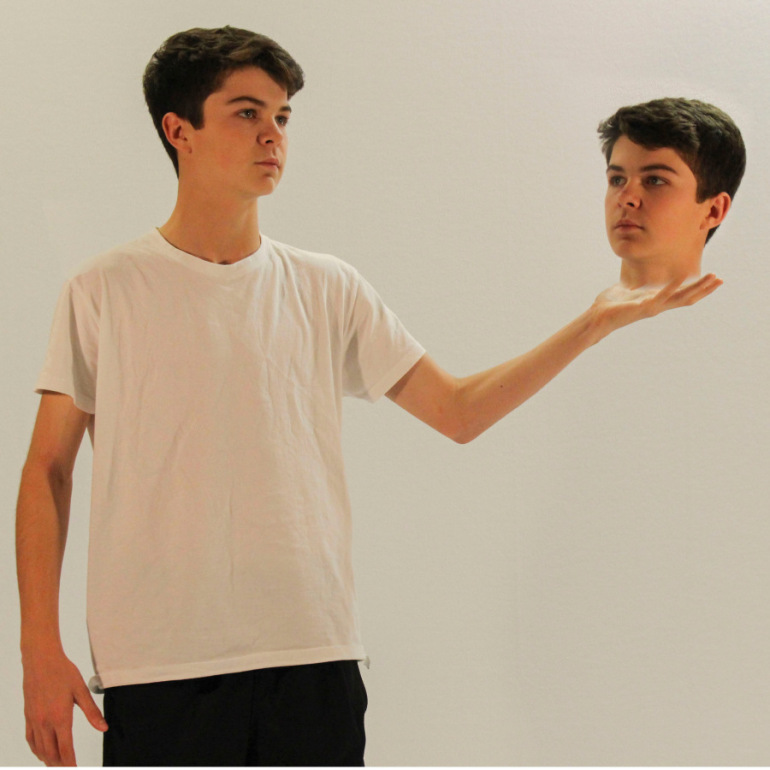

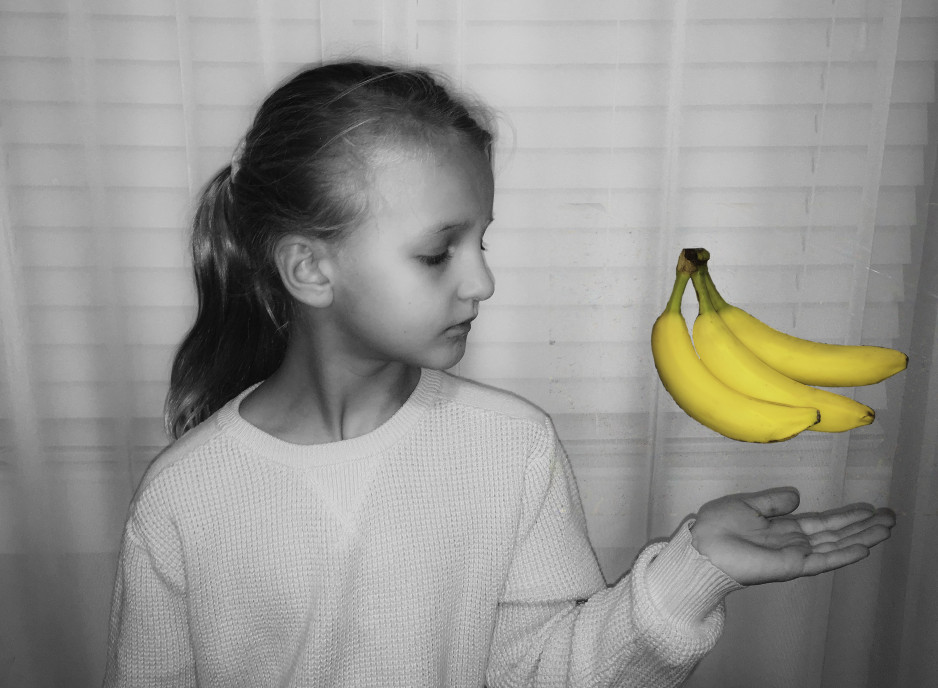
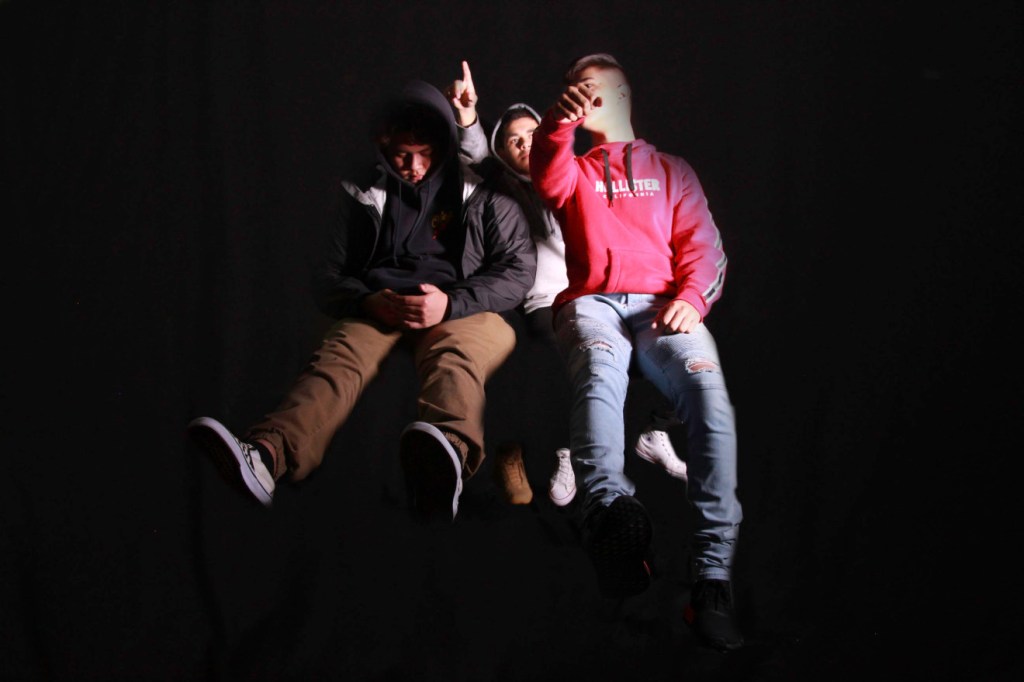

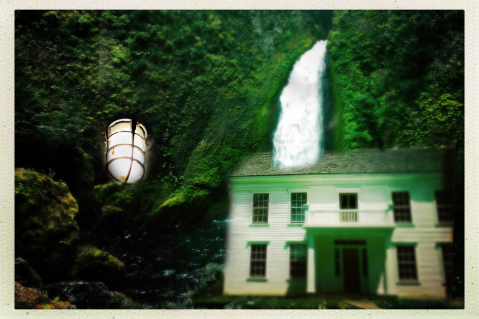
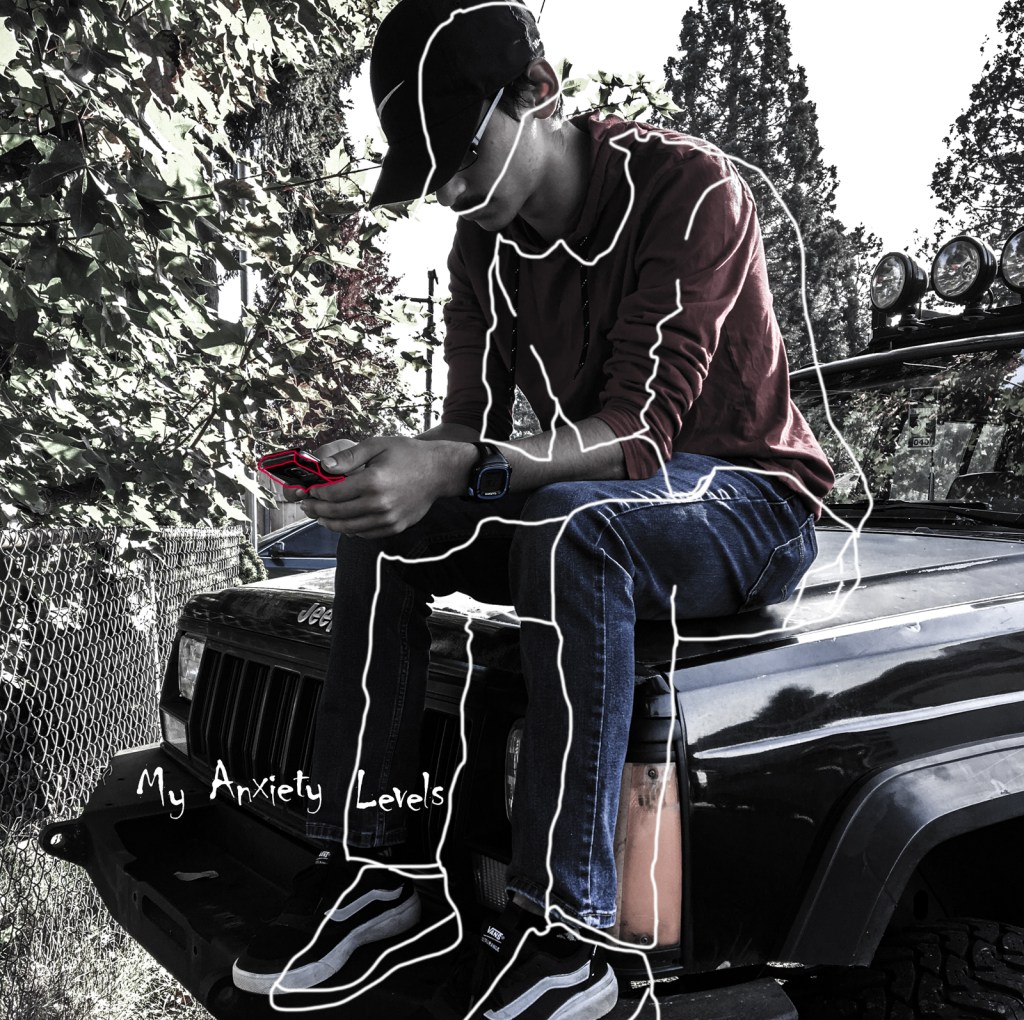
For this week’s photo challenge, you will use layer masks to create a levitation photo like the ones above.
To make mine I used the following photos:
YOU WILL NEED TO USE A TRIPOD FOR THIS PROJECT.
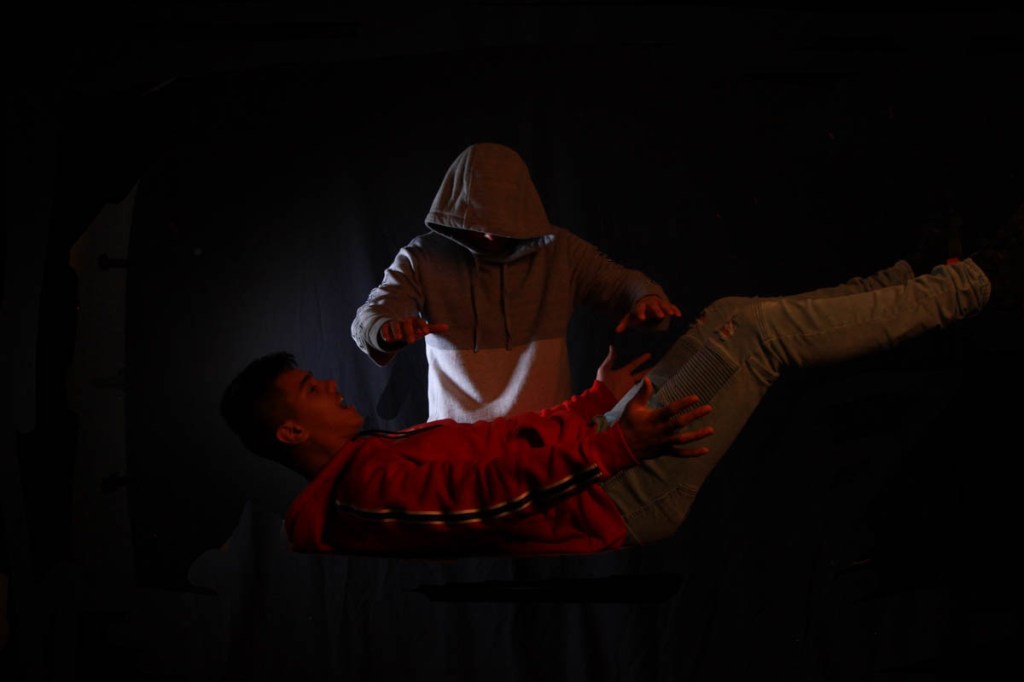
Take two photos, one with your subject in a chair or on a stool, or on a table.
The 2nd photo is a blank shot of the background with the table or chair removed from the image.
Line up the photos in Photoshop, then use a layer mask to erase the evidence of the table, stool, chair, etc.
I think erased my head, duplicated the clip, erased my body, to create the headless floating head effect.
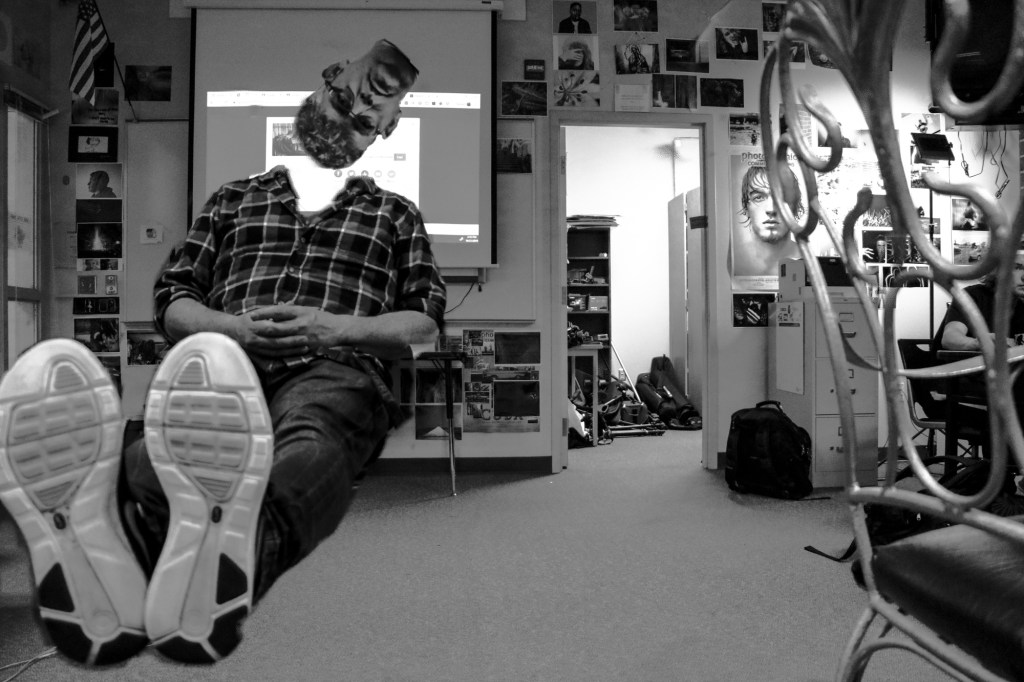
I then took the photo into Lightroom and made it black and white, and tweaked the exposure to cover up some of the smudges that made the image look less than professional.
Either way you do it, spend some time, plan out your shots, check out examples of what others have done, record those in your visual journal.
Plan out your shot, get your materials, and make some people float. Don’t be limited by just one person, why not two, three, four or five people?
ONE FINAL IMAGE IS DUE ON 10/29.
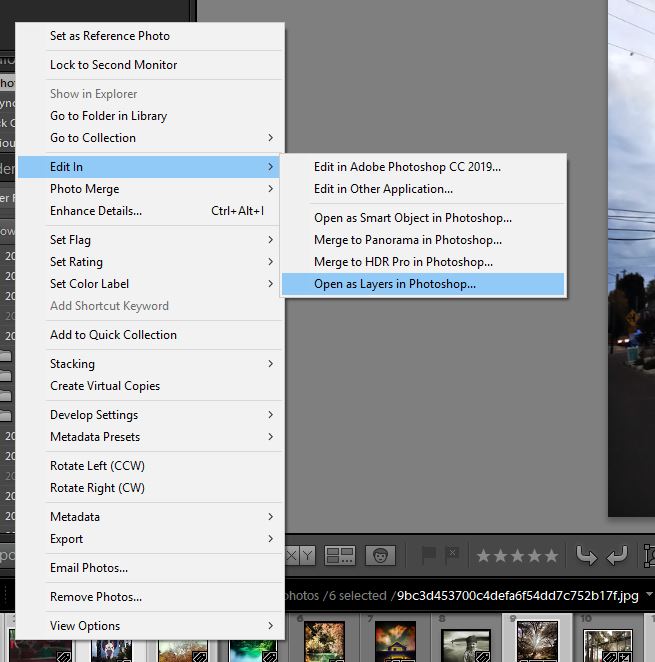
For today’s activity, you will need access to five different photos of yours. Using layer masks, Photoshop and Lightroom, you will make a collage simliar to the one below.
Start by opening Lightroom and selecting the five photos for your collage. One of them should have a person in it, for variety’s sake.
Select the five photos in Lightroom. Right click and choose, open as layers in Photoshop.
This will load all of the images as layers in Photoshop. Once you have them in Photoshop, that’s when Layer masks come in.
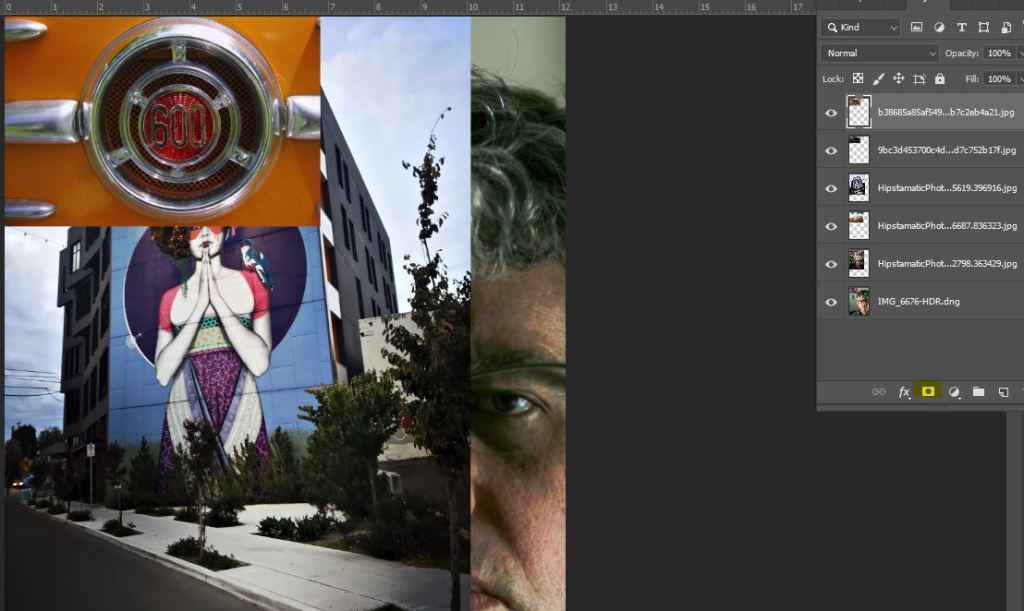
You see the layers opened up all in one image. The circle inside the square, the part that’s highlighted, that’s the layer mask.

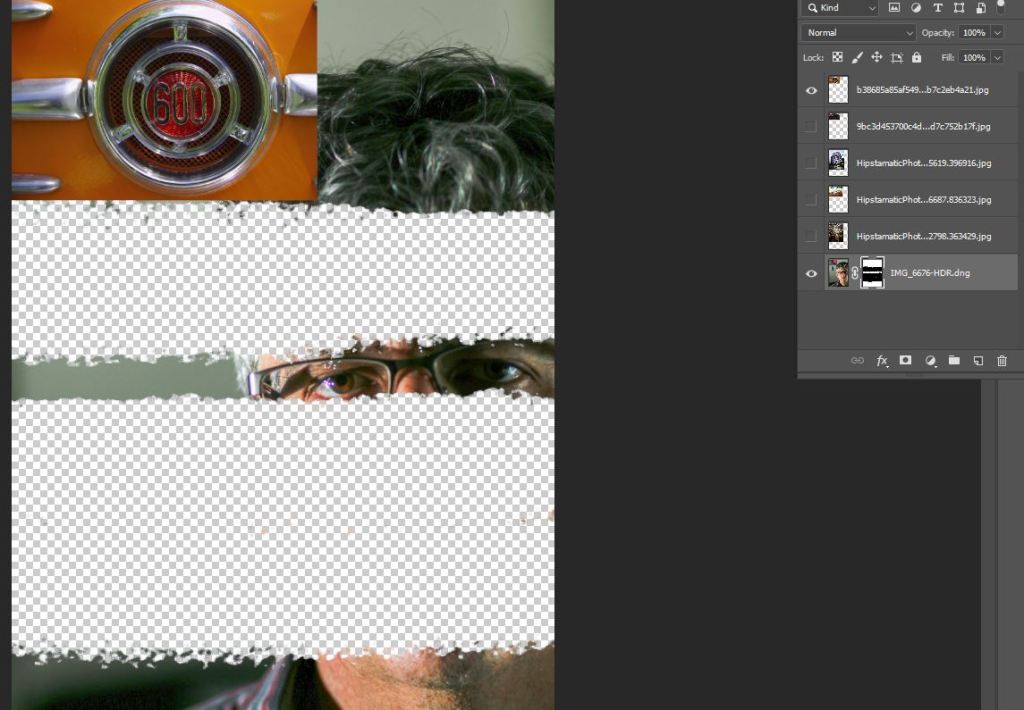
The layer mask shows black in the area of my face that is now erased. In this way i can erase certain parts of my image and make others pop up under the layers.
Continue to do this until you have your final collage consisting of five faces.
Learning Target:
Steps:
1 Pull up the Critique Post for your Period: 4, 5, 6. Choose one image to write a full two paragraph critique. See the post for step by step instructions. Write in in Google Docs then paste into your visual journal with a copy of the picture you are critiquing. Turn in a link to your visual journal in Classroom.
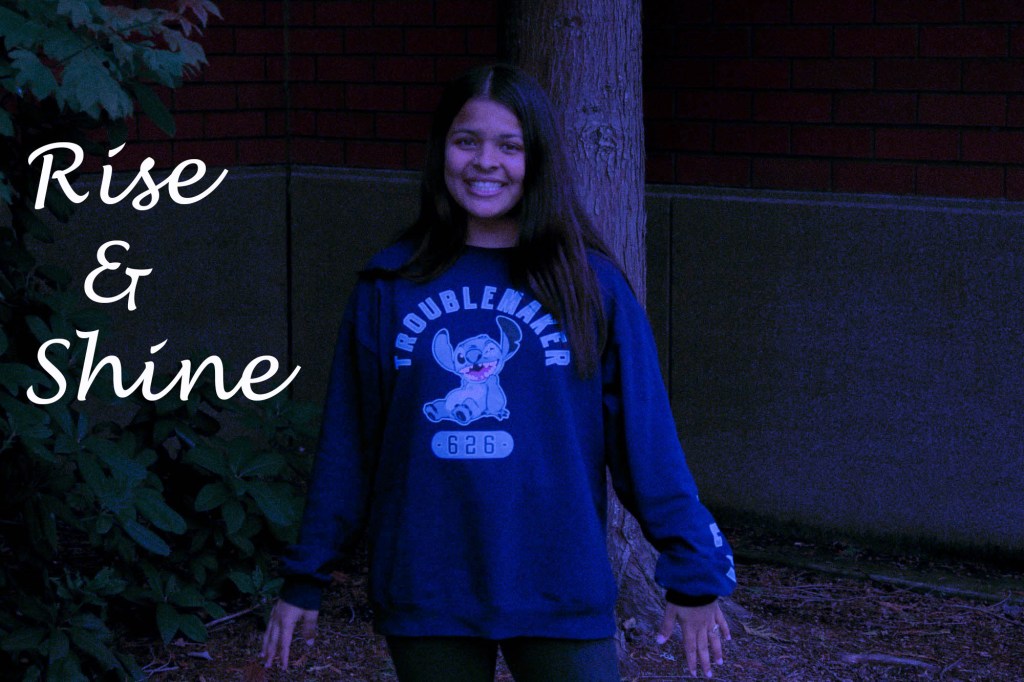
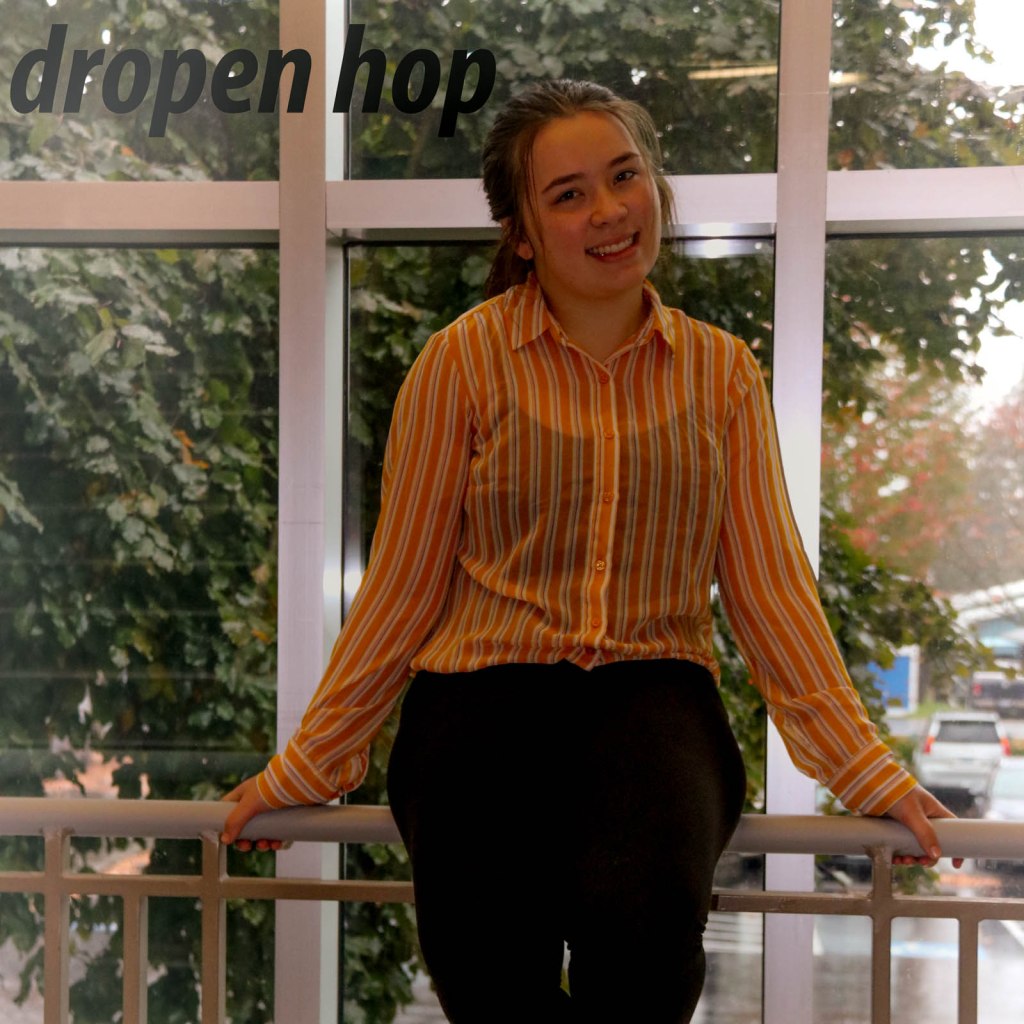
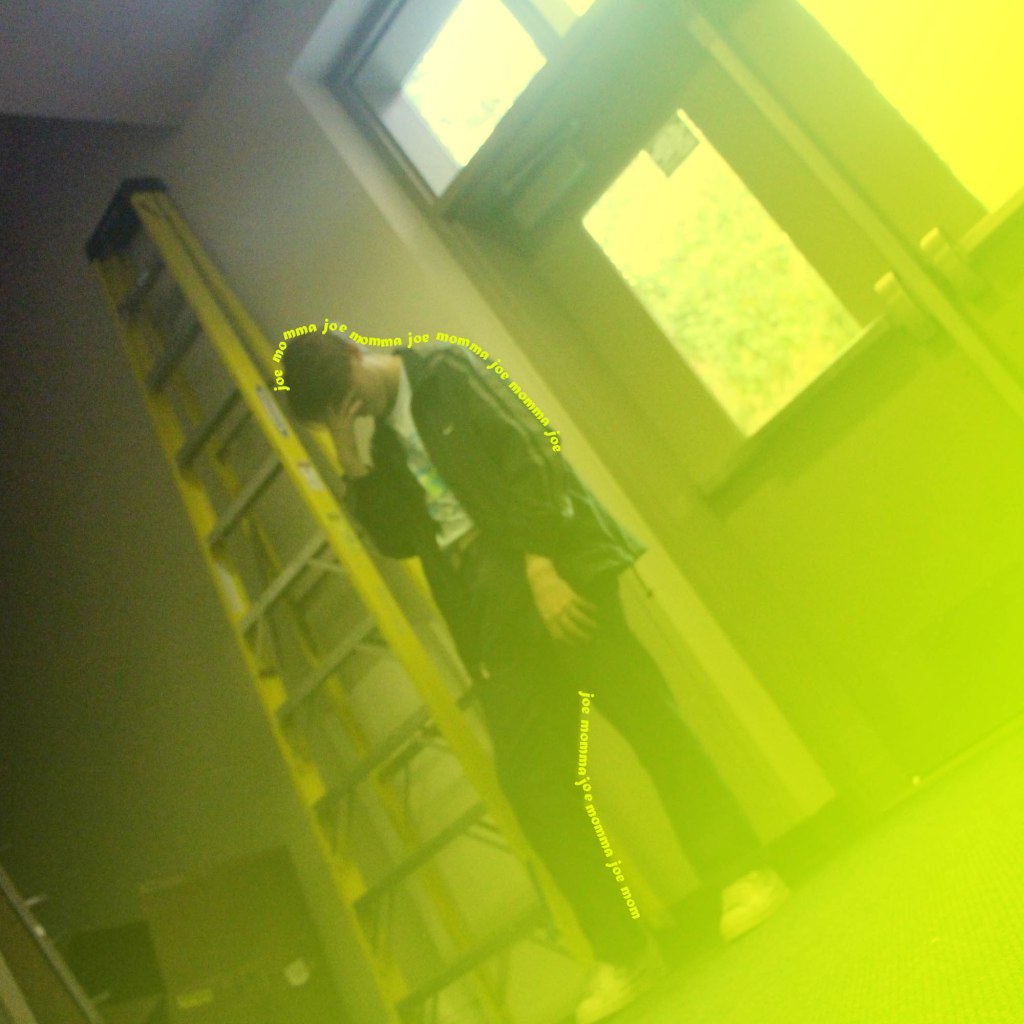
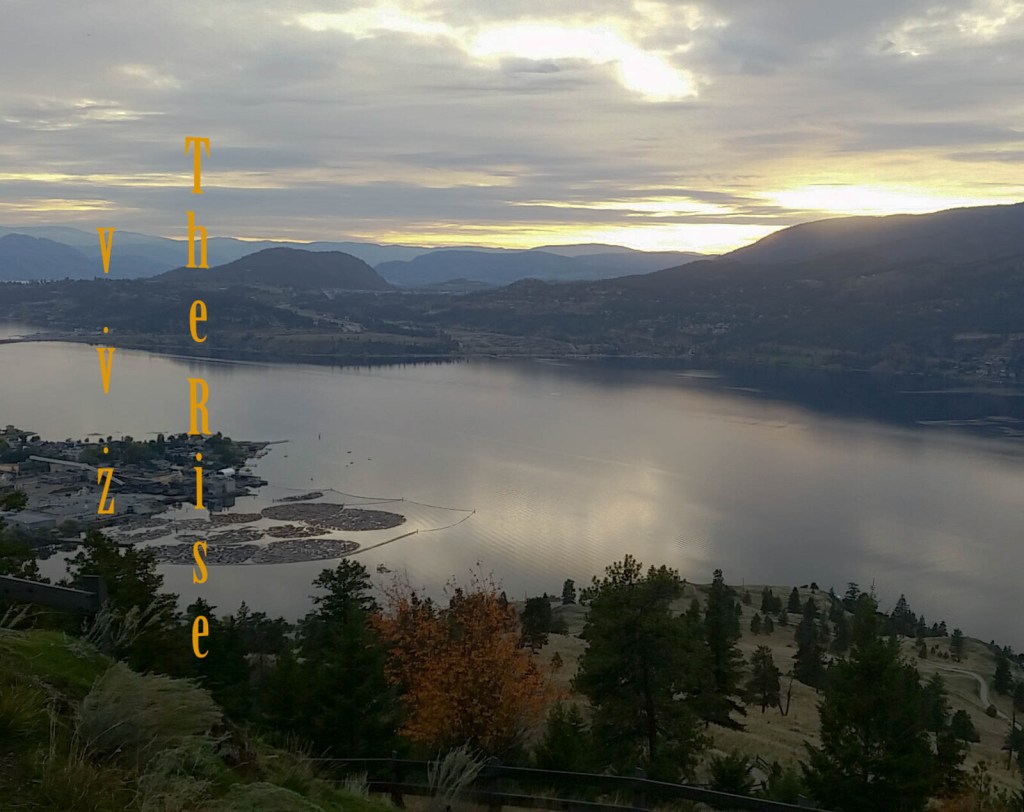
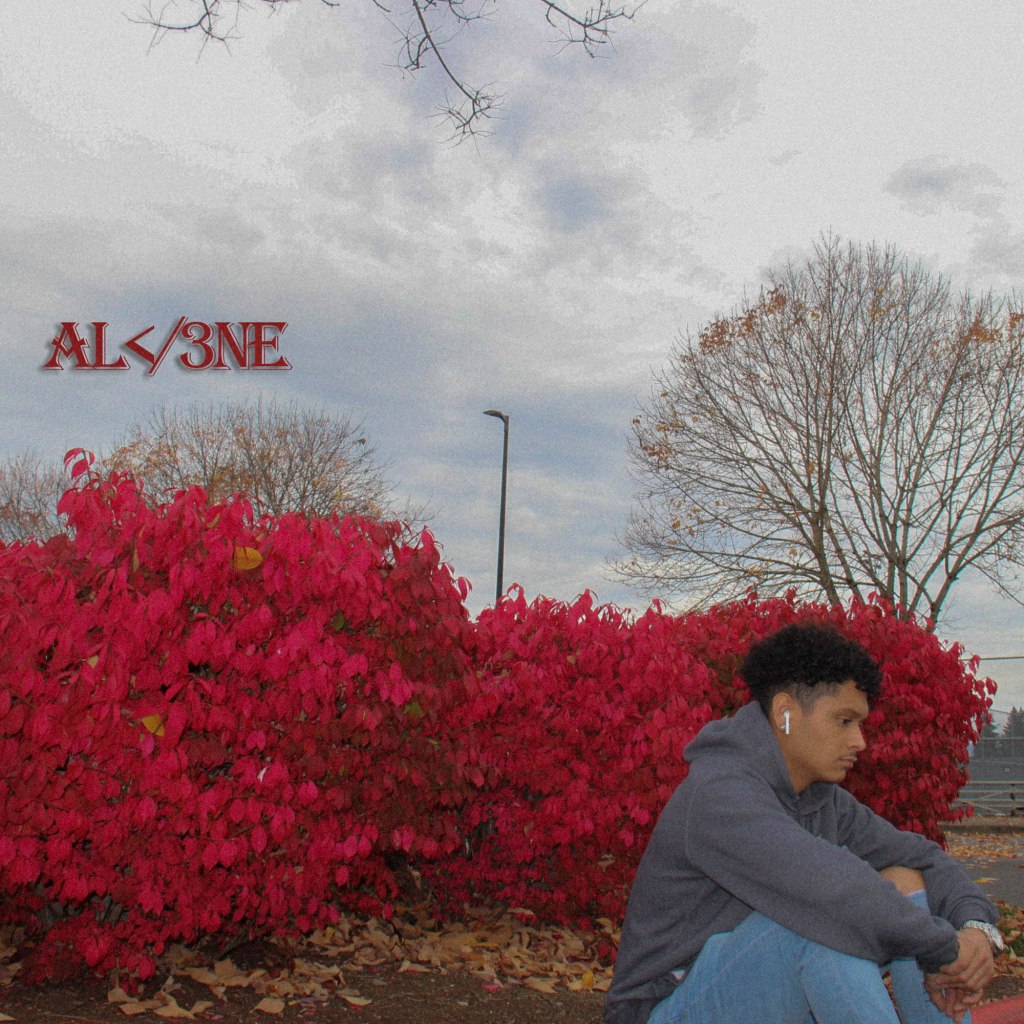
2. Do your final edits for the 2nd image for CD Album Cover with TEXT
Make sue to make the image 1600 pixels by 1600 pixels
Due TODAY, before the end of the period.
3. Upload the final .jpg image to Google Classroom.
Tuesday:
Strong assigns next photo challenge.


Open up your visual journals, choose one photo to critique. Download the image to your website, write 2 paragraphs where you write about the following:
Find the person who took the photo and share your respectful critique with them.
You will be graded on a 4 point scale, same as a photo challenge. You will be graded on:
Critiques are due before Wednesday. Publish your post then paste it to Google Classroom. Check to see if you see a thumbnail shot (Correct!) of your site or just the generic Adobe Spark log in page.(Incorrect!)


Open up your visual journals, choose one photo to critique. Download the image to your website, write 2 paragraphs where you write about the following:
Find the person who took the photo and share your respectful critique with them.
You will be graded on a 4 point scale, same as a photo challenge. You will be graded on:
Critiques are due before Wednesday. Publish your post then paste it to Google Classroom. Check to see if you see a thumbnail shot (Cporrect!) of your site or just the generic Adobe Spark log in page.(Incorrect!)


Open up your visual journals, choose one photo to critique. Download the image to your website, write 2 paragraphs wher eyou write about the following:
Find the person who took the photo and share your respectful critique with them.
You will be graded on a 4 point scale, same as a photo challenge. You will be graded on:
Critiques are due before Wednesday. Publish your post then paste it to Google Classroom. Check to see if you see a thumbnail shot (Cporrect!) of your site or just the generic Adobe Spark log in page.(Incorrect!)
Learning Target:
Steps:
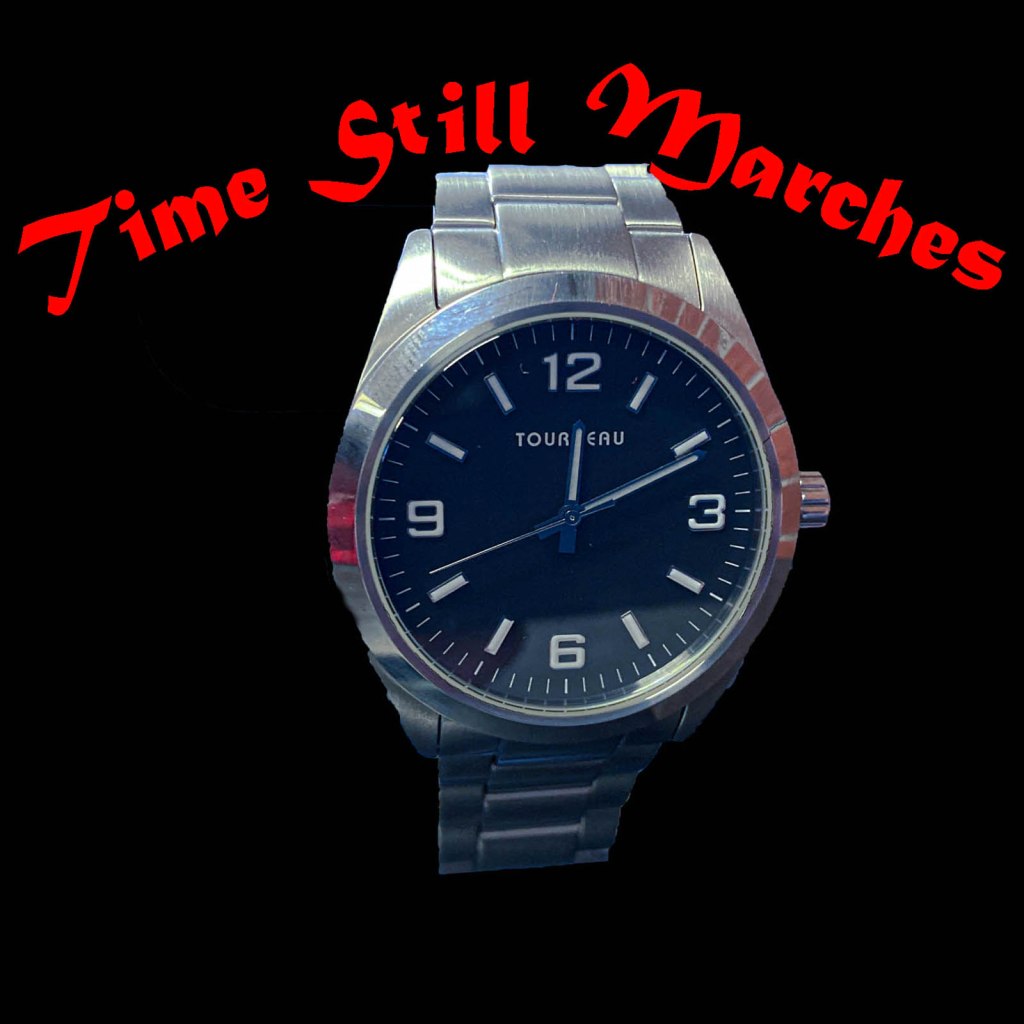
1 Turn in your first CD Album Cover with Text Image.
2. Follow the steps I went through on my post. – NEED EVERYONES PHOTO FOR PARTICIPATION IN CRITIQUE SESSION ON MONDAY.
3. Upload the final .jpg image to Google Classroom.
Shoot/Edit images for: CD Album Cover with TEXT
4. Shoot your 2nd image for CD Album Cover with Text:
Monday:
Need photos from EVERYONE to critique photos for Monday.
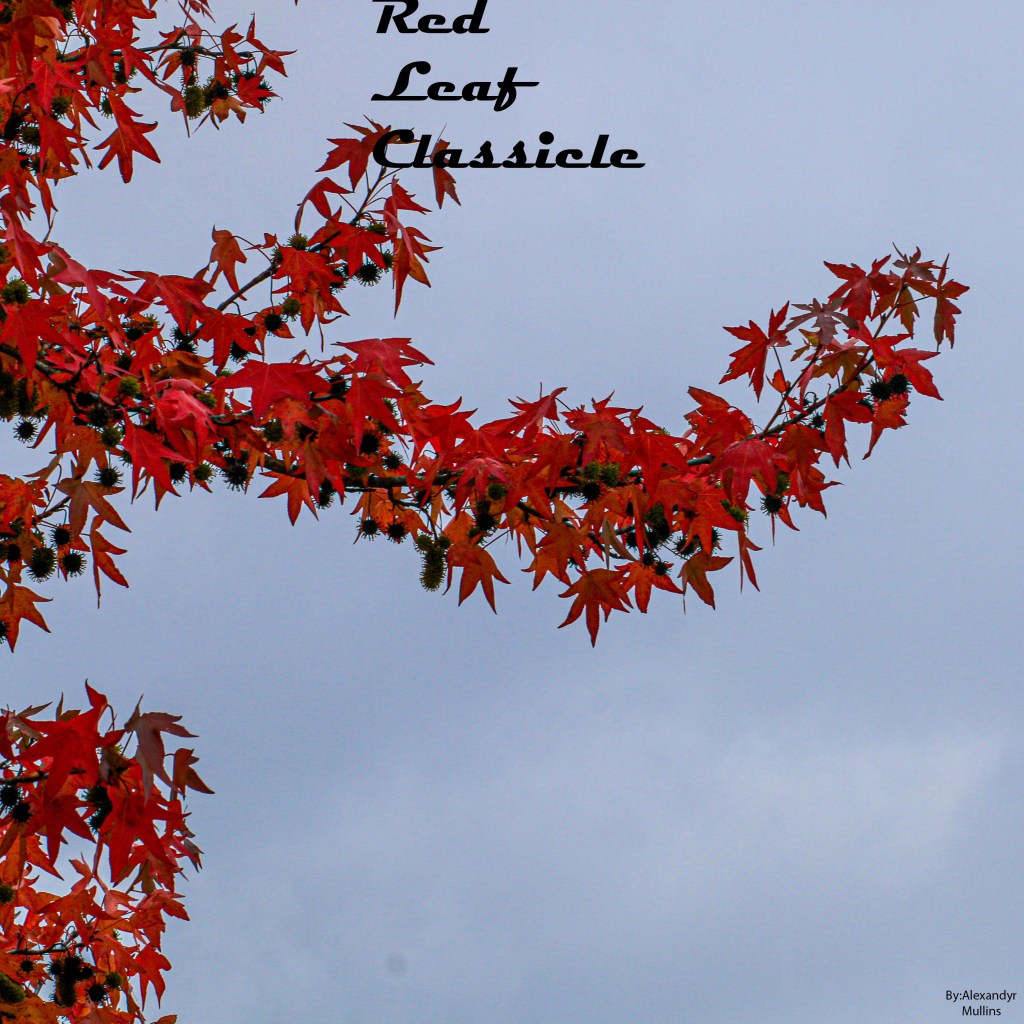
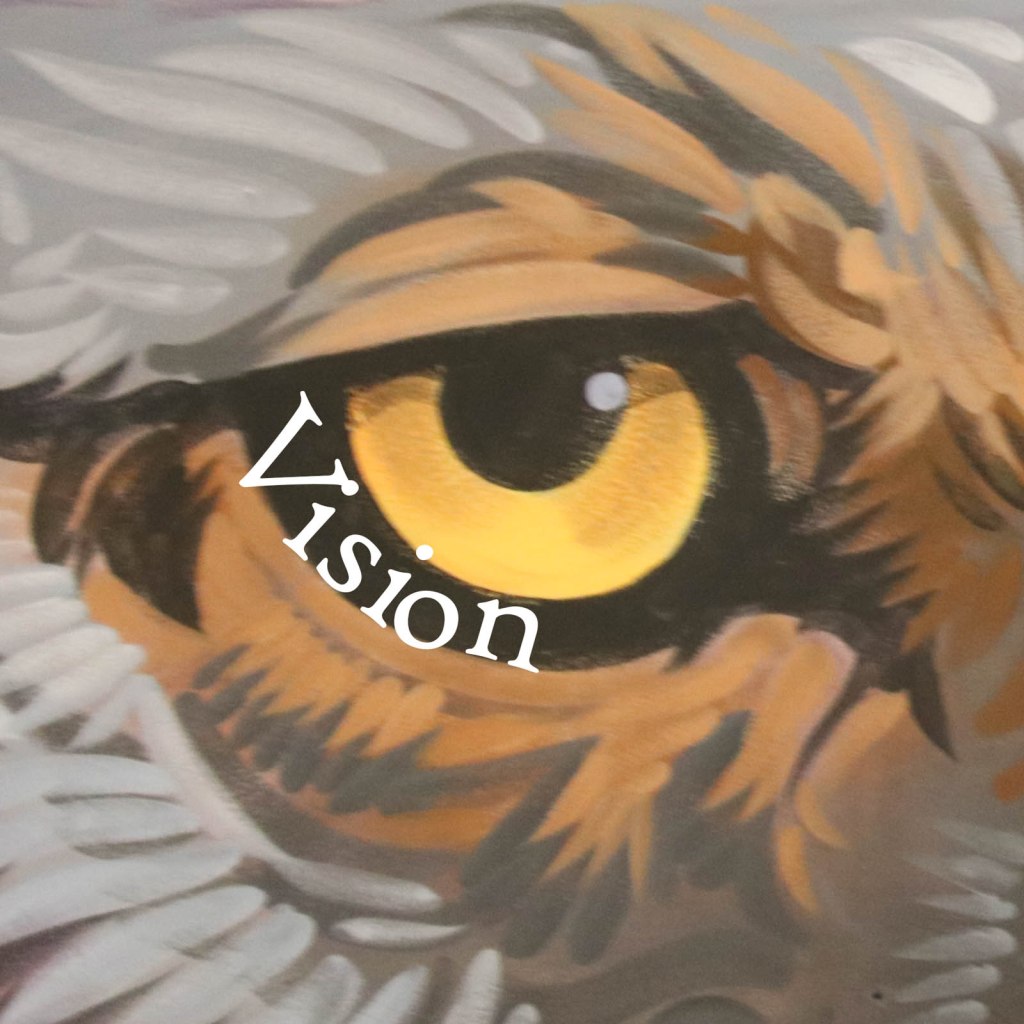
Today you will be turning in your first CD Album Cover Image.
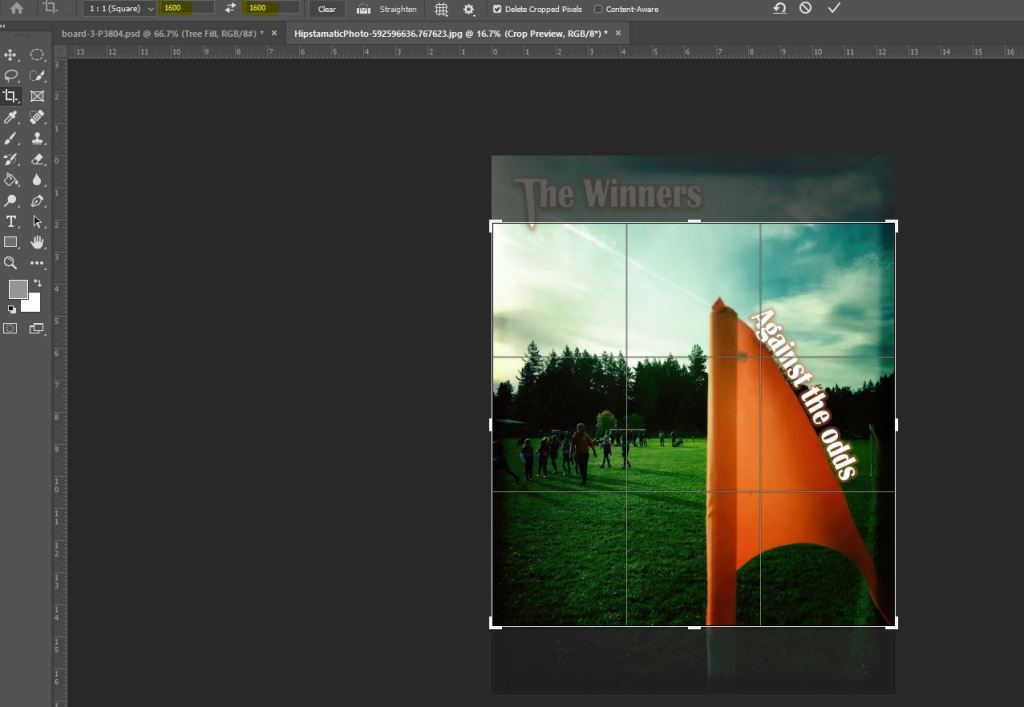
Step 1: Open your photo in lightroom, right lick and choose Edit in Photoshop. In Photoshop, click C to pull up the crop tool. (Pictured.)
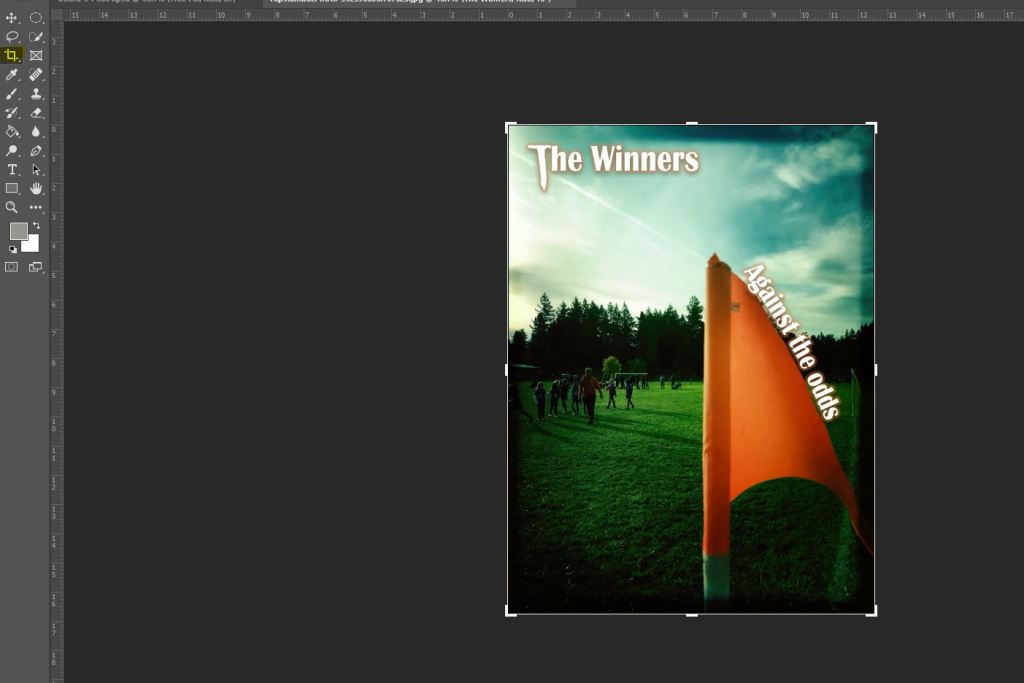
Step 2:
In the two empty fields, put in the numbers 1600 by 1600 (Pictured)
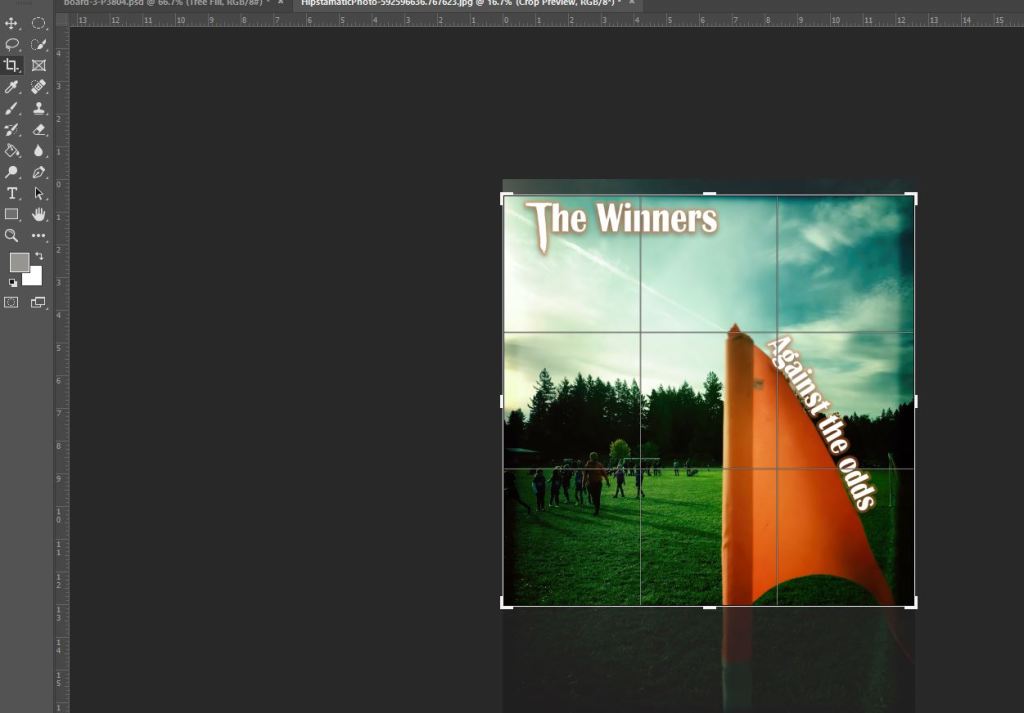
Step 3: You will see a square shaped crop over the image, use your mouse to select the area you want to select,
Step 4: when you are happy with the crop size and area, click on the check symbol. (pictured)
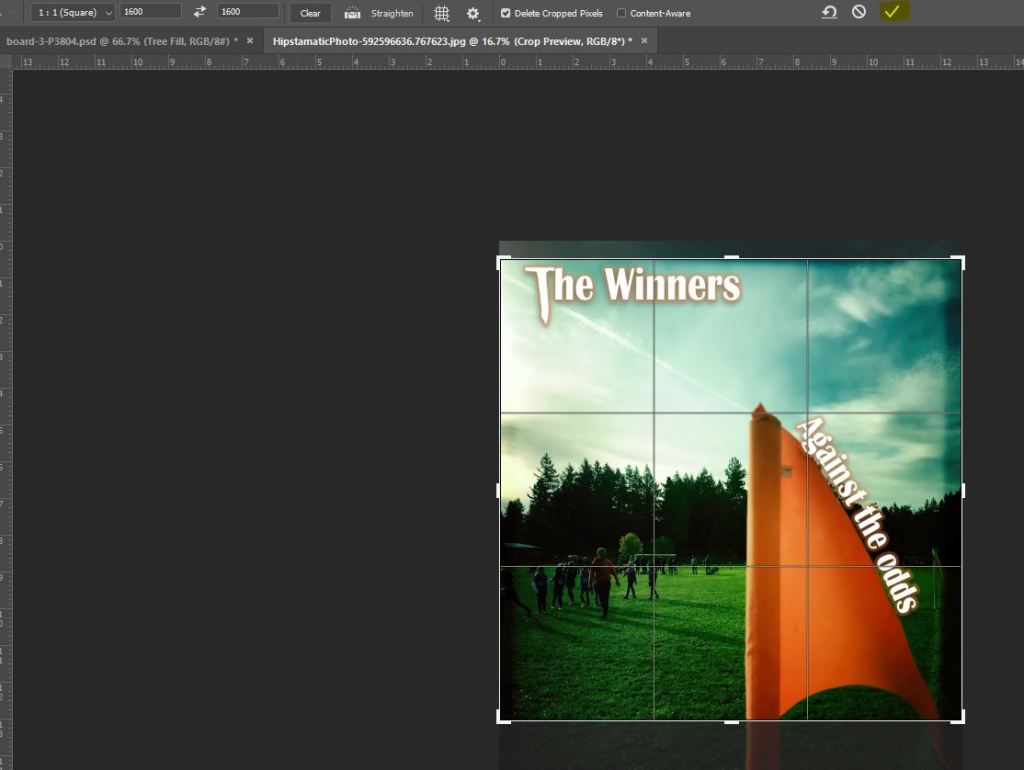
Step 5: Save the image, then in Lightroom, Export the image with these settings. Pay attention to the highlighted text.
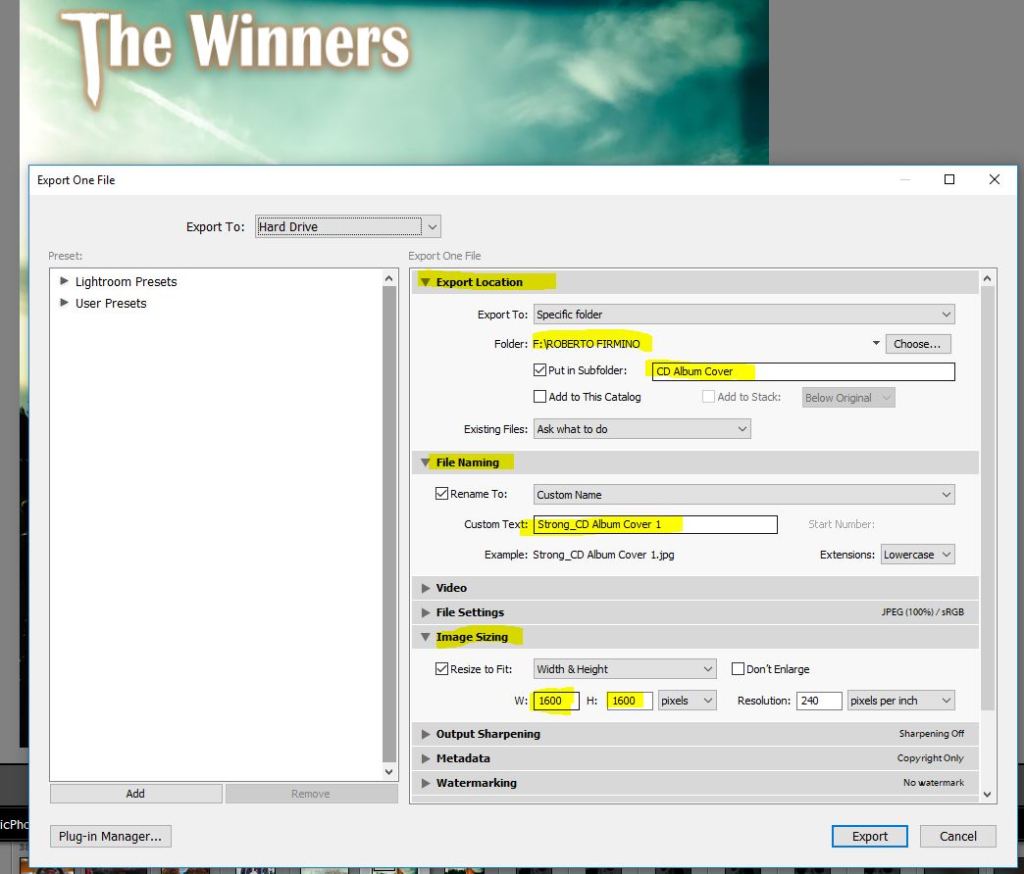
PLEASE ONLY TURN IN JPGS. A TIF FILE WILL NOT DISPLAY IN GOOGLE CLASSROOM.
