
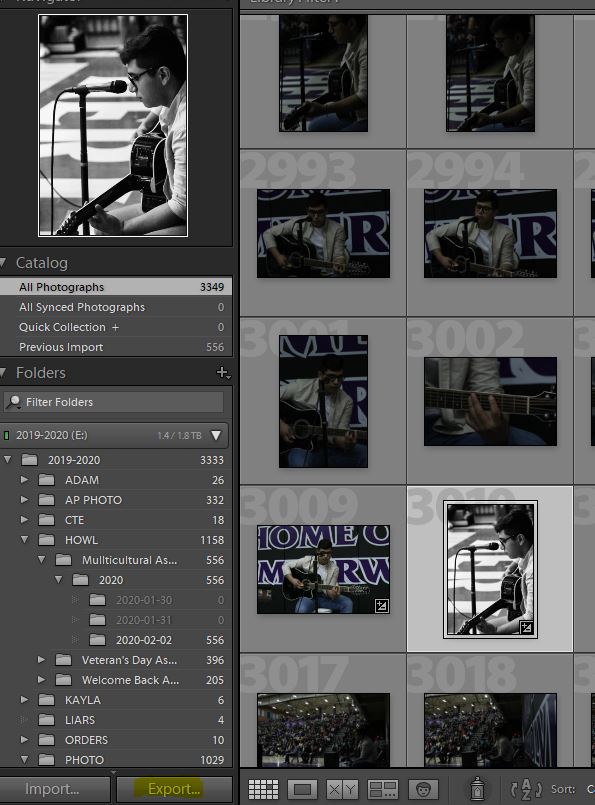
Click on the photo you want to export on the thumbnail at the bottom of the screen. For multiple images, click on the CTRL key and click on all of the files you want to export.
In Lightroom:
- Go to File/Export
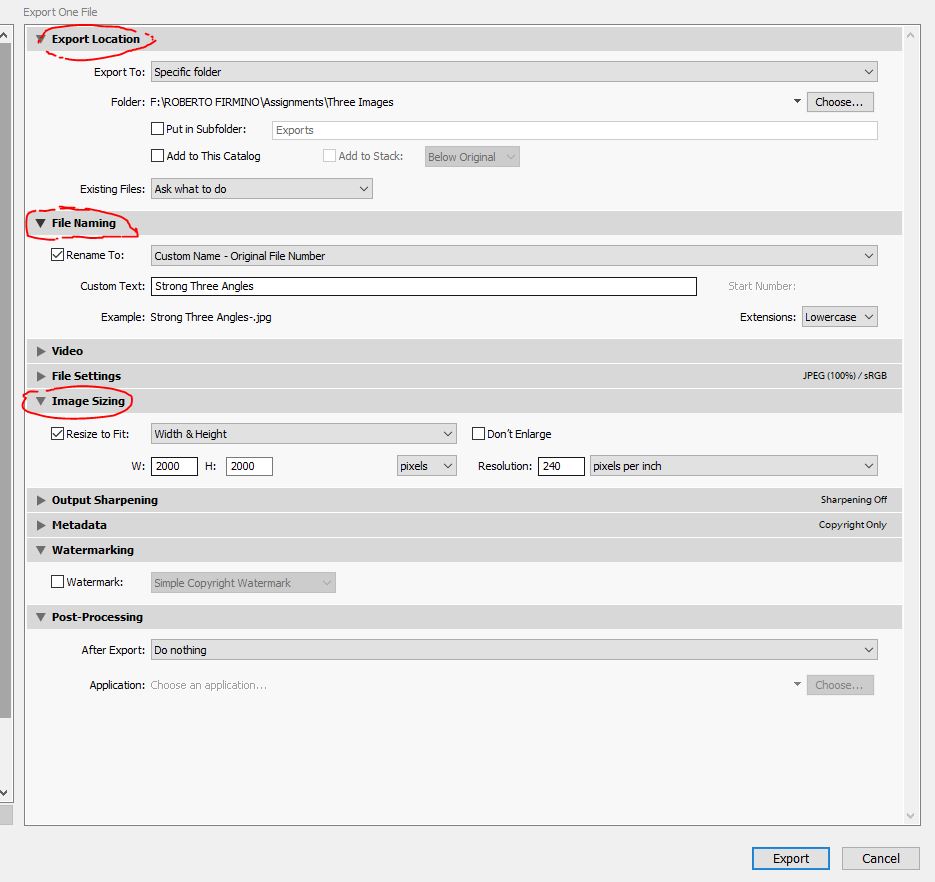
You will see several options. We are only going to change three of them.
- Export Location
- File Naming
- Image Sizing
Under Export Location
Change settings so that your photo is saved
- Click on the drop down menu called Export To:
- To your USER Storage F: Drive. Under Assignments.
Under File Naming:
Choose Custom Name for one photo, Custom Name Sequence for multiple photos.
- Next tp Custom Text write Your Last Name and the name of the assignment
Under Image Sizing.
- Check the box that says Resize to Fit
- Set the width of 2000 pixels and height of 2000 pixels
Then it “Export” + Upload to Google ClassroomPOSTED ONSEPTEMBER 9, 2019EDIT”TO DO LIST FOR 9/9″
In classroom, go to your User Storage F: folder and find the photo you exported, please make sure it is a .jpg and is labeled correctly, LASTNAME_PHOTOCHALLENGENAME.jpg
