Today’s Warm Up: Editing Tips in Lightroom.

A photo I took at the Multicultural Assembly a few weeks back.

Read the article on this link: https://www.digitalphotomentor.com/7-simple-lightroom-tips-improve-photos/, fire up your Visual Journal, and answer these brief questions.

What are the basic editing techniques discussed in these images?

Which technique will be most useful to you for your fun with slow shutter photo?

Which technique is shown on the lower right hand corner of the image I posted that is mentioned in the article?

Post these answers to your visual journal. Save the most useful screenshot from the website to your visual journal.

To Do List for 2/13

Closeup image of notepad with pen.

Learning objectives:

  • I can reflect on how I would work in Light Painting for my Fun with Slow Shutter Speed assignment.
  • I can make my first slow shutter speed photos.

Step by Step:

  1. Check out Today’s Warm Up: How to Create a Light Painting Image.
  2. Make your first slow shutter speed image from one of the sketches you made this week.

To Do List for 2/12

Closeup image of notepad with pen.

Learning objectives:

  • I can correctly identify how to change Aperture, Shutter Speed and ISO on Canon DSLR cameras.
  • I understand the requirements of the new photo challenge, Fun with Slow Shutter Speed
  • I can sketch out an idea for slow shutter speed.

Step by Step:

  1. Check out Today’s Warm Up: Review Exposure Triangle.
  2. Sketch out two ideas for slow shutter speed using the colored pencils and sketchpads.
  3. Make two photos out of those sketches.

Today’s Warm Up: Exposure Triangle

Use the M Mode:

  • To adjust Shutter speed: Wheel on top of camera.
  • To adjust ISO (Light Sensitivity): Press ISO button on top of camera.
  • To adjust Aperture: wheel that says ‘Set’ in the Middle

Look at the drawing up at the top of the screen and the notes on how to change Shutter Speed, Aperture and ISO.

Answer the following questions on your visual Journal.

What Mode do you need to be in when shooting to adjust Aperture, Shutter Speed, & ISO.

What sort of shutter speed do you need to be at in order to create a slow shutter speed image?

What sort of ISO do you want to shoot at for light painting?

What sort of Aperture do we need for slow shutter speed, so that there isn’t too much light coming into the camera?

To Do List for 2/11

Closeup image of notepad with pen.

Learning objectives:

  • I can correctly identify how to change Aperture, Shutter Speed and ISO on Canon DSLR cameras.
  • I understand the requirements of the new photo challenge, Fun with Slow Shutter Speed
  • I can sketch out an idea for slow shutter speed.

Step by Step:

  1. Do today’s Warm Up, Exposure Triangle for Beginners.
  2. Answer questions in your visual journals.
  3. Strong goes over the new Photo Challenge: Fun with Slow Shutter Speed.
  4. Sketch out two ideas for slow shutter speed using the colored pencils and sketchpads.

Photo Challenge #2: Fun with Slow Shutter Speed

All three of these images were created using slow shutter speed.

There are three types of Special Effects you can make with Slow Shutter Speed:
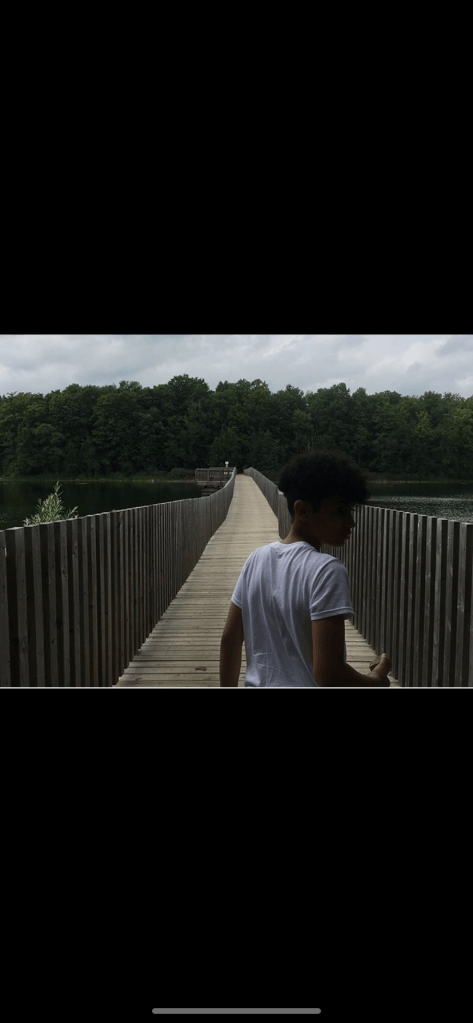
  1. The Slow Zoom
The slow zoom effect is created by placing the camera on a tripod, having a shutter speed of 3-5 seconds, and slowly zooming in the entire time.
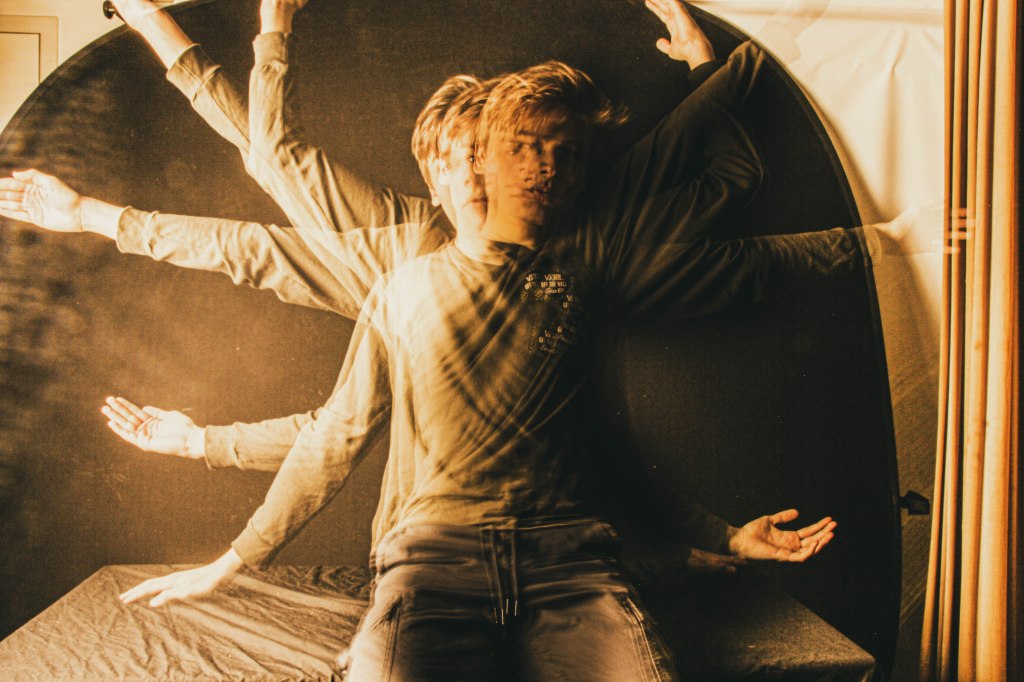
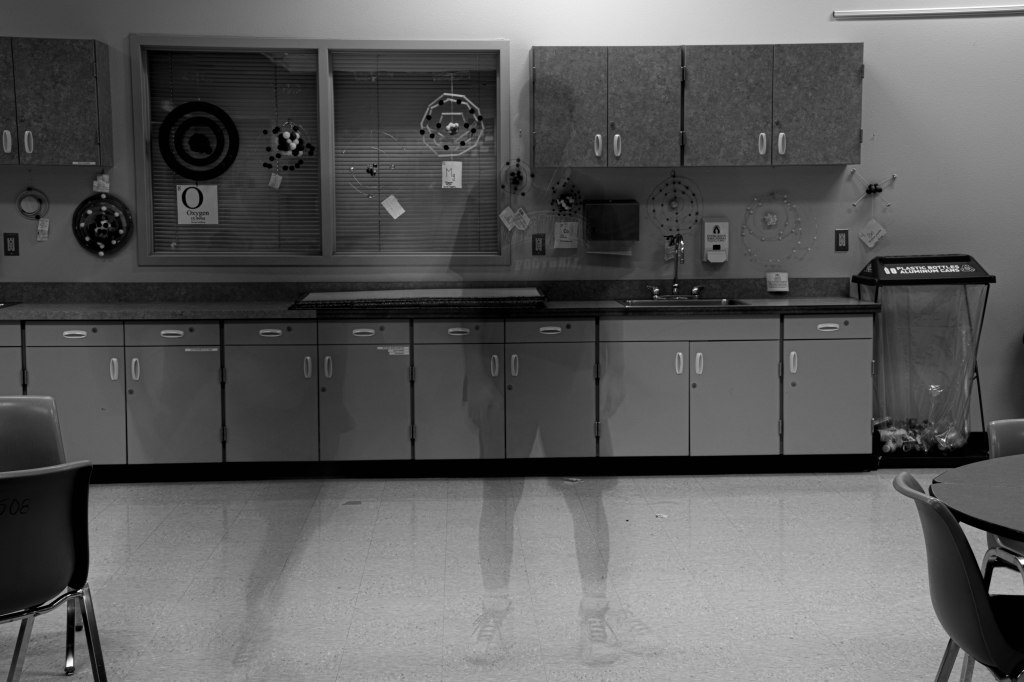
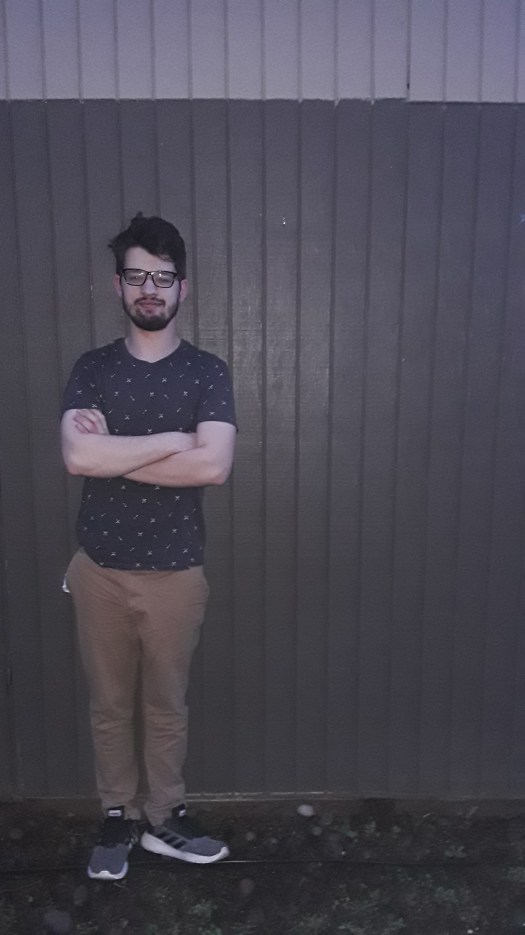
2. Ghosted Image

A ghosted image can be created by placing a camera on a tripod and setting the shutter speed to 2-3 seconds, having the subject stand still for 1-1.5 seconds, then jumping out of the frame.
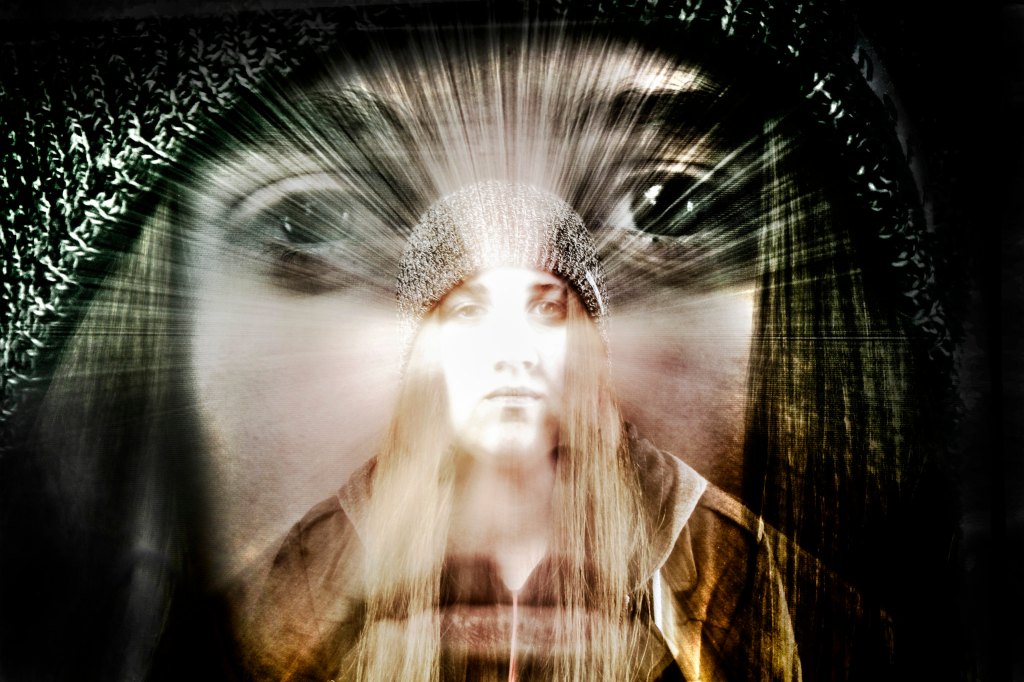
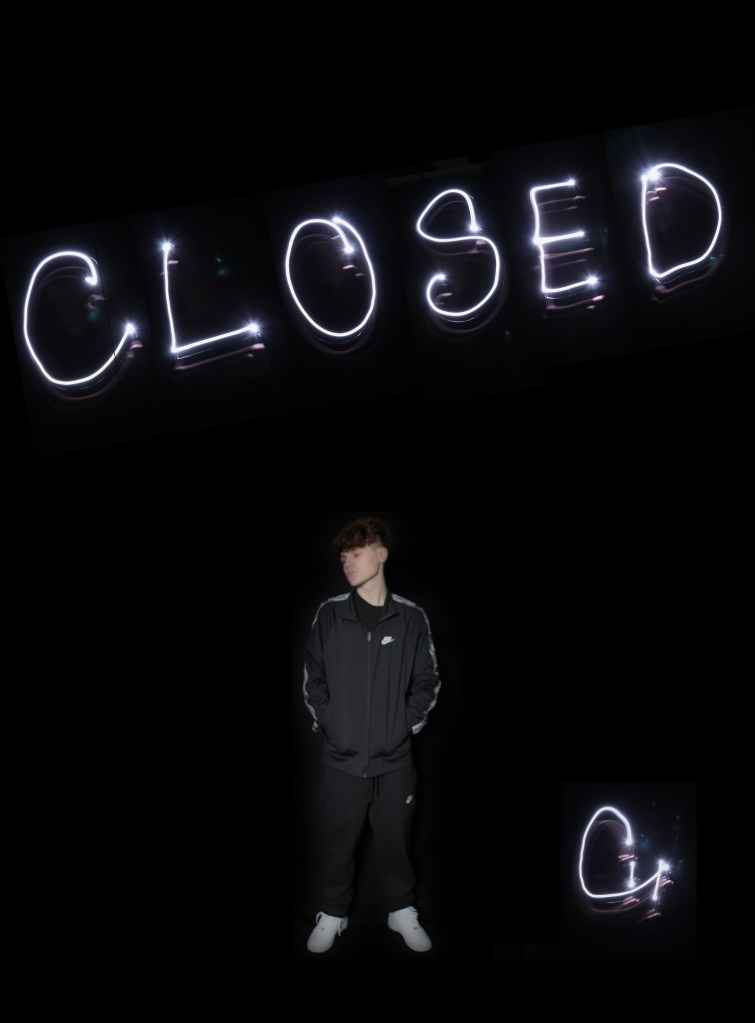
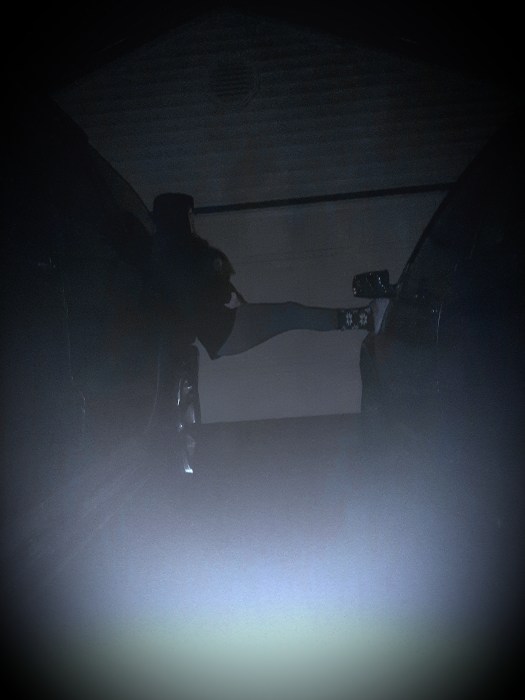
3. Light Painting

The light painting effect can be created by having a longer shutter speed, like 4-6 seconds in a darkened room, almost black. Move your phone around with the flashlight on. This image is a composite, meaning that each letter is a different image that was combined in Photoshop, then he added the portrait of himself at the end. so this image consists of 8 images.

Step One: Choose an effect you wish to create.

Step Two: Sketch out your idea, be as specific as possible.

Step Three: Grab a tripod! Without stabilization, you will just get a blurry mess.

Step Four: Make your photos.

Step Five: Transfer the images into lightroom.

Step Six: Tweak any of the settings like exposure, contrast, color, etc.

Step Seven :Export your best one as LastName_Slow_shutter.jpg

Final Image is due on Tuesday, 2/18.

What I’ll be grading you on.

  1. Originality of Idea. Don’t just include the effect, have a person interacting with the effect.
  2. How well you pull off the slow shutter speed photo.
  3. Final editing in Lightroom.

Today’s Warm Up: Exposure for Beginners

After watching this video, pull up your visual journal and answer these questions:

  • What is ISO and how does it affect your images? What is the downside with ISO?
  • What is aperture and how does it affect your images?
  • What is shutter speed and how does it affect your images?

Troubleshooting:

What should you do if your images are too noisy?

Where can you find the light meter on our cameras?

To Do List for 2/10

Closeup image of notepad with pen.

Learning objectives:

  • I can evaluate my classmates Mi Familia photos.
  • I can turn in a link to my visual journal that has my photos and the online examples with one sentence definitions.
  • I can verify that I turned in the link correctly.

Step by Step:

  1. Start with today’s warm up, Voting on Mi Familia Photos.
  2. Turn in a link into Google Classroom that has your visual journal entry where you post your 7 photos and 7 online examples with one sentence definitions for your Composition Scavenger hunt.
  3. Project is due on TODAY, before the end of the period.

Today’s Warm Up: Photo Challenge Voting: Mi Familia

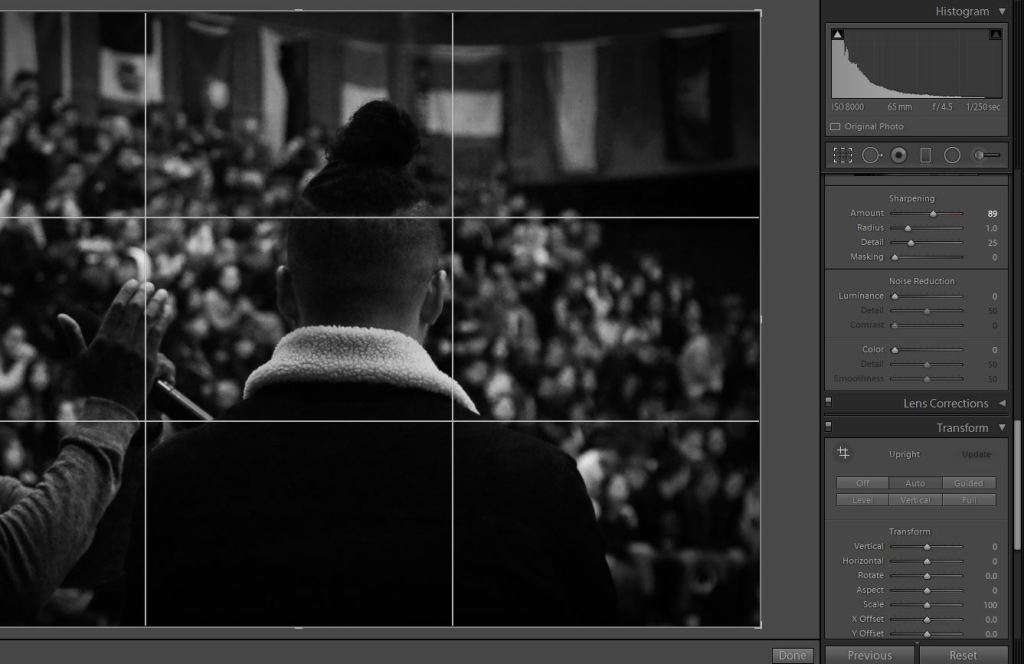
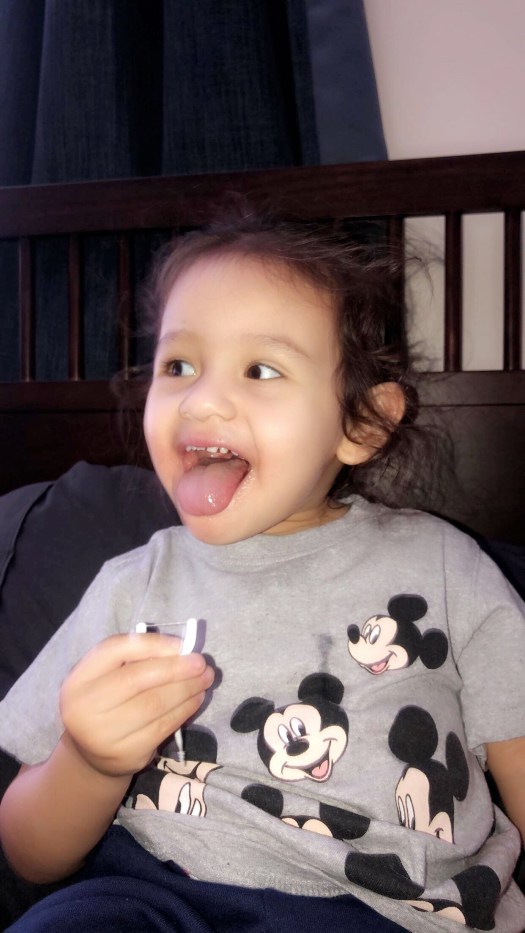
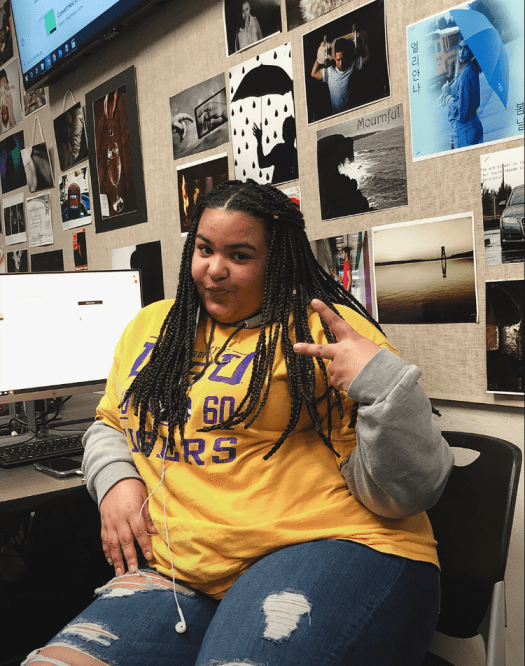
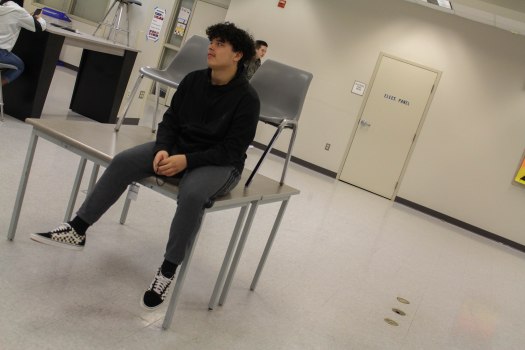
Here are the Mi Familia photos! Take a moment, choose your favorite image based on the way the photographer placed, or composed the subject in the frame. Think about what you learned last week with the composition Scavenger Hunt.

Choose your three favorites, then pick your number one ,save the image to your User Storage folder, upload it to your visual journal and write a paragraph about why you like the photo. Use the composition techniques you learned about from the Scavenger hunt last week.

Design a site like this with WordPress.com
Get started