For your final, you will write several posts to your Visual Journal. This is where the portfolio starts to shine.
Post 1: The Ten Best Images you took this semester together in a collage.
Post 2: The best image you took this semester and why you chose it as your best.
Post 3: A picture of you, and a statement about what you care about the most about your work, and the world.
Post 4: A final post about what you learned in this class, and what you’ll miss.
Post 5: A picture that represents your future and what that might look like for you.
Publish the posts, update the turn in link if it requests it.
This assignment will have the same grading value as the other post school closure assignments. I encourage you do to it, but not doing it will not hurt your grade any.
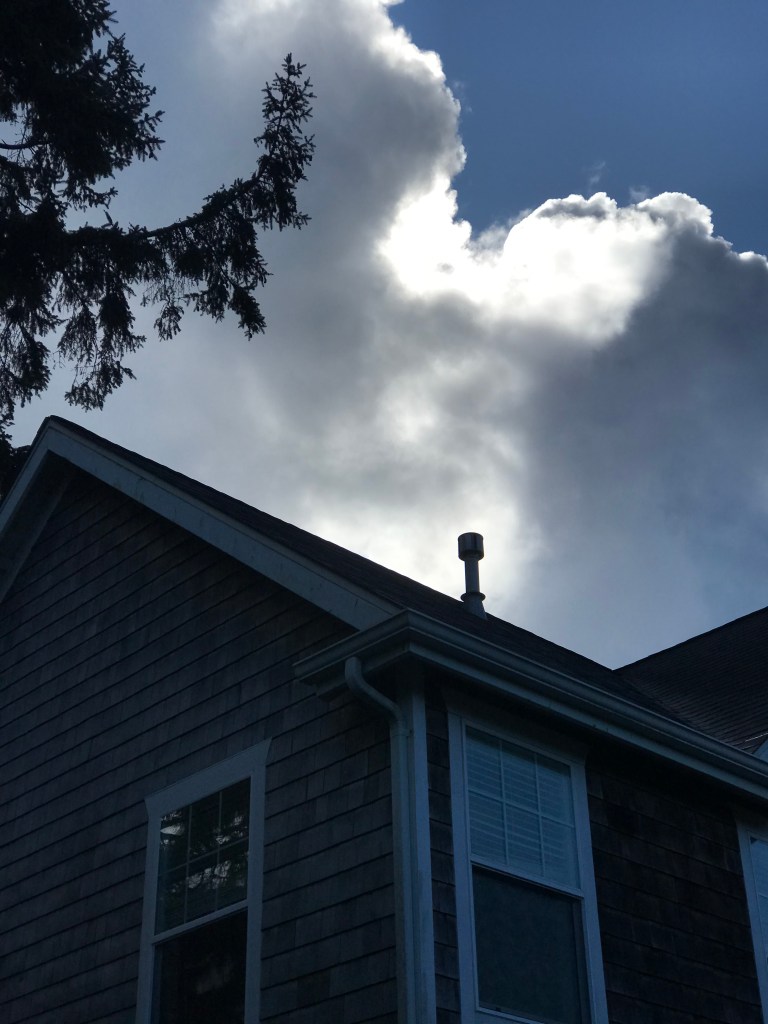
For the next two weeks, we’re gonna get funky with Windows and or Openings. Windows these days are the view through which we see the world. So much to a window, so much in transitioning between the inside and the outside worlds.
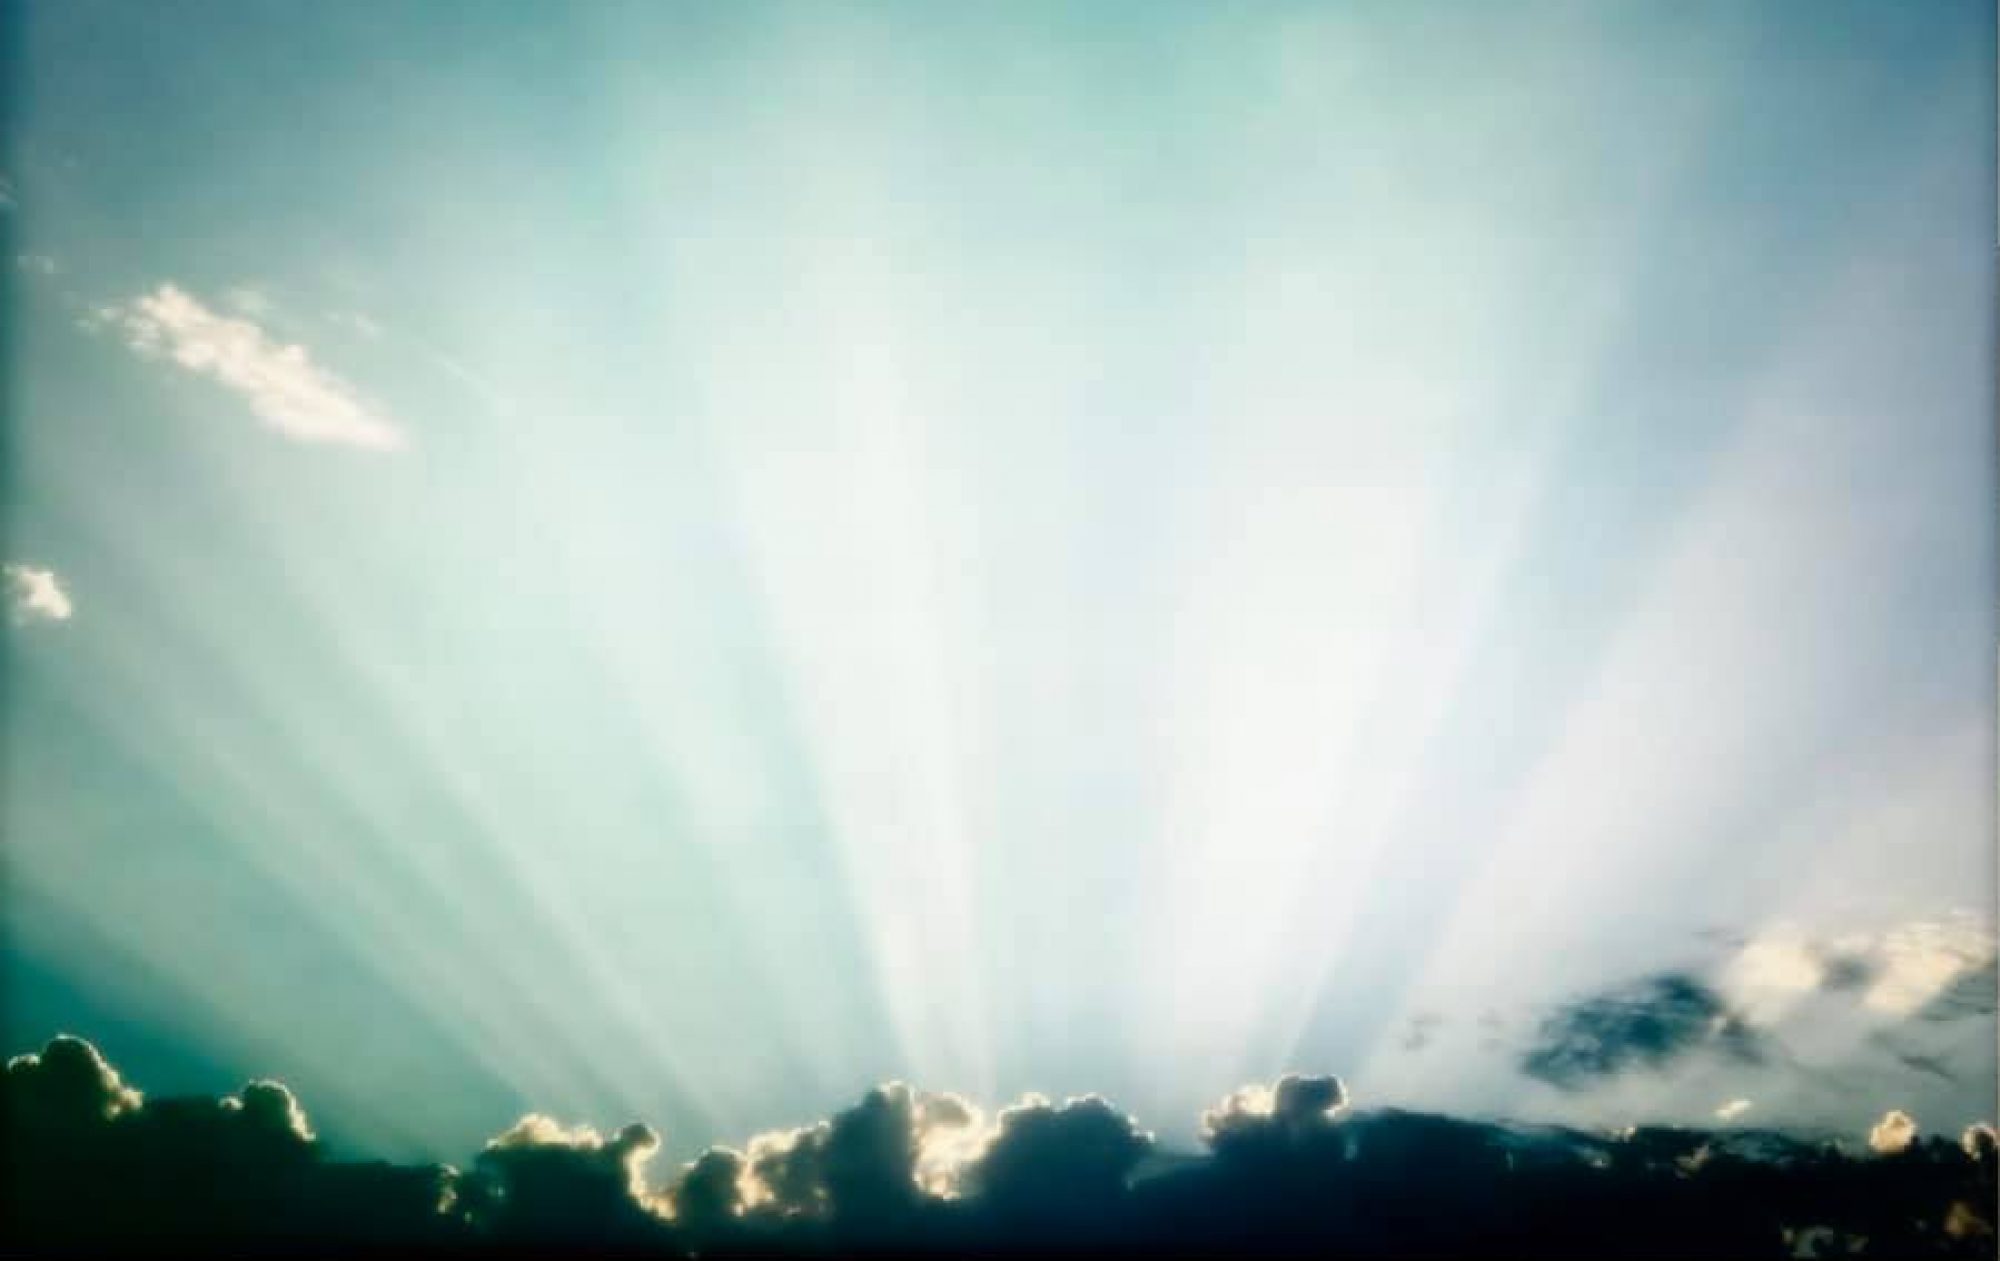
Reach for the Rose – Photo by Strong
We’ll make two photos that explore windows or openings from a fresh perspective. This is a great time to use selective color or selective focus or selective contrast, Here’s how to do it in Pixlr. make the inside world literally different by applying layer masks to just those areas that you want to change
On the Run – Photo by Strong
Two windows or opening photos will be due on June 2nd
This week we will be looking through our photos and photos (and artwork) that are in the public domain and combining them in order to create a collage.
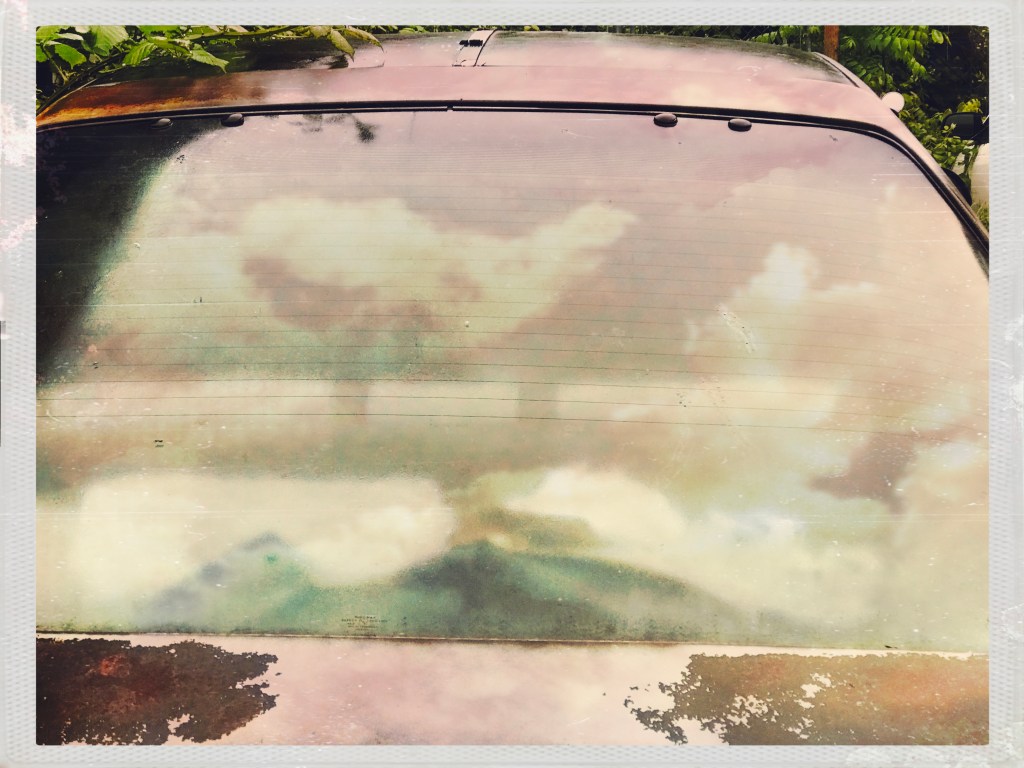
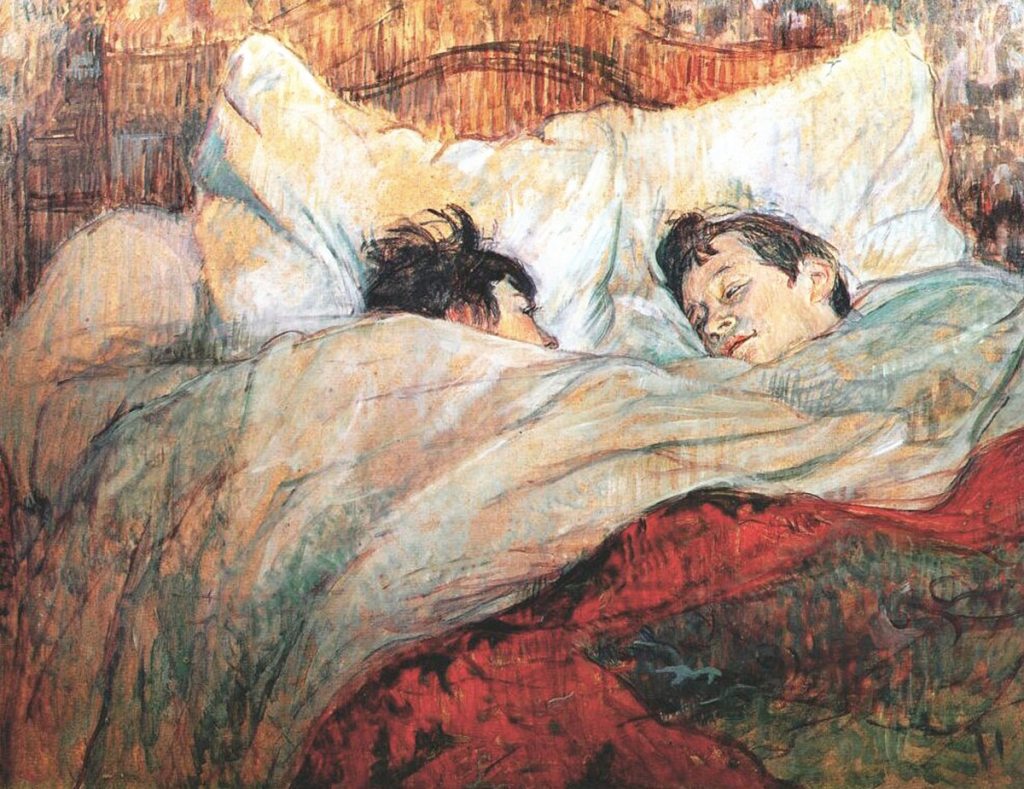
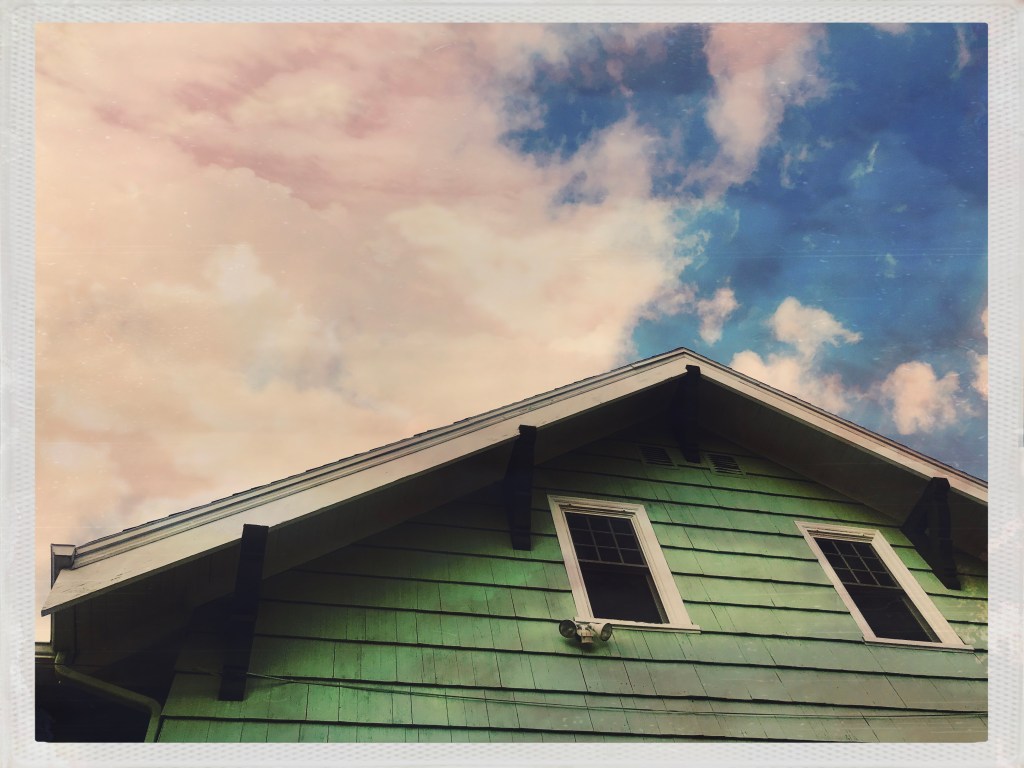
I combined the work of Henri Toulouse a la Trec and my own image of a house and combined them. I saw the similarity between my sky and the surface of the pillows in the painting.
Two more examples, the first one was taken on Sand Island, the other is a painting of a doctor during the last pandemic, in 1917. Finally, I selected the cloud and doubled it using the warp tools to combined them. I blended the paintings of Krakatoa and placed it in front of a photograph I made yesterday of the sun.
So for this new assignment, we will be using some public domain collages.
What the public domain means is that you have the right to download use and alter any image you find. You just can’t save an image and use it without the artist’s permission, but you can with images that are in the public domain.
These sites are great for browsing and figuring out what the look and feel of the collage would be.
Step 1: Download 5-10 images that speak to you in some way. What connections could you see to other images? Step 2: Make a folder on your computer/chromebook that has all of these photos.
Step 3: Take these photos into your favorite image editor. Step 4: Start poking holes in them. Make selections, erase a part of it, what would go in the holes.
Step 5: See above for the photos I made with the public domain images. Step 6: Bring in photos you have made into your editor. Step 7: Work to bring these two different images together in some way.
Make two different collages. Turn them into Google Classroom as two separate .jpg images. Post the two photos, yours and the public domain images on your visual journal. Turn in the visual journal entry describing how you made these images along with the two .collage jpgs.
Two collages are due on Monday, 5/18.
Public Domain Free Creative Commons Images · Vintage Illustrations | rawpixelPublic Domain Free CC0 Images & illustrations in High Resolution. We are sourcing and digitally enhancing thousands of antique books and chromolithographic plates to unlock the inspirational design treasures of the past. As part of our commitment to give everyone access to the best public domain creative resources we are making these high …www.rawpixel.com
Free to Use and Reuse Sets | Library of CongressThese sets are just a small sample of the Library’s digital collections that are free to use and reuse. The digital collections comprise millions of items including books, newspapers, manuscripts, prints and photos, maps, musical scores, films, sound recordings and more. Whenever possible, each collection has its own rights statement which …www.loc.gov
This week you will take the written piece you wrote to go with your three images and refine it. Our goal is to create something someone would want to read in a magazine.
Revision Checklist:
Read the piece to yourself out loud. You will catch any mis worded statements or fragments. Does the voice of the piece of writing sound like a person talking?
Do the images line up perfectly with the images? Can you locate where the images match up with your writing?
Does the piece of writing tell a complete story? Do. you have one moment where we can touch, taste, hear, feel, smell, what is happening?
Do you have a balance of scene and summary?
Get closer to your images by really describing what you see in the images and have that be what is the written piece.
Check for grammar and spelling. “I” is always capitalized.
Make the text double spaced, use a serif font like Times New Roman or Garamond.
Do the images need to be edited so that they match more with the written content?
Turn in the three images as separate .jpgs. Turn the written piece in as a Google Doc.
Take your favorite three photographs you made this semester and a piece of micro fiction of up to 500 words. We will do two different drafts, one is a rough draft, and the 2nd will be nice and polished, the kind of thing someone would want to read in a magazine.
How will the three images fit together, that’s up for you to decide, you are the storyteller, you get to be the one who calls the shots.
What is micro Fiction? A story containing less than 300 words. But it’s not exact, so 500 words in about the length of a micro or piece of flash fiction.
Don’t try to tell a huge 200 page story in 300 words, focus instead on the three moments contained in the three photographs.
For these three images, I see a car ride, maybe three different moments of a larger story, that’s all I’m going to write about.
Image 1, the car.
We where there, in masks and whigs, and sunglasses on a gray Portland afternoon. The salesman was on the other line. They didn’t stop to notice, the heaving bag of cash, the little dollar bills taking off in the wind that Dorothy was able to rein them back in and that we got as far as Nebraska without stopping was indeed some kind of miracle.
I let the image of the red car tell me the story it had to tell. I was patient, not rushed, that car had things to tell me, all I had to do was listen.
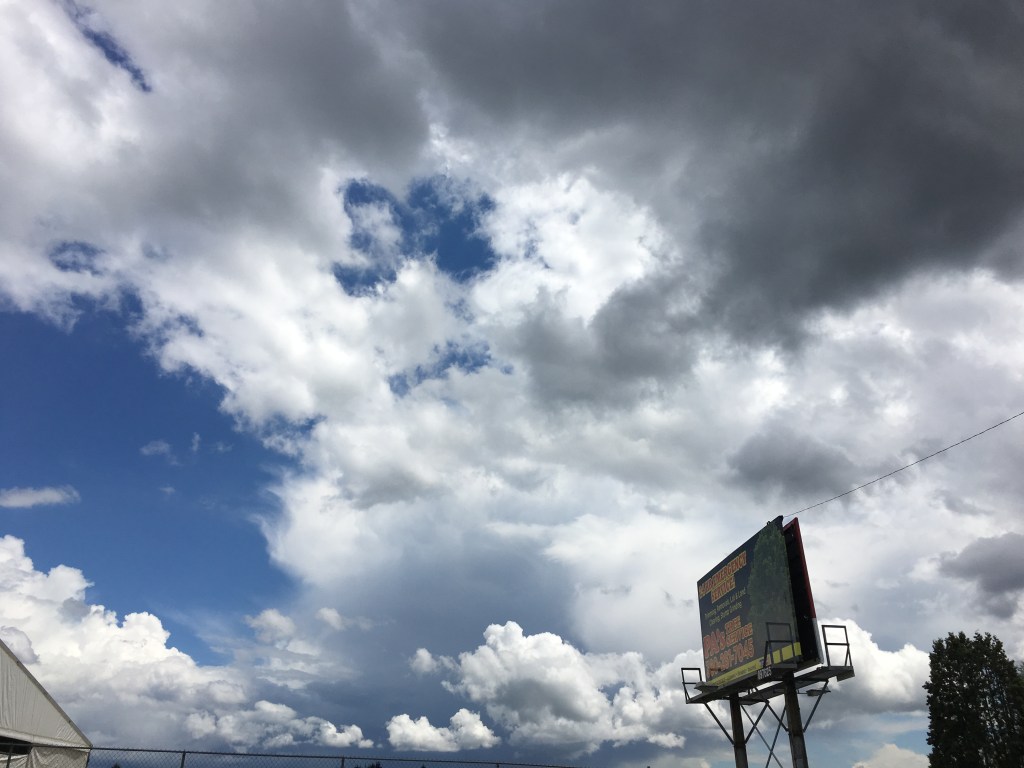
Image 2, the Billboard
We got as far as Kansas until the clouds came in. Big thick dark ones with fat rain drops. Too wet for the convertible. Of course the sales guy didn’t tell us we had a rip in the canopy. Hard enough ratcheting it up in the middle of a downpour. And yeah you are gonna say I am dumb that I more dollar bills flying out the window, providing the world’s easiest breadcrumb trail. We were tired and hungry, even if we were soaking wet, we weren’t gonna stop until we got West.
I looked at the photo, I let it tell me where we were, that our characters had made it out of the car dealership, they were on the highway and the clouds looked like rain.
Image 3: A field in the sunshine.
We broke down, that’s the long and short of it. That dinky convertible’s transmission was burned up before we hit California. So we were out West all right, it was somewhere in the middle of Oregon that we stopped. Had to push that car into the fields, far enough away to where the cops would never find it. We slept in the tall reeds, and the sun came up that next day. And we had a cup of day old coffee and one stack of bills that would last as long as it took to get to ocean, where we could slip off a beach somewhere, where we could float forever.
I wasn’t thinking of the ending exactly, but an ending did come to me. Of course they could still get caught. We don’t know what will happen to them, but we know what they want, and at that point int he story, that’s all we get to know.
Your story doesn’t need to have a resolution in it’s ending. Real life often doesn’t have resolutions, just new days, and new chapters.
Take three of your images and make a story out of it.
Write the story using Google Docs, it will make the editing easier.
Add the three images to your Google Doc.
First draft is due on May 1st. The 2nd Draft is due on May 8th.
Step 1: In your visual journal, write two paragraphs, one where you tell me who you were before Quarantine. What part of you has changed, what do you miss, what did you take for granted before? This will be your first paragraph.
Step 2: In the 2nd paragraph, tell me how you see yourself when this is over. How will you have changed? What will you do different? It might take some time for these answers to come to you. Who you will be could be unknown to you now. What is your idealized self after all of this is over. What new superpowers will you have: Will you be more patient, a better listener, appreciate your family over. Or will you simply go back to reality as if nothing had happened?
Step 3: Take an image that represents what you have written in the first paragraph. Edit the photo to make it look like how you felt, what it was like back then.
Step 4: Take an image that represents what you have written in the 2nd paragraph. Edit the photo to make it look like how you will be when this is all over.
You can put one next to the other, or make two separate images, one from paragraph one and one from paragraph two.
Two photos and a link to your visual journal containing the two paragraphs is due on April 27th.
For this week’s assignment, you will tell me a story from childhood using objects you have around your house. You can ask your guardian about a story when you were younger.
Do a write up about the story. You can include how you learned about the story, the set up, who told you, when did they tell you. How did they tell the story.
The four pictures should attempt to retell the story. Let’s say the story is about a kid who runs behind the easy chair when a scary segment played on sesame street.
I can take a picture of the chair, of the Tv, of where I stood with my face buried behind the chair. I can use the images to retell the story, I can put the words to the story next to the images on my visual journal.
Step 1: Figure out what story you want to tell. Write down as many details as you can remember about the story. The more visual your memories, the easier it will be to make photos from them.
Step 2: Write your story out in paragraph form. Spell check the story, make sure there is enough visual detail to tell your story.
Step 3: Plan out your shots. Remember you are sharing a story from when you were younger, so you can place the camera at an angle that a child would see the world from.
Step 4: Edit the photos to make them seem more like memories, desaturate the image, use selective color, make them look dreamy, add dust and scratches, etc.
Step 5: Put the photos and the story together in your visual journal.
Step 6: Upload all four photos to the assignment post in google classroom.
Step 7: Publish the link to Adobe Spark and place a link in the assignment post in google classroom.
Step 8: Realize that ll of life is this way. Making art out of your life is a life long pursuit. You can do this forever if you want. Also, you get to tell the story. It belongs to you.
Four photos and your story are due on Friday, April 17th.
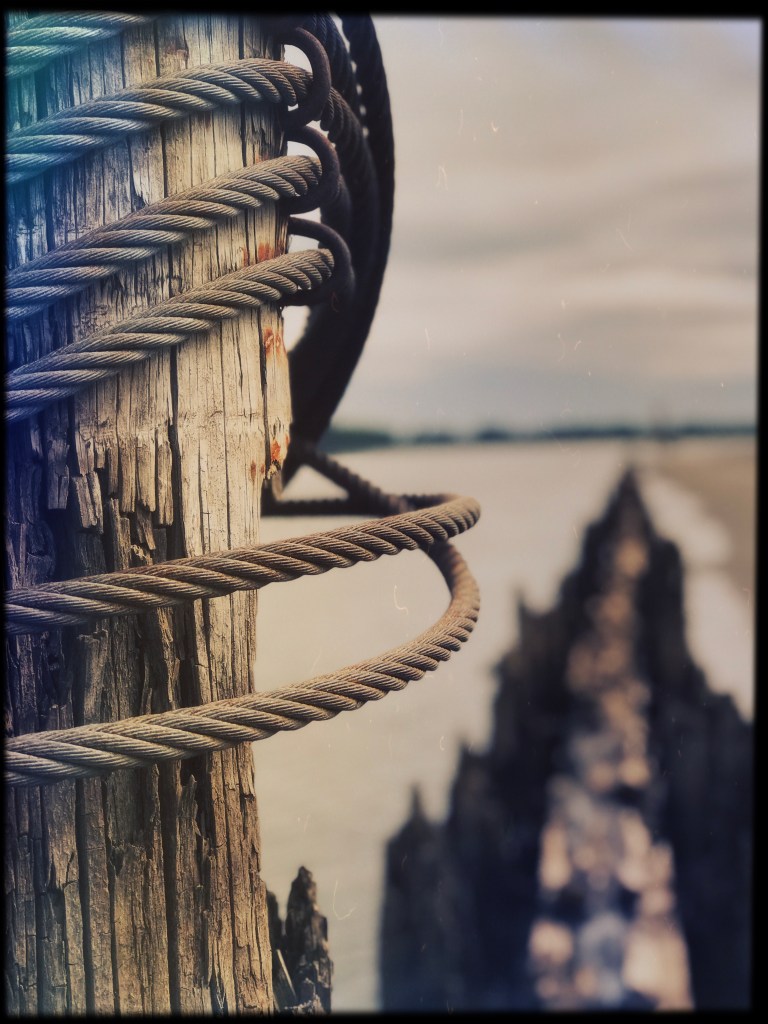
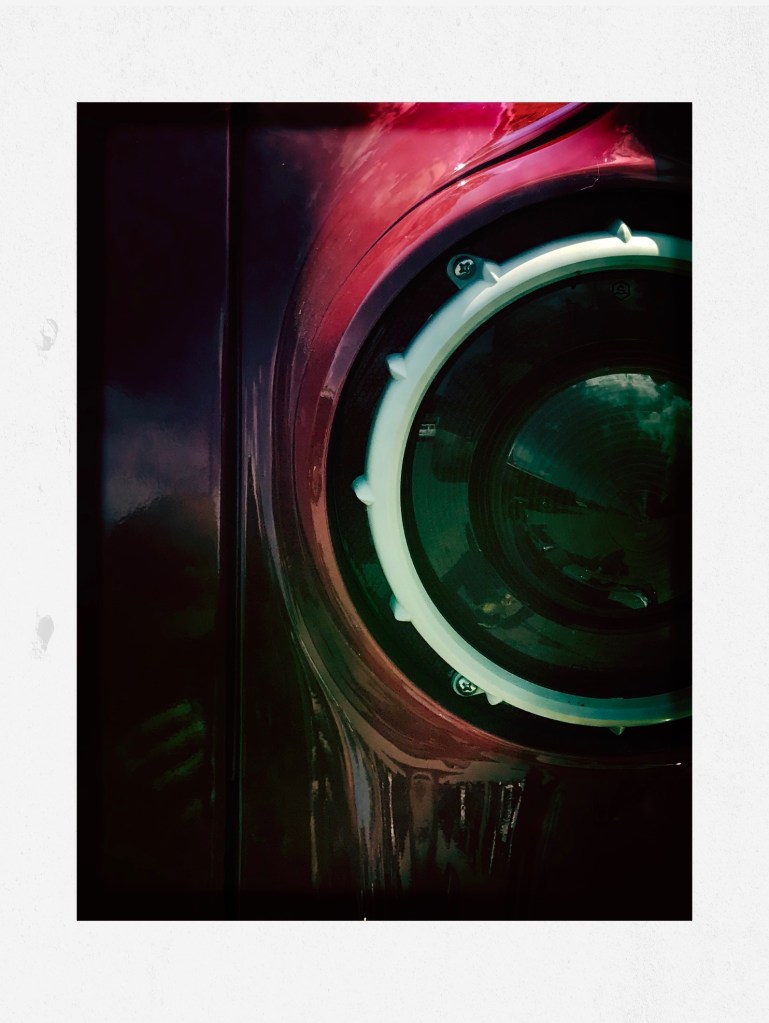
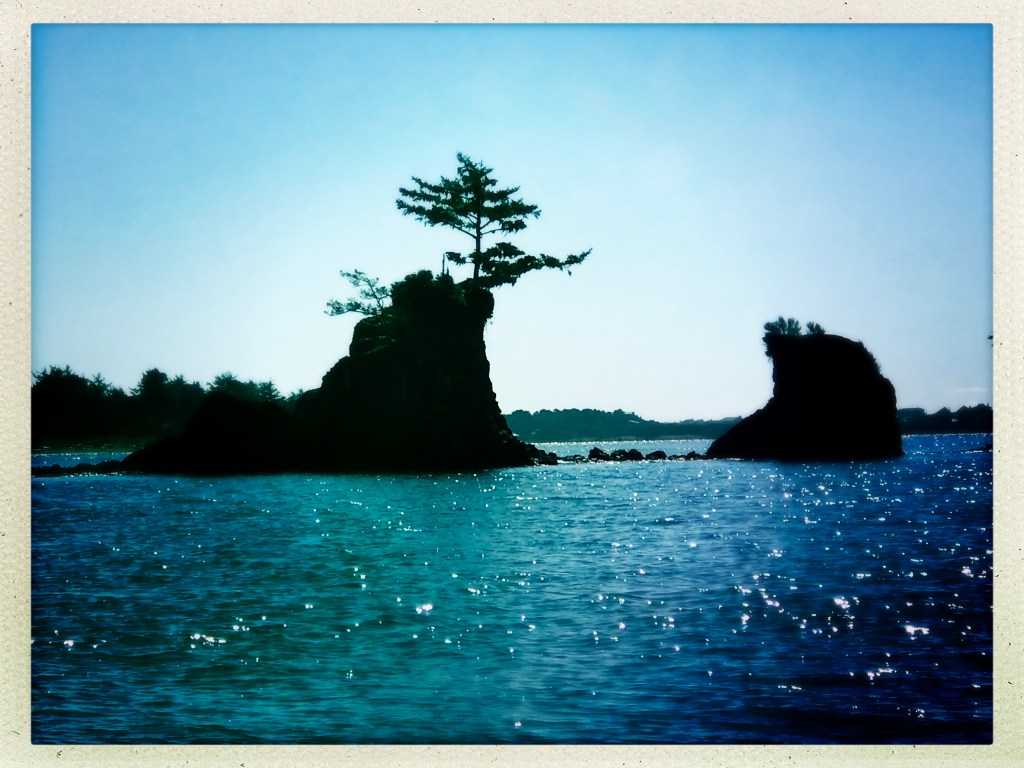
What’s unique about the portrait mode is that’s ability to show the depth of field in an image. We learned about Depth of Field when we learned about the exposure triangle back in October. We change depth of field on a DSLR by adjusting the aperture, or the FStop setting, the opening in the lens and how large or small it can be.
Your phone doesn’t have a mechanical aperture, but it does have a sensor like a camera, and that sensor can be manipulated to adjust the amount of focus The Portrait mode is a way of doing that.
Attached are some examples I shot during the last few weeks using the portrait mode.
Make two photos that use the portrait mode and turn them in as jpgs to this post.
Tips:
Choose a subject with a lot of depth, go for a walk, practice the six feet away from people rule. Find a street corner, the side of your house, a tree with a road behind it. Think about how you are going to frame your subject. What happens when you click on the subject, what part of the image is in focus. What happens when you click on the background, what part of the image is in focus?
Two different subjects, two different pictures.
If you have a computer at home, you can download photoshop once you log into adobe.com with your school email and password. Same with Lightroom.
If you don’t have access to a computer, and are using your chromebook, you can use the following apps to edit photos.