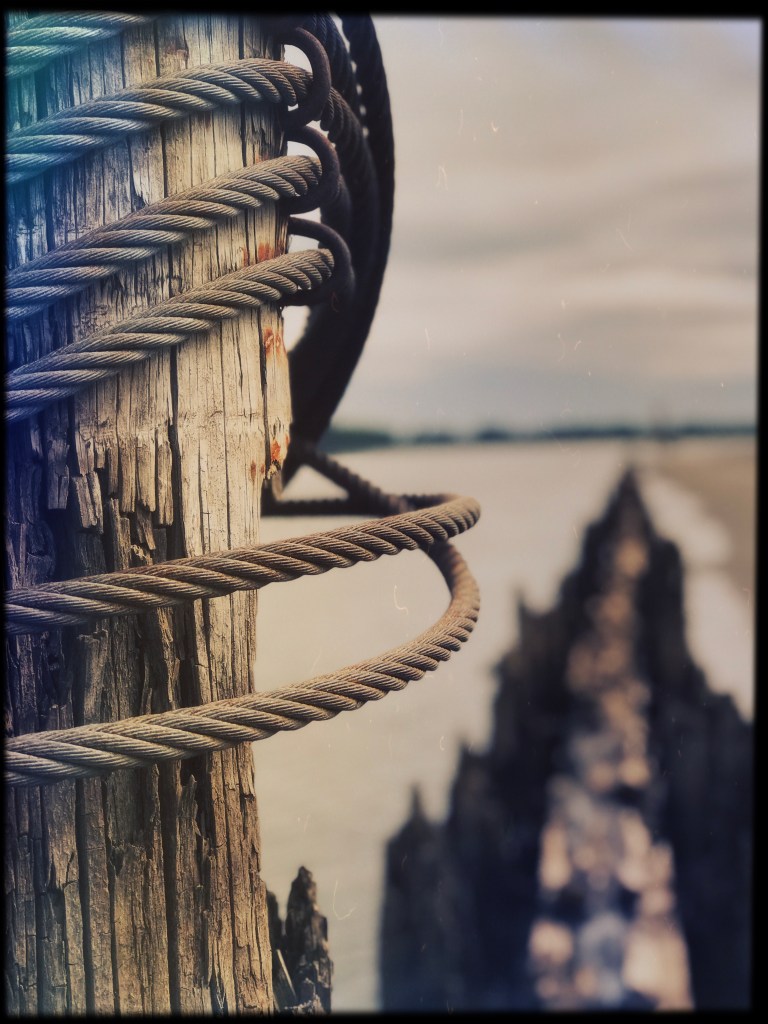
For the next two weeks, we’re gonna get funky with Windows and or Openings. Windows these days are the view through which we see the world. So much to a window, so much in transitioning between the inside and the outside worlds.
Reach for the Rose – Photo by Strong
We’ll make two photos that explore windows or openings from a fresh perspective. This is a great time to use selective color or selective focus or selective contrast, Here’s how to do it in Pixlr. make the inside world literally different by applying layer masks to just those areas that you want to change
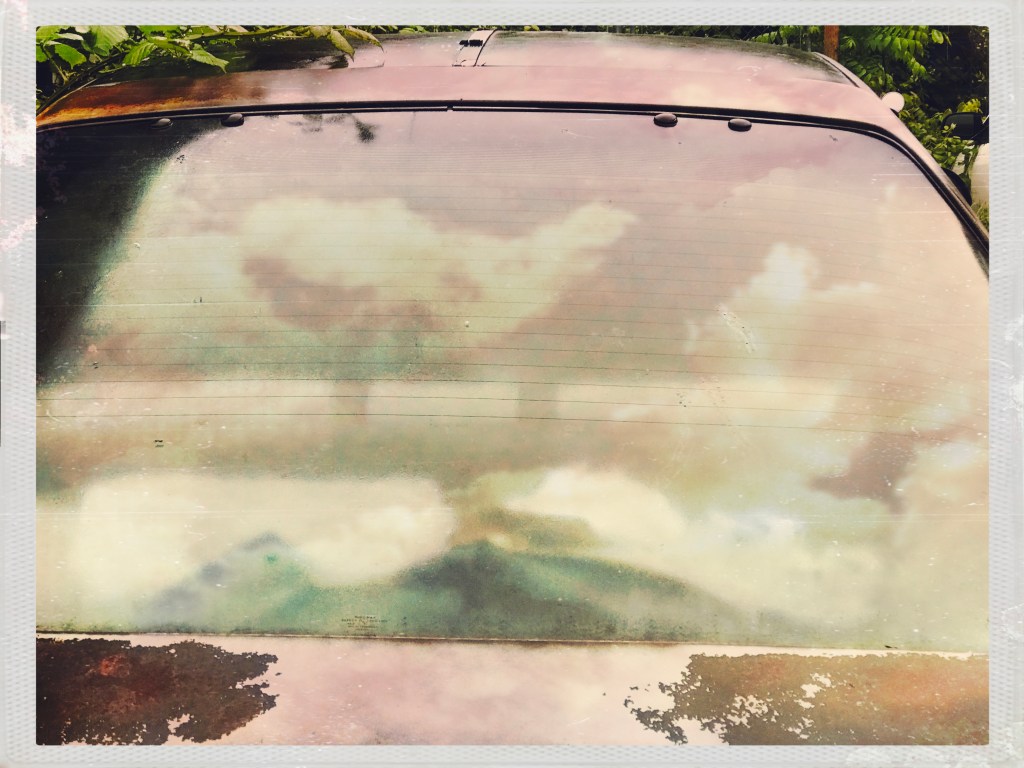
On the Run – Photo by Strong
Two windows or opening photos will be due on June 2nd
This week we will be looking through our photos and photos (and artwork) that are in the public domain and combining them in order to create a collage.
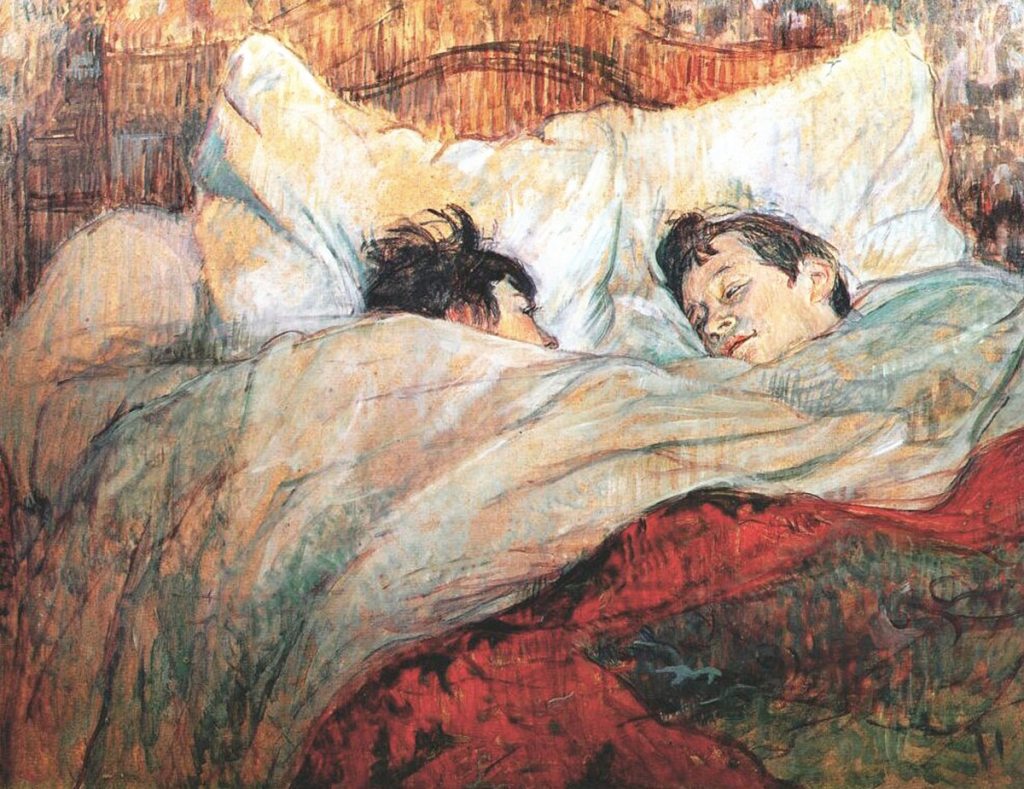
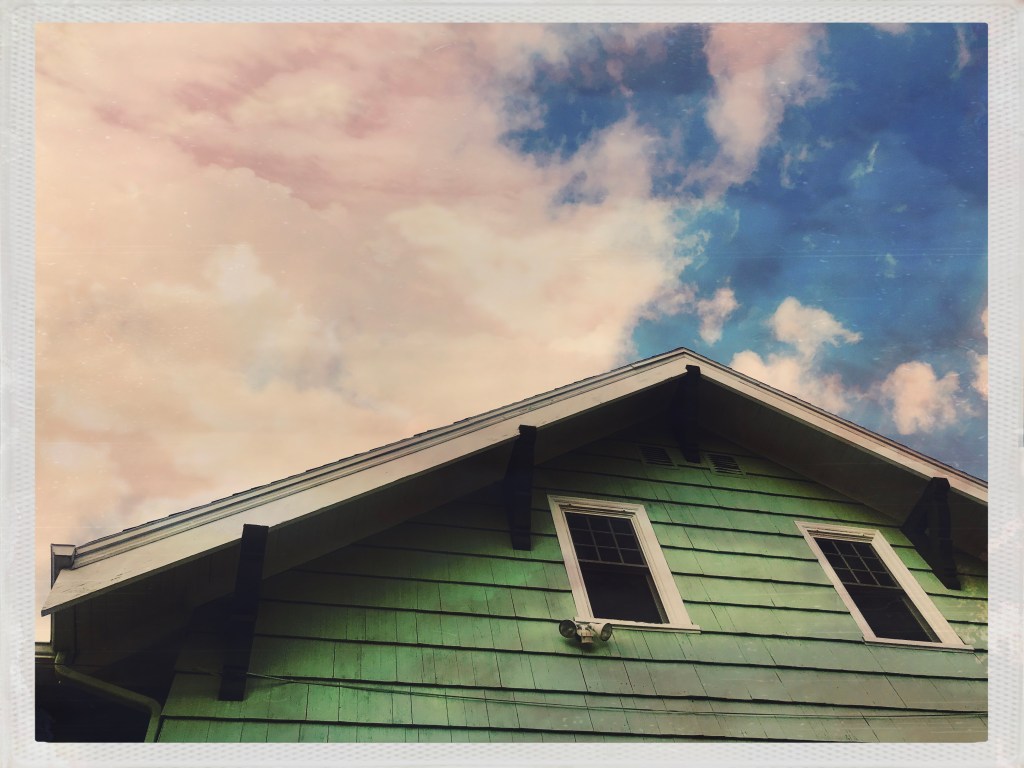
I combined the work of Henri Toulouse a la Trec and my own image of a house and combined them. I saw the similarity between my sky and the surface of the pillows in the painting.
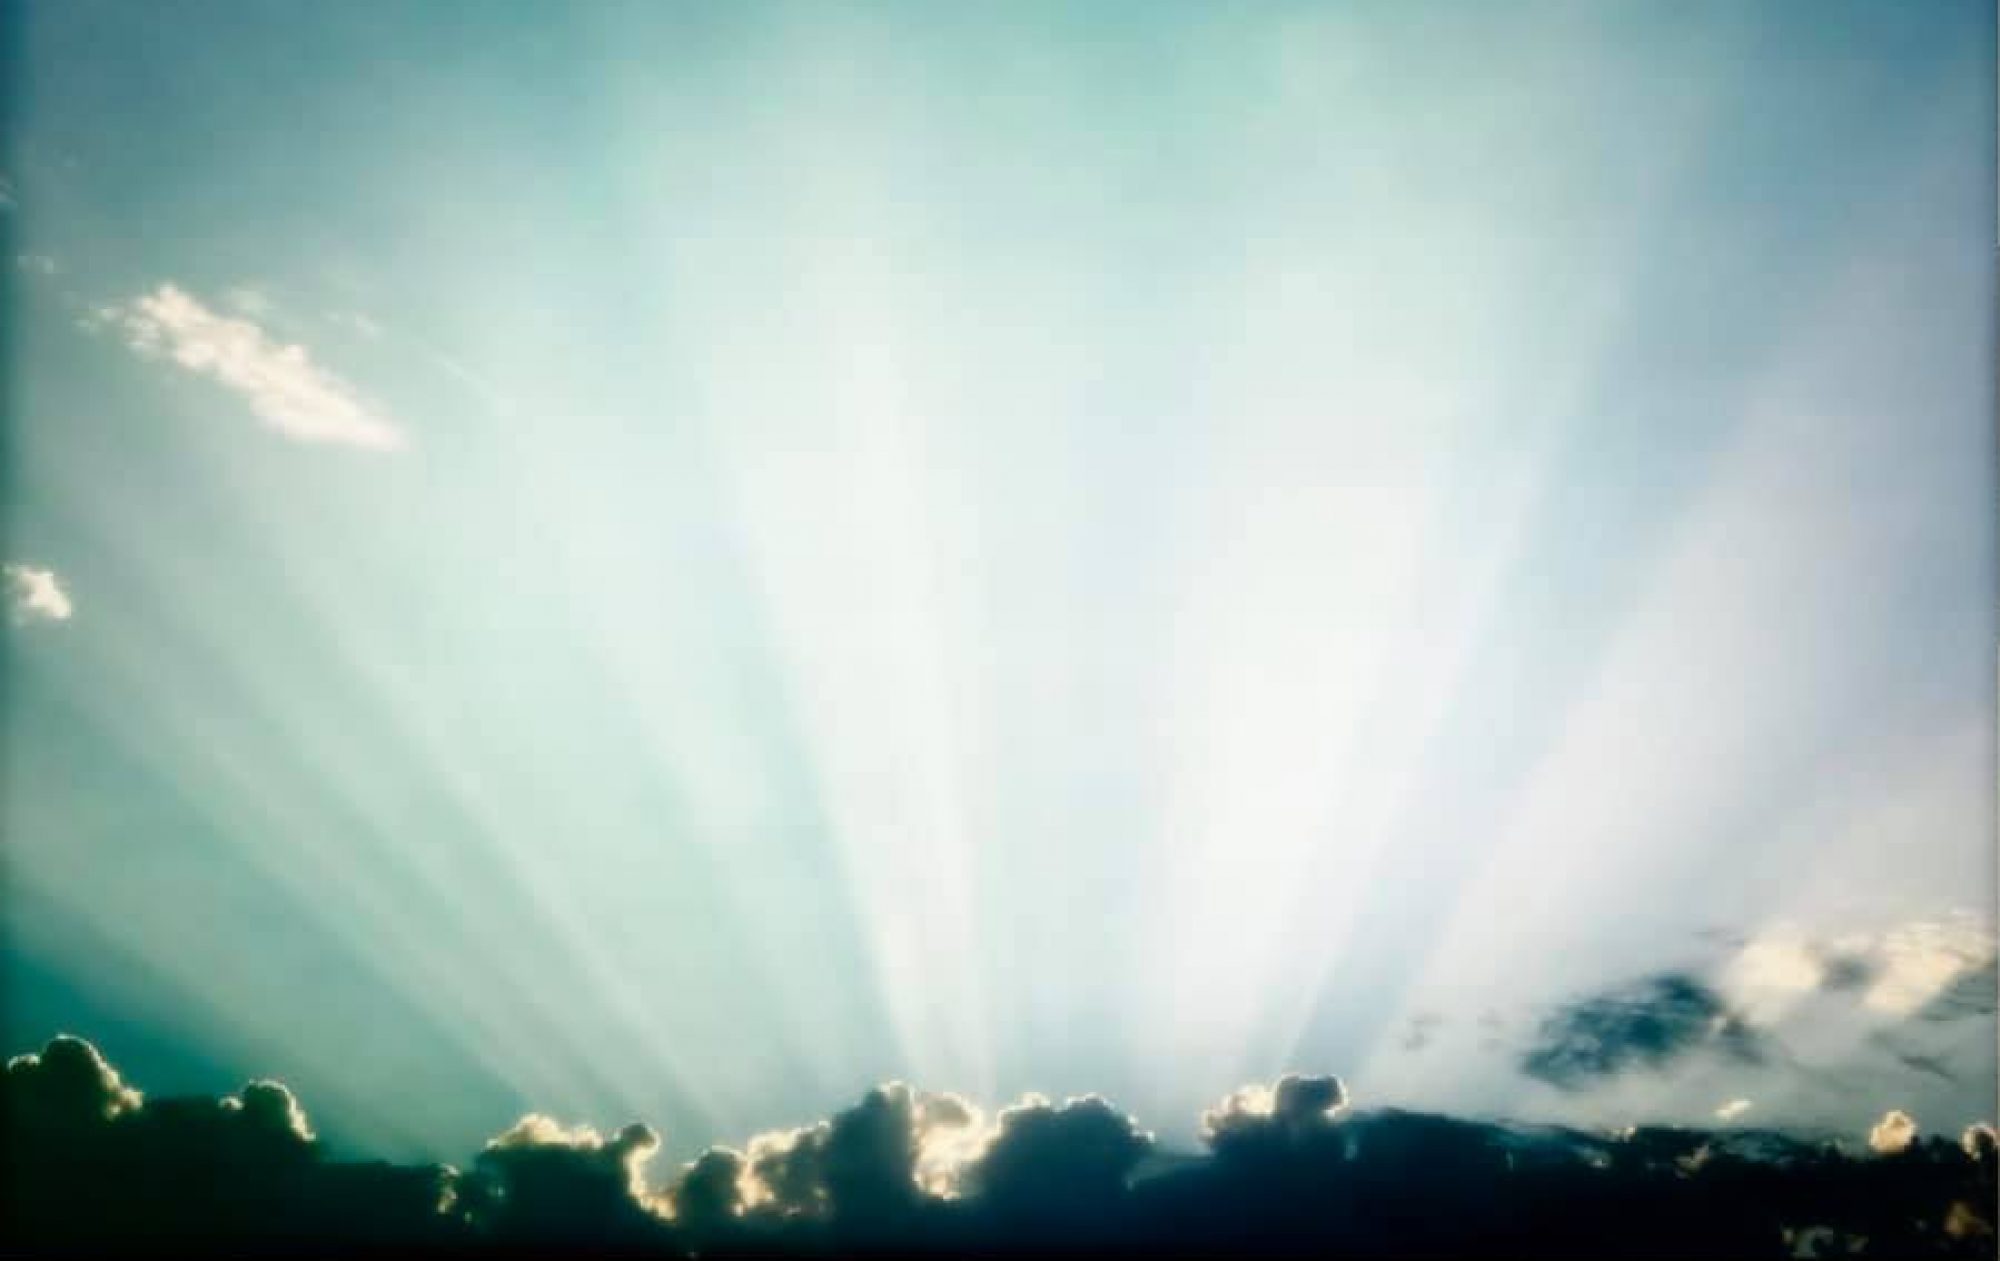
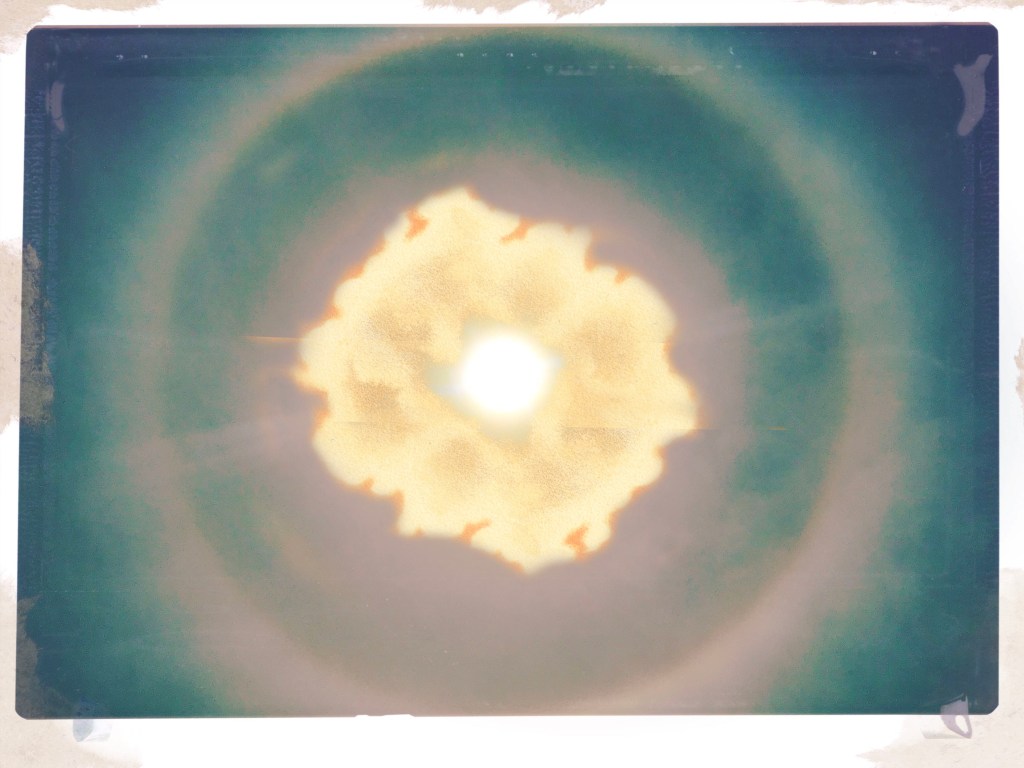
Two more examples, the first one was taken on Sand Island, the other is a painting of a doctor during the last pandemic, in 1917. Finally, I selected the cloud and doubled it using the warp tools to combined them. I blended the paintings of Krakatoa and placed it in front of a photograph I made yesterday of the sun.
So for this new assignment, we will be using some public domain collages.
What the public domain means is that you have the right to download use and alter any image you find. You just can’t save an image and use it without the artist’s permission, but you can with images that are in the public domain.
These sites are great for browsing and figuring out what the look and feel of the collage would be.
Step 1: Download 5-10 images that speak to you in some way. What connections could you see to other images? Step 2: Make a folder on your computer/chromebook that has all of these photos.
Step 3: Take these photos into your favorite image editor. Step 4: Start poking holes in them. Make selections, erase a part of it, what would go in the holes.
Step 5: See above for the photos I made with the public domain images. Step 6: Bring in photos you have made into your editor. Step 7: Work to bring these two different images together in some way.
Make two different collages. Turn them into Google Classroom as two separate .jpg images. Post the two photos, yours and the public domain images on your visual journal. Turn in the visual journal entry describing how you made these images along with the two .collage jpgs.
Two collages are due on Monday, 5/18.
Public Domain Free Creative Commons Images · Vintage Illustrations | rawpixelPublic Domain Free CC0 Images & illustrations in High Resolution. We are sourcing and digitally enhancing thousands of antique books and chromolithographic plates to unlock the inspirational design treasures of the past. As part of our commitment to give everyone access to the best public domain creative resources we are making these high …www.rawpixel.com
Free to Use and Reuse Sets | Library of CongressThese sets are just a small sample of the Library’s digital collections that are free to use and reuse. The digital collections comprise millions of items including books, newspapers, manuscripts, prints and photos, maps, musical scores, films, sound recordings and more. Whenever possible, each collection has its own rights statement which …www.loc.gov
This week you will take the written piece you wrote to go with your three images and refine it. Our goal is to create something someone would want to read in a magazine.
Revision Checklist:
Read the piece to yourself out loud. You will catch any mis worded statements or fragments. Does the voice of the piece of writing sound like a person talking?
Do the images line up perfectly with the images? Can you locate where the images match up with your writing?
Does the piece of writing tell a complete story? Do. you have one moment where we can touch, taste, hear, feel, smell, what is happening?
Do you have a balance of scene and summary?
Get closer to your images by really describing what you see in the images and have that be what is the written piece.
Check for grammar and spelling. “I” is always capitalized.
Make the text double spaced, use a serif font like Times New Roman or Garamond.
Do the images need to be edited so that they match more with the written content?
Turn in the three images as separate .jpgs. Turn the written piece in as a Google Doc.