Today’s Warm Up: Adding Text and a Shape on a Type Layer

https://helpx.adobe.com/photoshop/how-to/adding-text-shapes-basics.html

https://fonts.adobe.com

Click on the link above and we will watch the video above. Then go to the fonts.adobe.com link and choose a font that you think would best fit your CD/Album Cover.

Try it out on a photo you have recently taken.

Answer these questions in your Visual Journal.

What font do you see yourself using for your CD Album Cover ?

What color text would best work for your CD Album Cover?

Do you think you will use Horizontal or Vertical Text?

Today’s Warm Up: Choose Your Own Tutorial: Creating an Album Cover in Photoshop

https://design.tutsplus.com/tutorials/how-to-make-an-album-cover-in-photoshop–cms-33313

Choose one of these tutorials. Post the one you used to your visual journal, and describe why you found the tutorial useful.

Post your favorite album cover you found online and tell me why you like it. What ideas do you get from it for your CD Album Cover project?

This Week’s Photo Challenge: CD Album Cover with Text

Professional Examples:

Student Examples:

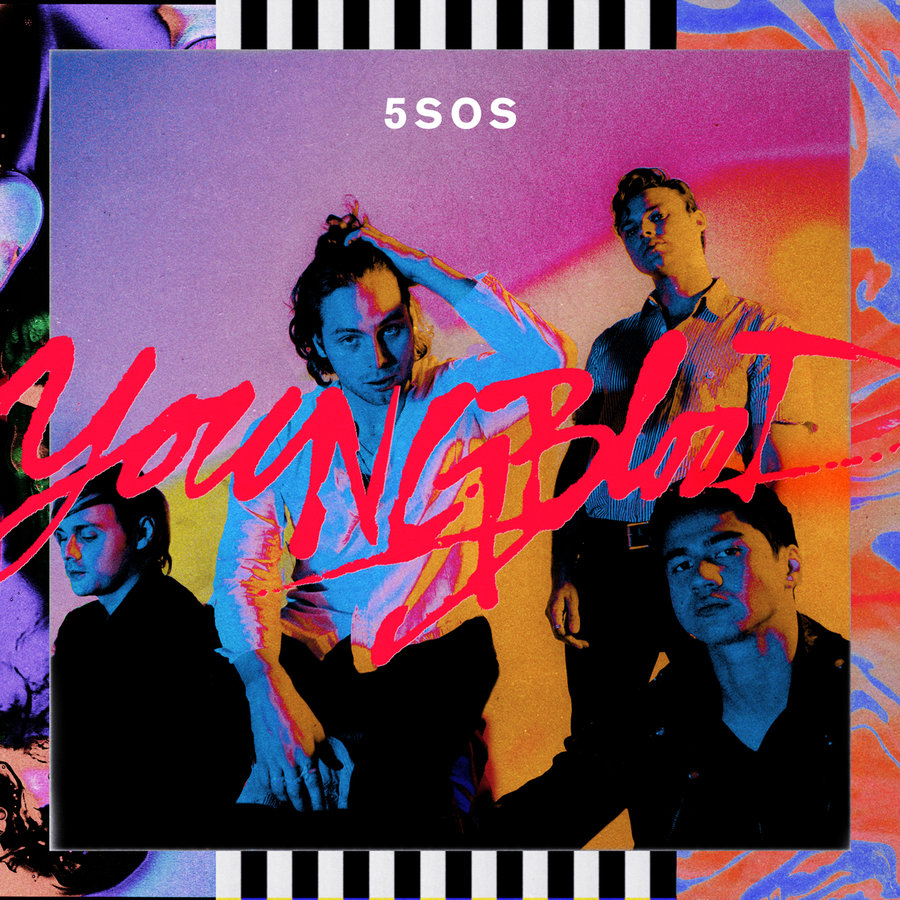
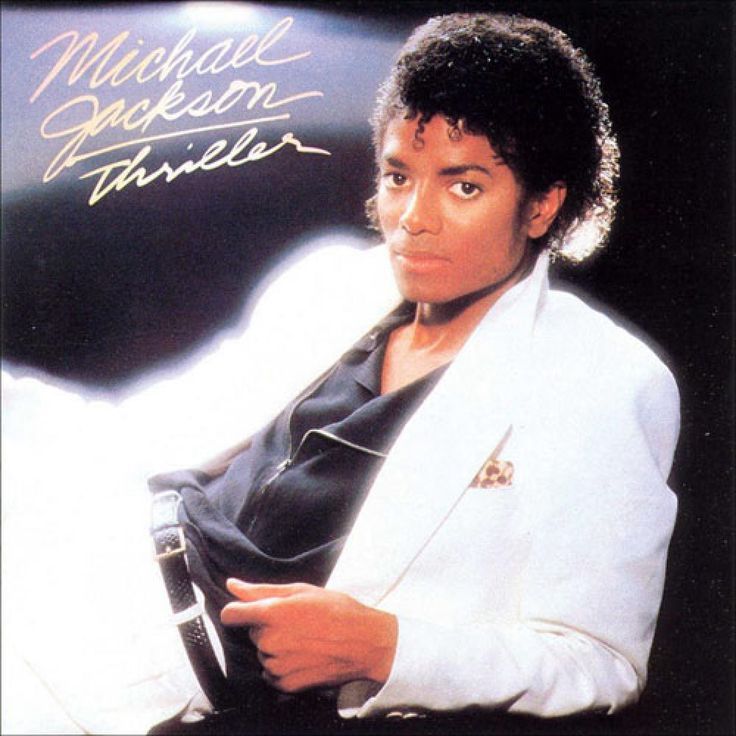
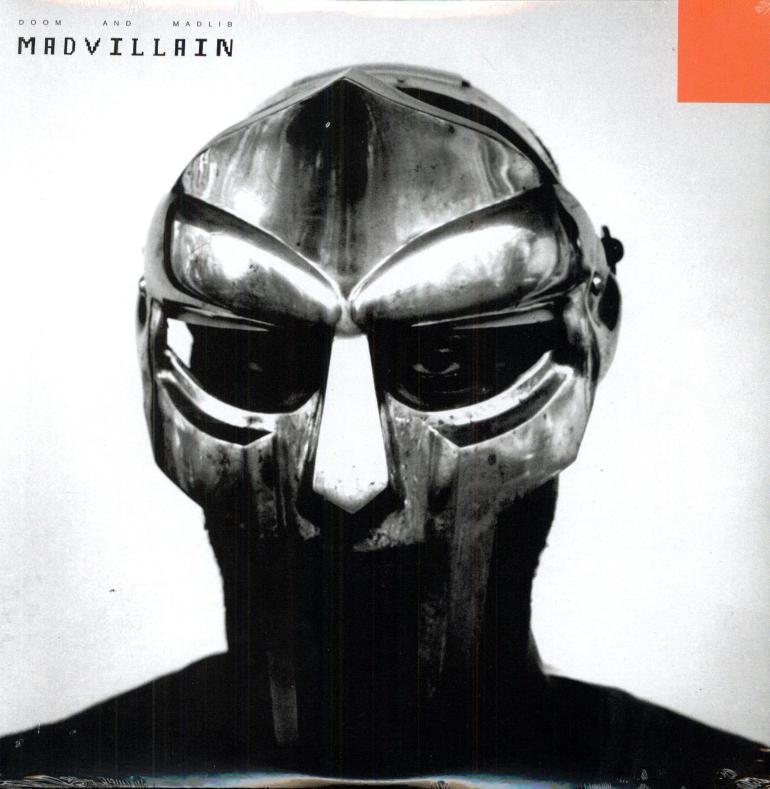
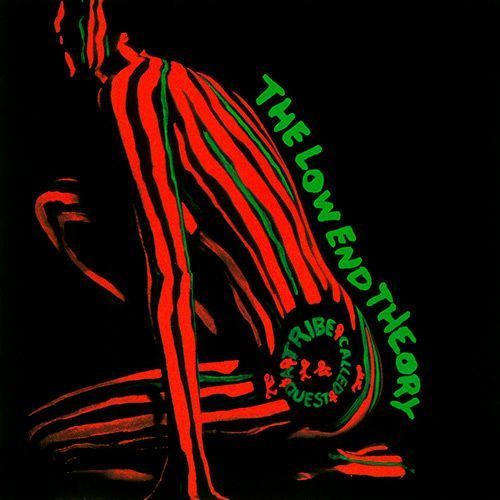
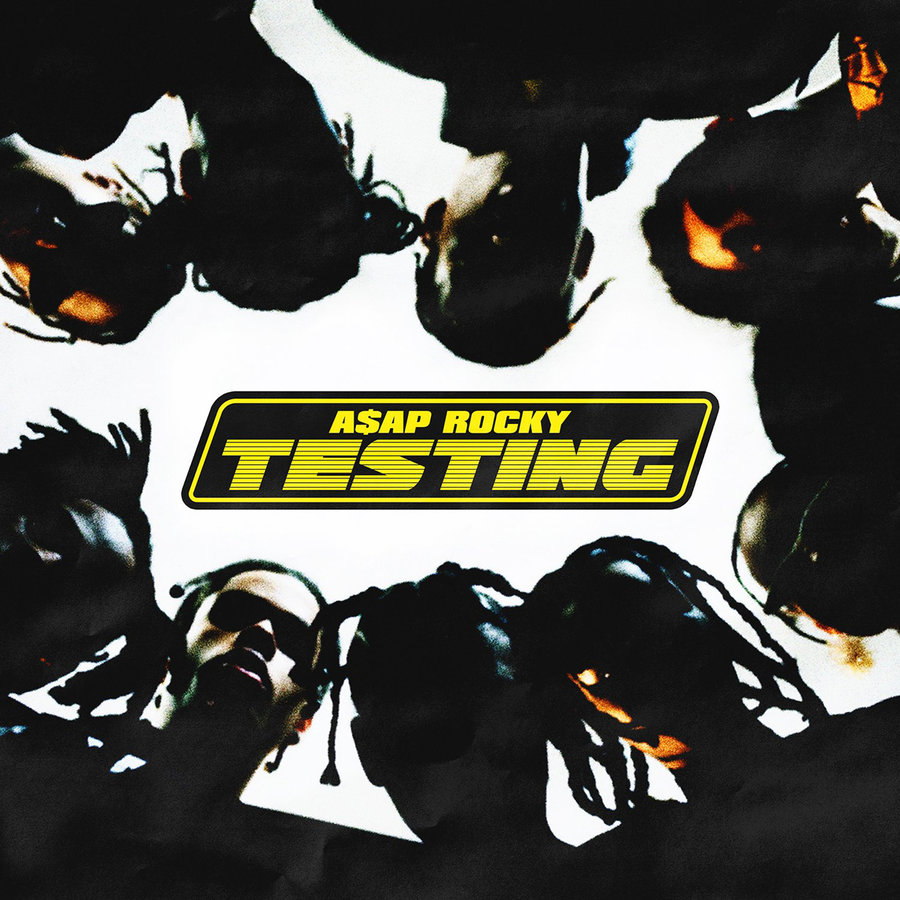
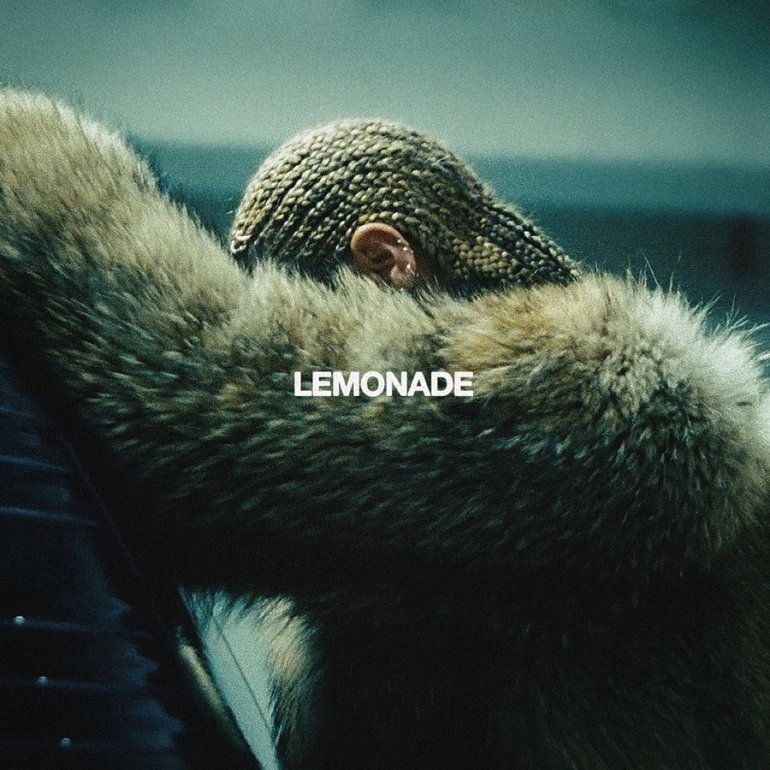
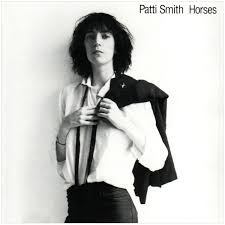
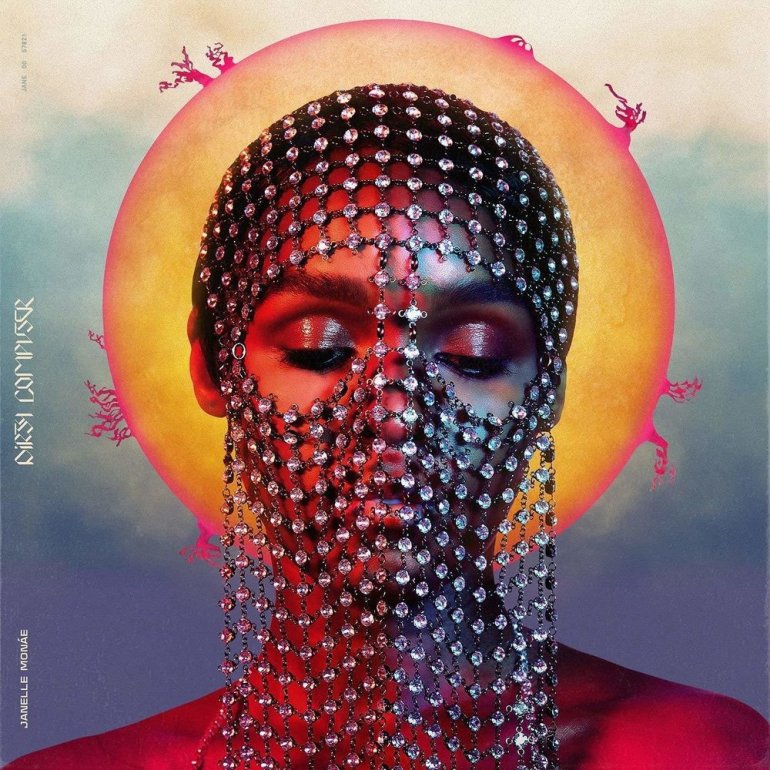
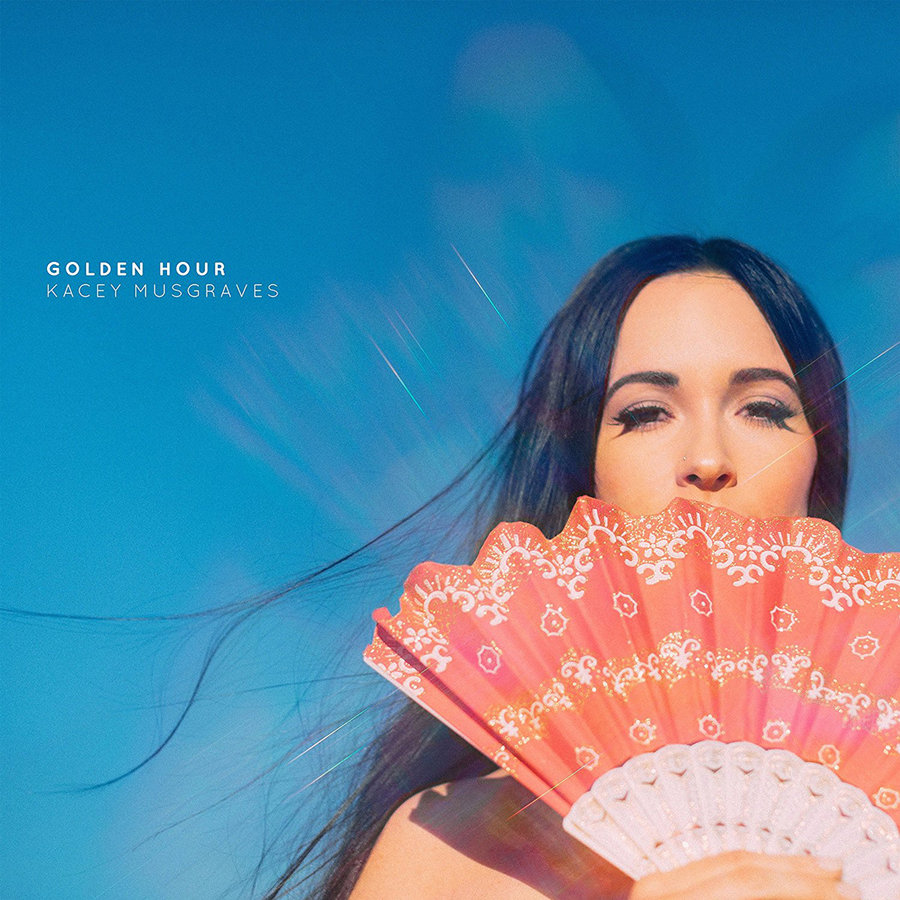
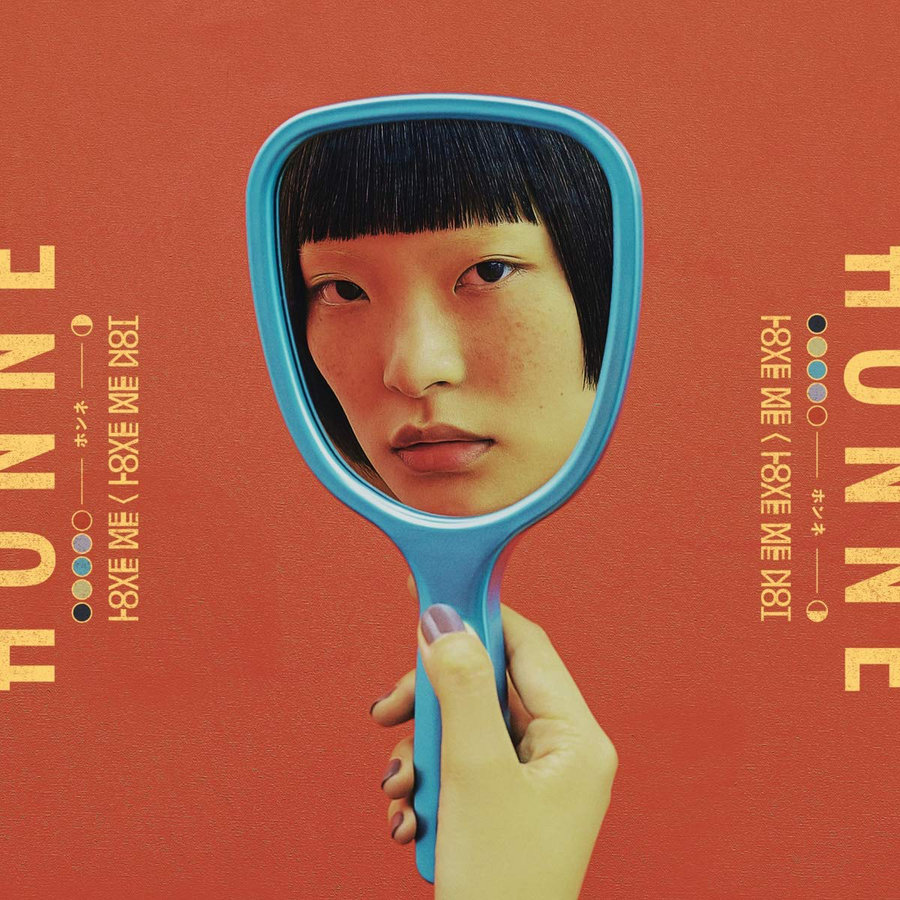
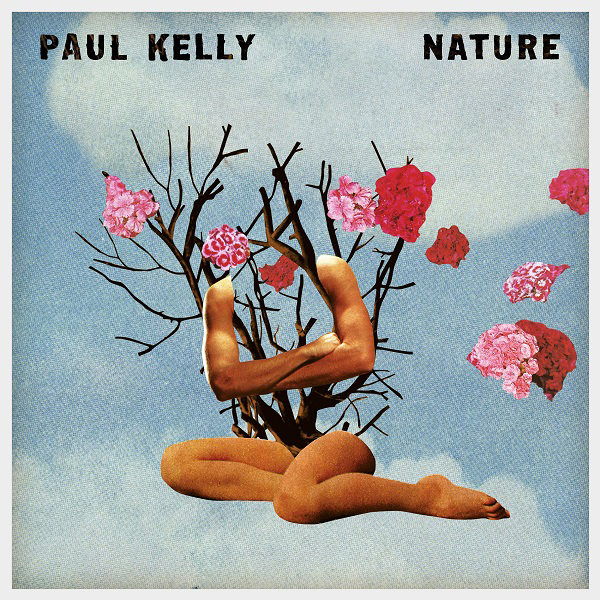
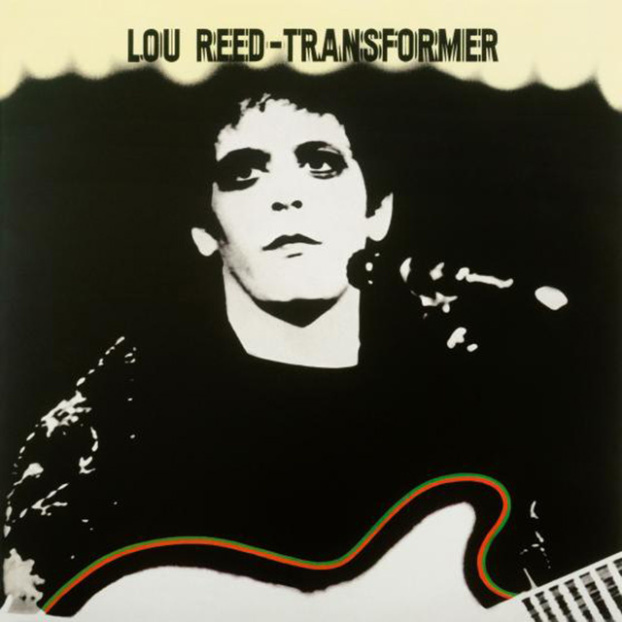
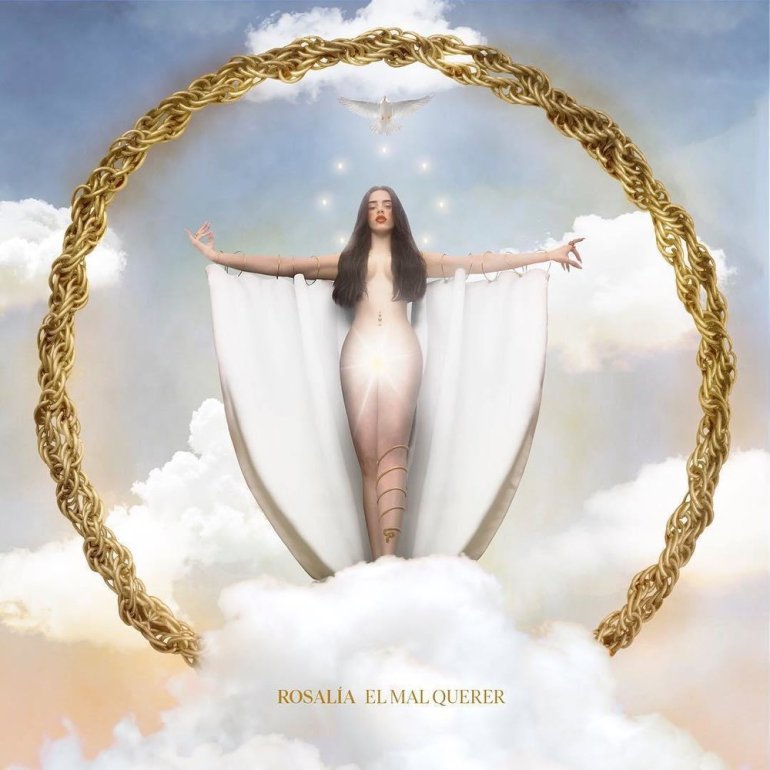
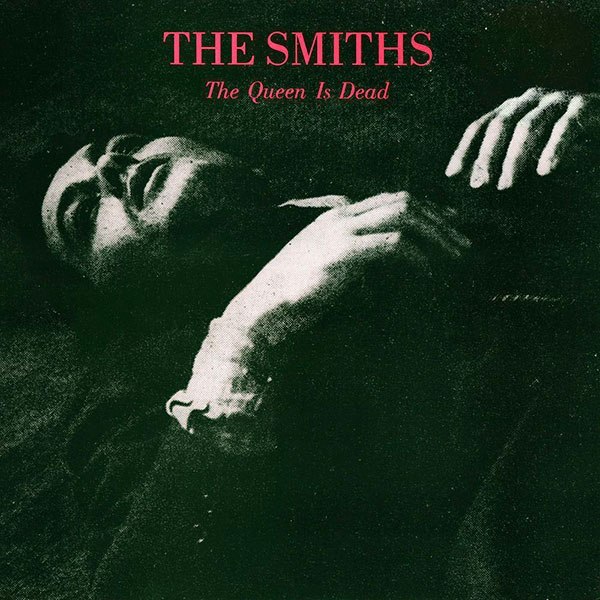
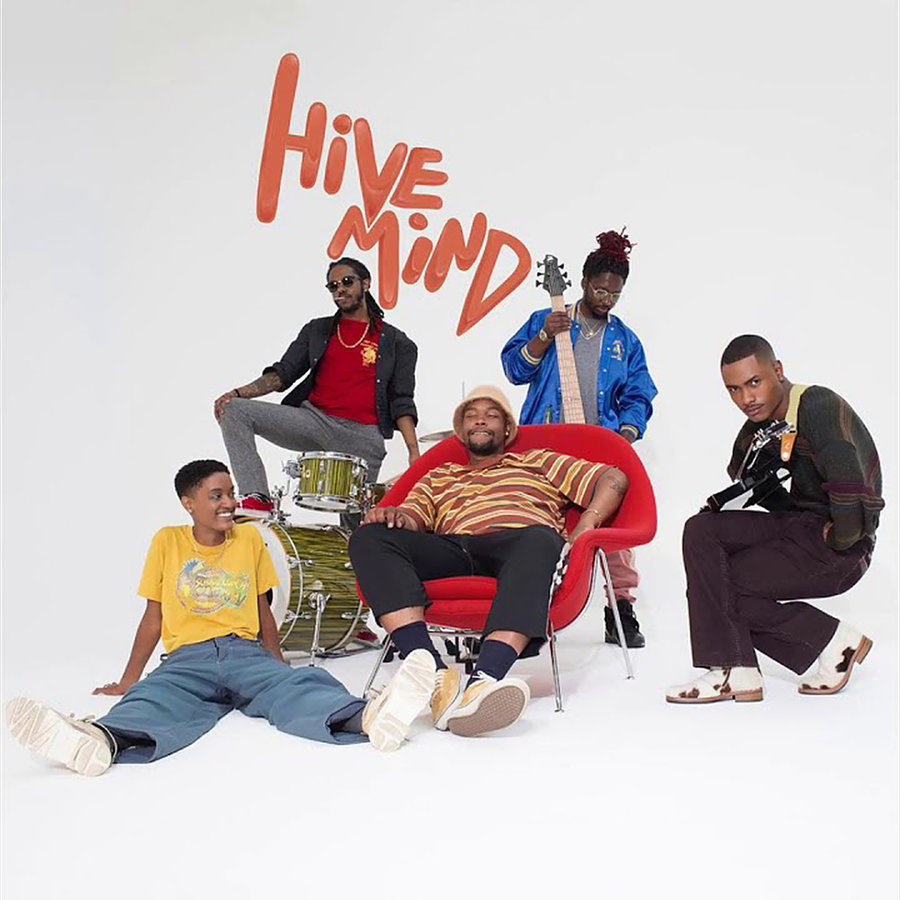
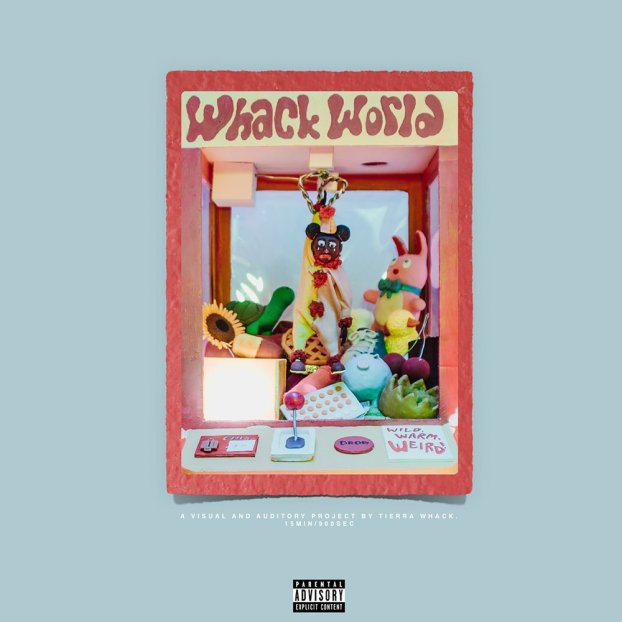
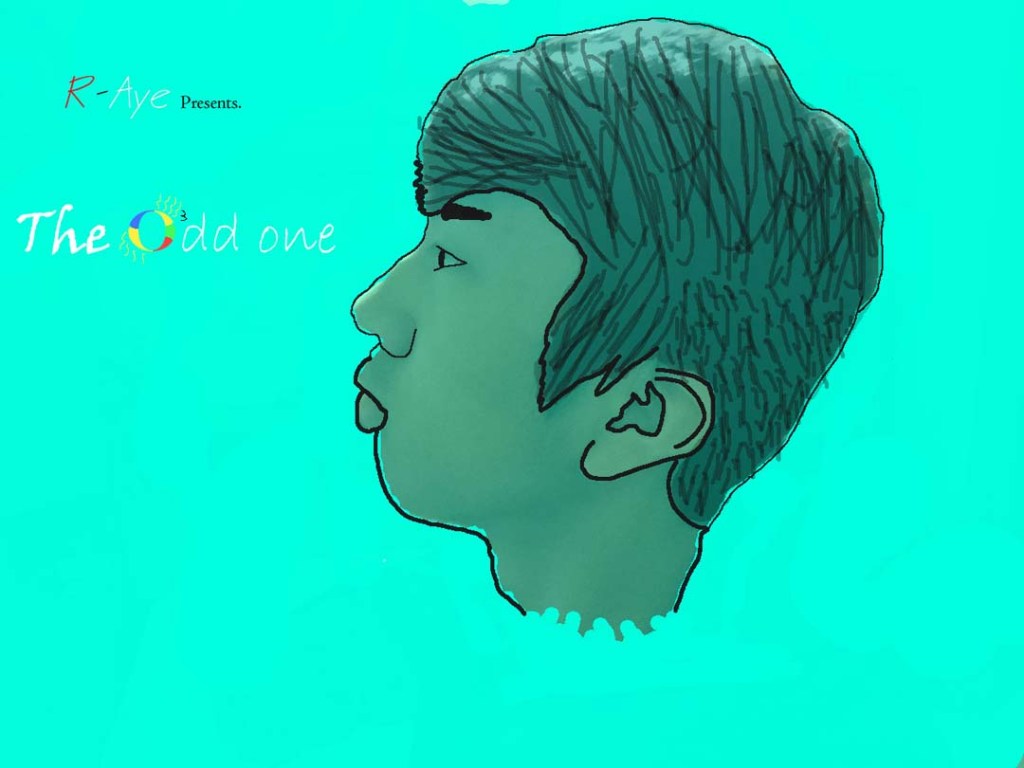
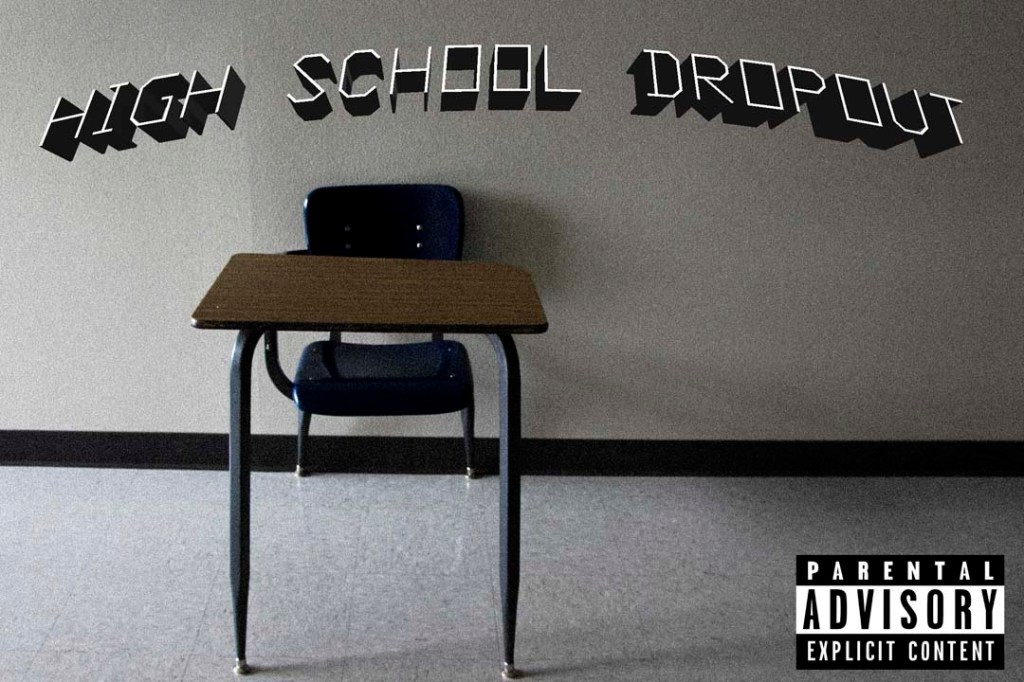
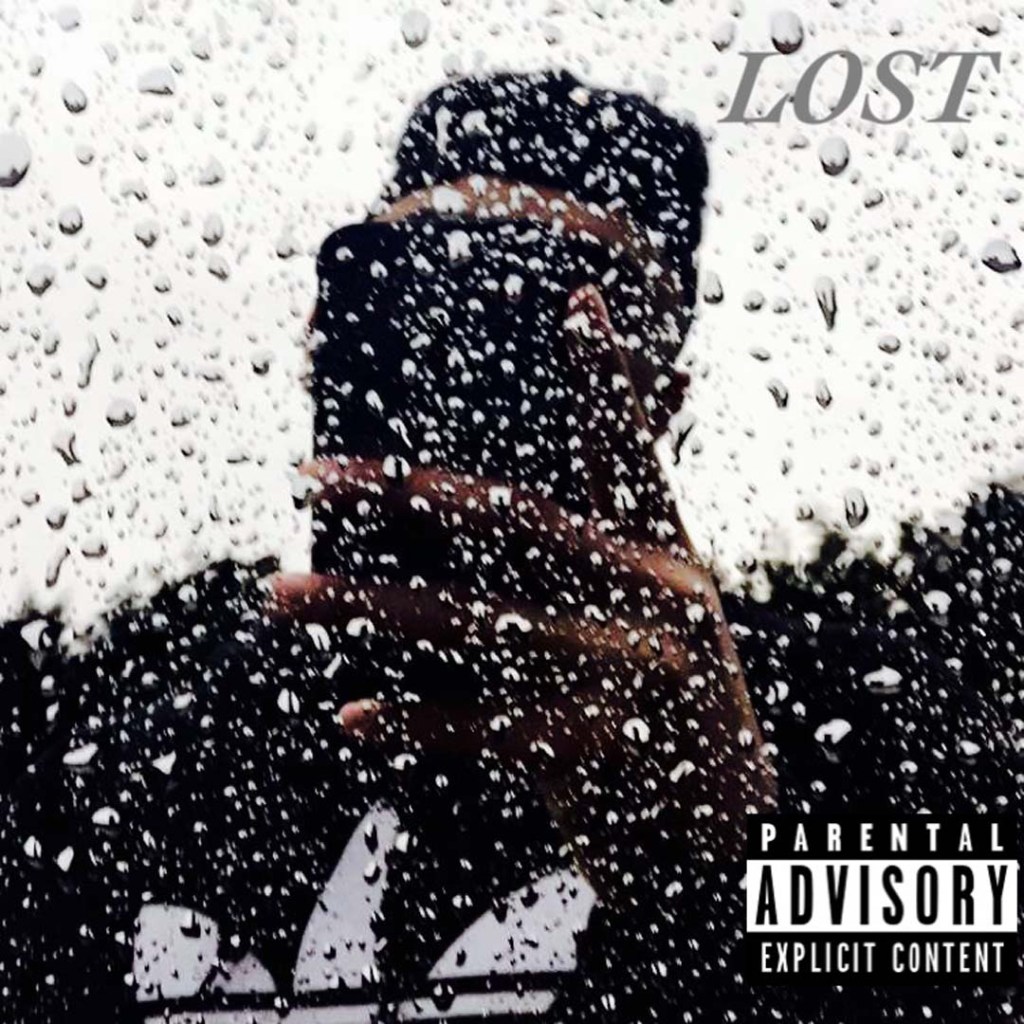
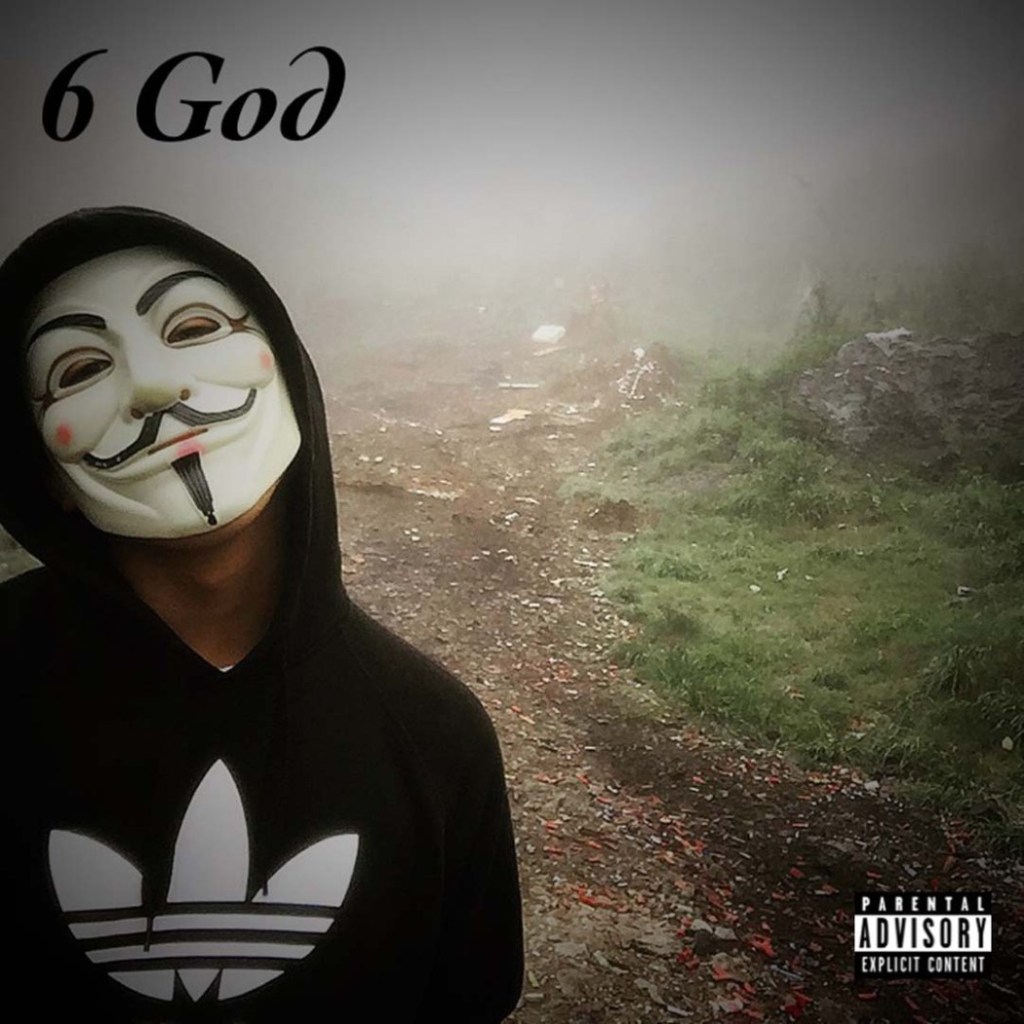
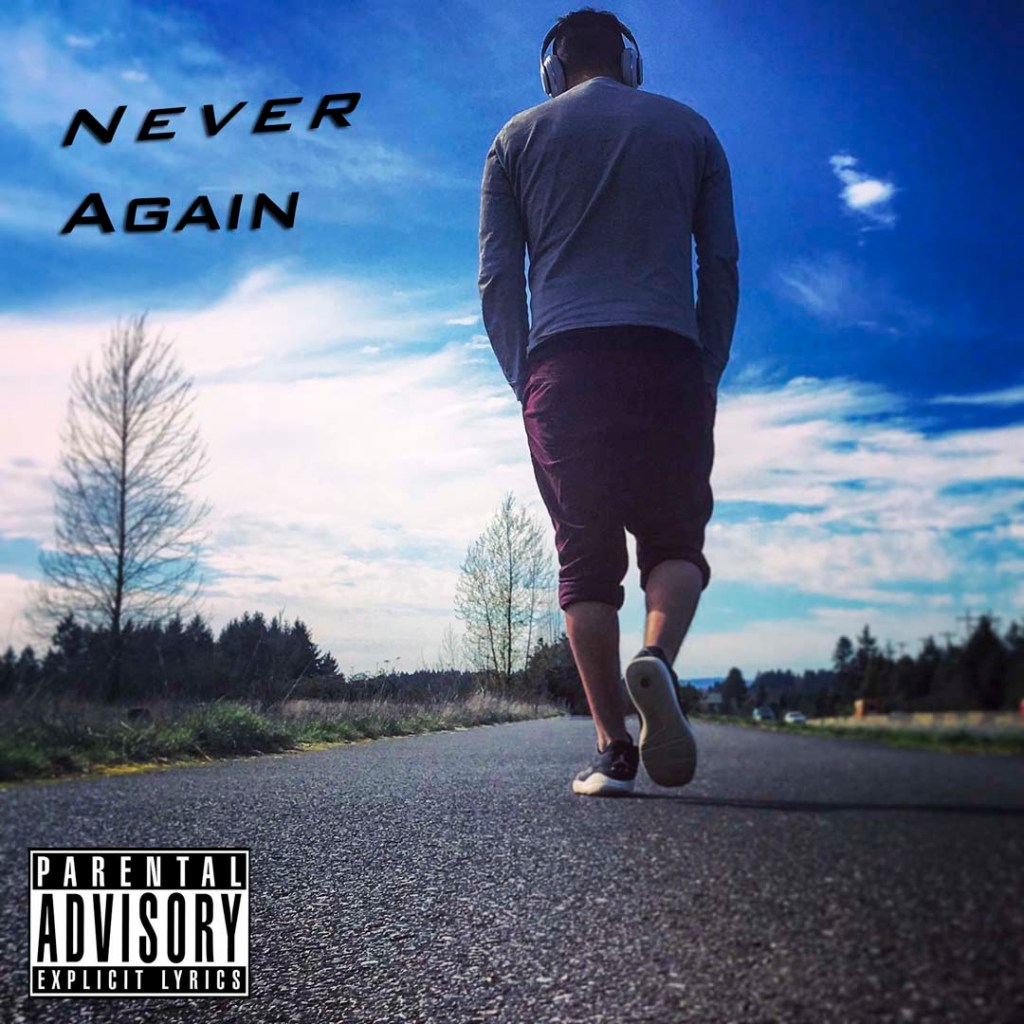
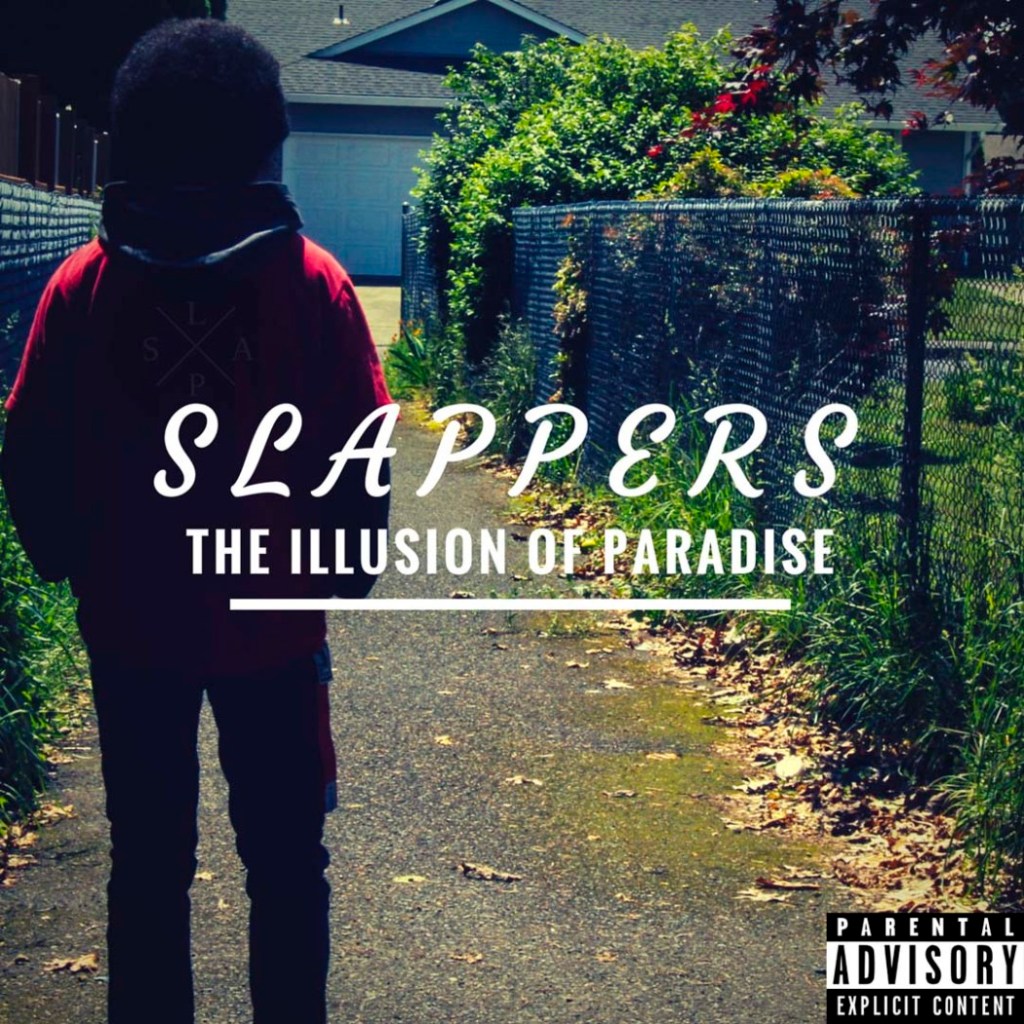
YOUR PHOTO CHALLENGE FOR THIS WEEK IS TO CREATE YOUR OWN CLASSIC ALBUM COVER! Create your own band name, your own font that reflects the name of your made up band. USE TEXT TOOLS IN PHOTOSHOP TO CREATE TEXT THAT MATCHES THE MOOD OF YOUR ALBUM COVER.

Even though some of the examples doesn’t have text, your cover must have text!

Images will need to be exactly 1600 pixels by 1600 pixels, forming a perfect square.

First CD Album Art Photo is due on 3/3

Second CD Album Art Photo is due on 3/6

You will be graded on:

  • Use of text and how it adds to the feel of the album cover:
  • Text placement, Font Choice, Shading,
  • Text on a path,
  • 3d Text Effects, Bevel and Emboss, Horizontal and Vertical Text. Text Selections, etc.
  • How well the photograph matches the name of the band and the text, forming one complete package.
  • Camera techniques: I’ll be looking to see that you incorporate techniques that add interest to your photos (POV, ROT, Shutter Speed. etc.)
  • Focus (no blur please!) and editing in Lightroom & Photoshop
  • Employability skills: Is it turned in on time.
  • What the image says about being alive.

First CD Album Art Photo is due on 3/3.

Second CD Album Art Photo is due on 3/6

To Do List for 2/26

Learning objectives:

  • I can use the editing techniques to edit my indoor and outdoor photos
  • I can turn in two photos for Indoor/Outdoor

Step by Step:

  1. Make photos for your Indoor & Outdoor. Photo. Try different F-Stops when you make the photo.
  2. Two photos are due TODAY into Google Classroom.
  3. Exported from Lightroom as jpgs. Lastname_indoor.jpg & lastname_outdoor.jpg

Today’s Warm Up: 5 Tips for Editing Portraits in Lightroom

After we watch the video, fire up your visual journal and answer these questions. Copy the URL of the Video and paste it into your Visual Journal.

  1. Which of these tips do you think you might use for your Indoor/Outdoor Photo Challenge?
  2. If you have shot your photos already, which issues do you see popping up that you will need to address in Lightroom?
  3. What was your biggest aha moment in the video?

Today’s Warm Up: What 2 Sides are You Trying to Capture?

For today’s warm up, I’d like you to find out a few things and put them onto your Visual Journal.

  1. What side of your person are you trying to show in your indoor photo?
  2. What side of your person are you trying to show in your outdoor photo?
  3. Find an example of an indoor portrait you like online and download it and put it on your visual journal.
  4. Find an example of an outdoor portrait you like online and download it and put it on your visual journal.
  5. Find an example of an indoor portrait you like online and download it and put it on your visual journal.
Design a site like this with WordPress.com
Get started